
Painting a horse in oil is a rewarding challenge for artists of all levels. Horses have a unique beauty—strong muscles, flowing mane, expressive eyes—that can make any painting come alive. But capturing a horse’s spirit and anatomy in oil paints takes more than just copying a photo.
You need to understand their structure, movement, and how light dances across their form. This guide will walk you through every step, from choosing your reference to adding those final touches that make your horse look real and full of energy.
Understanding The Horse’s Anatomy
Before you start, it’s important to look closely at horse anatomy. Horses are powerful animals, and their muscles show through their skin, especially when they move or turn. Spend some time studying photos, watching videos, or observing real horses if possible.
Focus on these key parts:
- The head and neck: Horses have long, graceful necks and large, kind eyes.
- The body: Note the chest, back, and barrel (the rounded middle part).
- The legs: Horses’ legs are slim but strong, with visible tendons.
- The mane and tail: These can be smooth or wild, depending on the horse.
Knowing where bones and muscles sit under the skin helps you paint more naturally. You don’t need to memorize everything, but having a basic understanding will make your horse look convincing.
Gathering Reference And Planning Your Painting
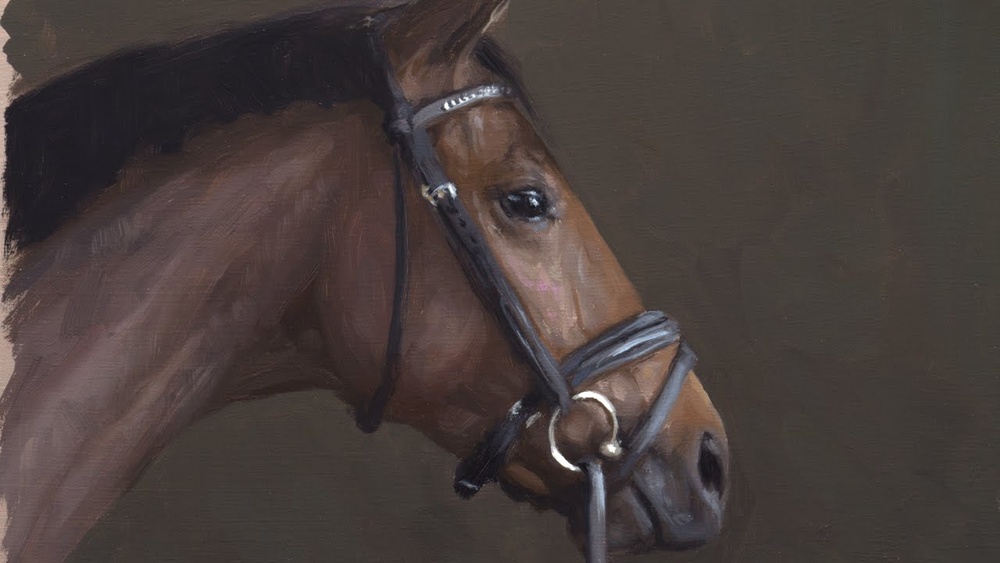
A great painting often starts with a great reference. Find or take a clear photo of a horse. Look for images with interesting light and shadow, and make sure you can see the details—eyes, muscles, mane, and hooves. If you want to paint a specific breed or pose, choose your reference carefully.
It’s smart to make a sketch first. This doesn’t have to be perfect, but it should show the main shapes and direction the horse is facing. Use a light pencil or charcoal on your canvas, so you can adjust things if needed.

Credit: www.youtube.com
Choosing Your Materials
The right materials make painting easier and more enjoyable. Here’s what you’ll need:
- Oil paints: Get artist-grade paints for richer color and smoother blending.
- Brushes: Use a mix of flat, round, and detail brushes. Synthetic or hog bristle brushes both work well.
- Palette: A glass or wooden palette helps you mix colors easily.
- Canvas or board: Medium- or fine-grain canvases are ideal for animal painting.
- Mediums: Linseed oil, turpentine, or an odorless mineral spirit for thinning paint and cleaning brushes.
- Palette knife: Useful for mixing paint and adding texture.
- Rags or paper towels: For cleaning and wiping brushes.
Here’s a quick comparison of brush types you might use:
| Brush Type | Best For | Common Sizes |
|---|---|---|
| Flat | Blocking in color, broad strokes | 6-12 |
| Round | Detail work, curved lines | 2-8 |
| Filbert | Blending, soft edges | 4-10 |
| Fan | Texture in mane/tail | 4-6 |
Mixing Colors For Realistic Horses
Horses come in many colors—bay, chestnut, black, gray, palomino. But even if you paint a black horse, you’ll need more than just black paint. Mixing the right shades and tones is key for realism.
- Base colors: Start with earth tones—burnt sienna, yellow ochre, raw umber, and ultramarine blue.
- Highlights: Add titanium white, sometimes mixed with a touch of yellow or blue to keep it natural.
- Shadows: Use blues and purples in the shadows, not just black.
- Mane and tail: Mix in colors from the body plus extra white, black, or ochre for variety.
Here’s a color mixing guide for common horse coat colors:
| Coat Color | Main Mix | Highlight | Shadow |
|---|---|---|---|
| Bay | Burnt sienna + ultramarine blue | Yellow ochre + white | Raw umber + blue |
| Chestnut | Burnt sienna + yellow ochre | White + touch of ochre | Burnt umber + blue |
| Black | Ivory black + ultramarine blue | White + blue | Purple + black |
| Gray | Blue + burnt umber + white | White + touch of yellow | Blue + raw umber |
A non-obvious insight: Horses often reflect colors from their surroundings—add hints of green (grass) or blue (sky) into their shadows for extra realism.
Step-by-step: Painting The Horse
Let’s break down the painting process into clear, simple steps. Each stage builds upon the last.
1. Sketch The Outline
Lightly sketch the horse’s basic shape on your canvas. Focus on the proportions—the length of the neck, angle of the legs, and size of the head. Don’t worry about details yet. Some artists use a grid method to transfer the reference image accurately.
2. Block In Main Shapes And Values
Using a large brush, block in the main areas of light and dark. Think of the horse as a collection of simple shapes, like ovals and rectangles. Use thinned paint for this stage so it’s easy to adjust.
- Keep your values (light and dark) strong. This helps the form stand out.
- Squint at your reference to see the big shapes of shadow and light.
3. Add Local Colors
Mix the main colors for your horse, based on the breed and lighting. Paint these colors over your value underpainting, keeping your brushstrokes loose and broad.
- Don’t try to finish any one area yet.
- If your horse is outdoors, think about the color of the sky and how it affects the shadows.
4. Develop Form And Texture
Start refining the anatomy. Use smaller brushes to show muscles, the curve of the neck, and the texture of the coat.
- Use directional brushstrokes that follow the way hair grows.
- For shiny coats, add sharper highlights with a fine brush.
5. Paint The Mane, Tail, And Details
Now focus on the horse’s mane, tail, eyes, and muzzle. Use a rigger or liner brush for hair, and layer different colors for depth.
- Don’t make every hair sharp—suggest movement and flow.
- Pay close attention to the eyes; a small highlight can bring them to life.
6. Refine Edges And Adjust Colors
Step back and look at your painting from a distance. Soften some edges (like where the body meets the background), and sharpen others (like the ears or jaw).
- Adjust colors by glazing—adding thin layers of transparent paint.
- Check the overall value range; darken or lighten as needed.
7. Final Touches
Add the final highlights and dark accents. These small touches make your horse pop off the canvas.
- Make sure the hooves and nostrils have enough definition.
- Sign your work only when you’re happy with it.
A helpful tip: Let each layer dry before adding more detail, especially when using thick paint. This prevents colors from becoming muddy.
Creating A Believable Background
A horse painting isn’t just about the animal. The background sets the mood and tells a story. You can choose a simple color, a meadow, stable, or dramatic sky.
- Use softer edges and less detail in the background, so the horse stands out.
- Repeat some colors from the horse in the background for harmony.
- Avoid making the background too busy; keep the focus on the horse.
If you’re not sure what to paint, a blurred green field or soft blue sky works well for beginners.
Common Mistakes To Avoid
Even experienced artists make mistakes. Here are some common ones to watch for:
- Incorrect proportions: Double-check the size of the head, legs, and body.
- Overusing black: Pure black can look flat. Mix in blues and browns for depth.
- Ignoring light source: Make sure your shadows and highlights match the direction of light.
- Stiff poses: Horses are rarely stiff—show movement or a relaxed stance.
- Over-detailing everywhere: Detail only the focal points, like the face and mane.
A lesser-known tip: Horses’ legs often look thinner than you expect. Compare with your reference before painting them too thick.
How Oil Painting Differs From Other Mediums
Oil paint has special qualities that help when painting horses:
- Slow drying: You have time to blend and adjust.
- Rich colors: Oils create deep, glowing colors for shiny coats.
- Flexible techniques: Try glazing, scumbling, and impasto for different textures.
However, oils require patience. You need to let layers dry, and clean-up takes more effort than with acrylics or watercolors.
Here’s a quick comparison of oil, acrylic, and watercolor for horse painting:
| Medium | Blendability | Drying Time | Color Depth |
|---|---|---|---|
| Oil | Excellent | Slow (hours to days) | Very rich |
| Acrylic | Good | Fast (minutes) | Bright but less deep |
| Watercolor | Moderate | Very fast | Transparent, soft |
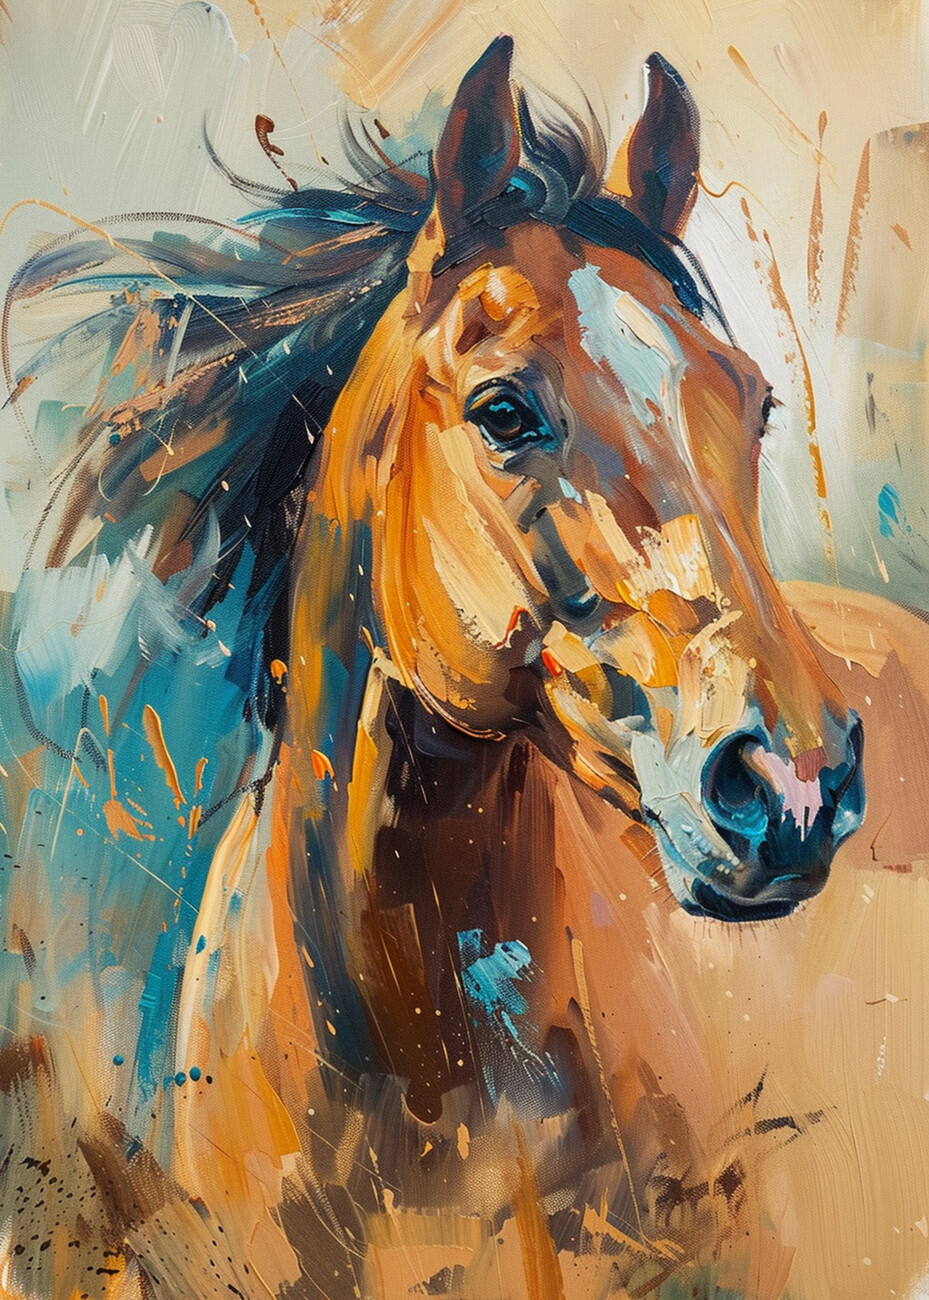
Credit: www.abposters.com
Developing Your Personal Style
As you paint more horses, you’ll develop your own style. Maybe you prefer bold brushwork, soft blending, or a realistic look. Try studying famous horse painters like George Stubbs or Edgar Degas for inspiration, but don’t be afraid to experiment. Some artists use abstract backgrounds or unusual color choices to make their horse paintings unique.
A practical insight: Photograph your progress at different stages. This helps you spot mistakes and track your growth as an artist.
Caring For Your Finished Painting
Oil paintings can last for centuries if cared for properly. Here are some tips:
- Let your painting dry completely (can take weeks).
- Apply a protective varnish to keep colors bright and protect from dust.
- Hang away from direct sunlight and damp areas.
If you want to learn more about oil painting care, the National Gallery offers detailed advice.
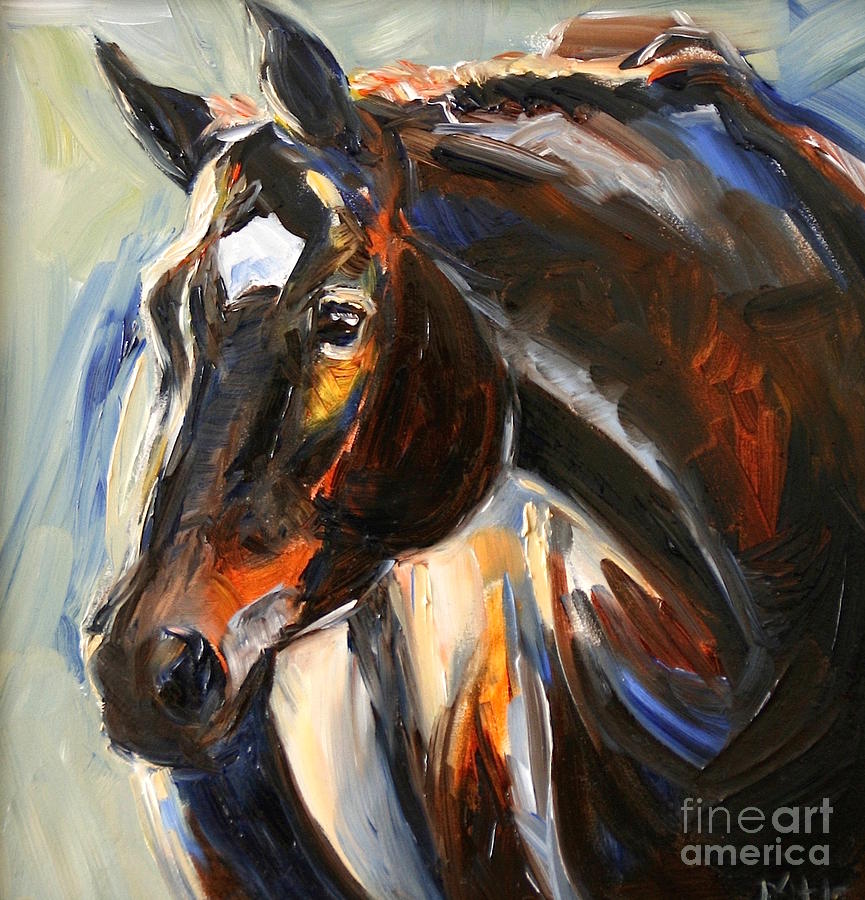
Credit: fineartamerica.com
Frequently Asked Questions
How Long Does It Take To Paint A Horse In Oils?
The time depends on the size, detail, and your experience. A simple study might take 4-6 hours, while a detailed piece can take several days or even weeks, especially with drying time between layers.
What Colors Do I Need To Start Painting Horses?
You can start with a basic palette: burnt sienna, raw umber, yellow ochre, ultramarine blue, titanium white, and ivory black. From there, add more colors as you experiment with different horse coats.
How Do I Fix Mistakes In Oil Painting?
Oil paint is forgiving. If the paint is still wet, wipe off the mistake with a clean brush or rag. If dry, paint over it with a fresh layer. Sometimes, you may need to sand gently before repainting.
Is It Okay To Use A Photo As A Reference?
Yes, using photos is common and helpful. Make sure you have permission if the photo isn’t yours. Try to use high-quality images with good lighting and clear details.
How Can I Make My Horse Painting Look More Realistic?
Study horse anatomy, use a strong light source, and pay attention to details in the eyes and muzzle. Adding subtle color variations and softening some edges will help your horse look natural.
Painting a horse in oil is a journey—one that combines technique, observation, and your personal touch. With each painting, you’ll learn more and grow as an artist. Don’t be afraid to make mistakes or try new ideas. Keep practicing, and soon your horses will leap off the canvas, full of life and character.


