
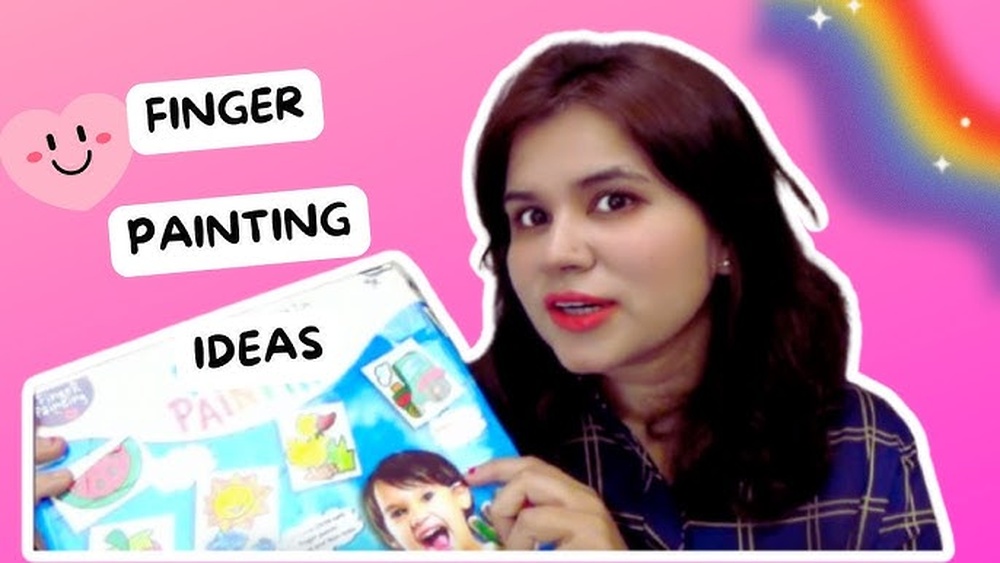
Finger painting is not just for children—it’s a creative art form for all ages. Using your fingertips instead of brushes lets you explore texture, color, and shapes in fresh ways. Whether you’re a beginner or an experienced artist, finger painting can open new possibilities for self-expression. This guide will help you discover inspiring painting ideas with your finger tips, practical techniques, and useful advice to make your finger painting experience more enjoyable and rewarding.
Why Finger Painting Is Powerful
Finger painting connects you directly to your artwork. The tactile feeling makes the creative process more personal and lively. Unlike brushes, your fingers can control how much paint you apply, how you blend colors, and the thickness of lines. This approach is popular in both early childhood education and professional art studios. According to studies, finger painting can improve fine motor skills, boost creativity, and even reduce stress.
For example, research from the American Art Therapy Association shows that physical engagement with art materials—like finger painting—can help people relax and express emotions more freely. Finger painting is also budget-friendly, as you only need paint, paper, and your hands.
Essential Materials For Finger Painting
Before starting, gather some basic materials. These supplies help keep your artwork safe and your fingers comfortable.
| Material | Purpose | Tips |
|---|---|---|
| Finger Paint | Easy to wash, non-toxic | Choose bright colors |
| Paper or Canvas | Surface for painting | Thicker paper prevents tearing |
| Apron/Old Clothes | Protects from stains | Wear something easy to wash |
| Wet Wipes | Cleans hands quickly | Keep nearby for easy cleanup |
You can also use acrylic paints, but make sure they are safe for skin. For advanced techniques, try textured papers or add some household items like sponges for extra effects.
Credit: www.ettavee.com
Finger Painting Ideas To Try
1. Abstract Swirls
Start with simple abstract swirls. Dip your fingertips in paint and move them in circles or spirals. Try different colors and overlap the swirls for a dynamic look. Abstract swirls are easy and help you learn how much pressure to use.
2. Flower Petals
Use your finger tip to create flower petals. Press and drag lightly to shape each petal. Combine several colors for depth. Add a dot in the center for the flower’s core. This technique works well for daisies, sunflowers, or any flower you like.
3. Tree Silhouettes
Paint a tree trunk with your finger, then use quick dabs for the leaves. Try autumn colors like orange, red, and yellow. For a winter tree, use white and blue. Trees are a great way to practice finger layering and blending.
4. Ocean Waves
Create ocean waves by dragging your finger in wavy lines. Use blues, greens, and a touch of white. Blend the colors while the paint is wet. Add foam details by tapping the tip with white paint.
5. Finger Portraits
Draw simple portraits using your finger tip for facial features. Start with a round face, then add eyes, nose, and mouth by tapping and dragging. Finger portraits are fun and can be cartoonish or realistic depending on your style.
6. Animal Shapes
Try painting animals like cats, dogs, or birds. Use your finger tip for the body, then add details with smaller parts of your finger. For a cat, press your finger for the head and use the edge for ears and whiskers.
7. Rainbow Patterns
Make rainbow patterns by lining up different colors side by side. Swipe your finger across the paper to blend them gently. Rainbows are cheerful and help you practice smooth transitions.
8. Landscape Scenes
Paint a simple landscape: sky, mountains, and grass. Use your finger tip for clouds and sun. Blend colors in the sky for a sunset or sunrise effect. Landscapes let you experiment with layering.
9. Finger Dots
Create art with finger dots. Dip your finger in paint and tap it on the paper to make dots. Arrange them in patterns or images. This pointillism technique can form flowers, animals, or geometric shapes.
10. Geometric Designs
Finger painting isn’t just for organic shapes. Try geometric designs like squares, triangles, or circles. Use the side of your finger for straight lines and the tip for dots. Layer shapes for modern art.
11. Night Sky
Paint a dark blue background, then add stars with white finger dots. For a moon, press your finger in white paint and stamp it. Blend black and blue for depth. Night skies are dramatic and easy to create.
12. Fruit Patterns
Use your finger tip to paint fruits like apples, oranges, or grapes. Make the main shape, then add highlights and shadows with different colors. Fruit patterns are playful and help you learn color mixing.
13. Butterfly Wings
Paint a butterfly’s wings with broad finger strokes. Use bright colors and layer them for a realistic effect. Add a thin body in the middle with your finger’s edge.
14. Finger Mandalas
Make circular mandalas by tapping your finger in rings. Use multiple colors and repeat patterns. Mandalas are relaxing and improve concentration.
15. Underwater Scenes
Create underwater art with fish, plants, and bubbles. Use your finger for fish bodies and plants, then add bubbles with dots. Try blending blues and greens for watery effects.
16. Finger Trees
Paint a tree trunk with your finger and use fingertip dabs for leaves. Experiment with different seasons—green for summer, red/orange for autumn, and white for winter.
17. Heart Designs
Finger paint hearts for cards or gifts. Press your finger in red or pink paint and shape a heart. Add details with dots or swirls.
18. Animal Footprints
Dip your finger in paint and make animal footprints. Dogs, birds, and cats have unique prints. Arrange them in trails for a storytelling effect.
19. City Skylines
Paint a city skyline with your finger’s edge for buildings. Add lights by tapping the tip in yellow or white. Skylines can be simple or detailed.
20. Finger Flowers
Paint a garden of flowers using finger dabs. Mix colors for petals, then add stems and leaves with your finger’s side. Finger flowers are great for group projects.
Techniques For Better Finger Painting
Finger painting is more than just dabbing paint. Here are some techniques to improve your art:
- Blending: Blend two colors by gently rubbing your finger over the paint while it’s wet.
- Layering: Let one layer dry before adding another for sharper details.
- Pressure control: Press lightly for thin lines, harder for thick ones.
- Edge painting: Use the side of your finger for straight lines or borders.
- Texture: Tap, swipe, or roll your finger to create different textures.
| Technique | Effect | Best For |
|---|---|---|
| Blending | Soft transitions | Landscapes, skies |
| Layering | Sharp details | Portraits, trees |
| Pressure control | Line thickness | Geometric shapes |
| Edge painting | Straight lines | Skylines, borders |
| Texture | Rich surfaces | Flowers, animals |
Practical Tips For Successful Finger Painting
Finger painting can get messy, but a few tips can help:
- Use washable paints to avoid stains.
- Cover your workspace with newspaper or plastic.
- Keep a wet cloth nearby for quick cleaning.
- Work from light colors to dark to avoid muddy results.
- Let each layer dry before adding details.
- Try painting with different fingers for various effects.
- Use two hands for larger projects.
- Add water to the paint for smoother blending.
- Experiment with textured paper for extra depth.
- Don’t rush—enjoy the process.
Many beginners miss the importance of drying time and workspace preparation. Taking time to set up your area and letting paint dry between layers can make your art look cleaner and more professional.
Finger Painting For Kids Vs. Adults
Finger painting is often seen as a children’s activity, but adults can enjoy and benefit from it too. Children use finger painting to learn about colors, shapes, and coordination. Adults use it to relax, explore creativity, and even as therapy.
| Feature | Kids | Adults |
|---|---|---|
| Purpose | Learning, fun | Relaxation, expression |
| Paint type | Non-toxic, washable | Acrylic, oil (safe) |
| Detail level | Simple shapes | Complex designs |
| Technique | Dabbing, swirling | Blending, layering |
Adults often overlook finger painting because they think it’s childish. However, many artists use finger techniques for unique textures and emotional effects. For inspiration, check out famous finger painting artist Iris Scott, who creates vibrant landscapes and animal portraits.

Credit: www.theturquoiseiris.com
Common Mistakes And How To Avoid Them
Finger painting is simple, but mistakes can happen:
- Using too much paint: This makes colors muddy and takes longer to dry. Use small amounts and build up slowly.
- Not letting layers dry: Wet layers can mix and ruin details. Allow each layer to dry before adding more.
- Ignoring workspace prep: Paint can stain surfaces. Cover your area before starting.
- Wrong paint type: Some paints aren’t safe for skin. Always use non-toxic or skin-safe paints.
- Skipping hand cleaning: Dirty fingers can blend unwanted colors. Clean your hands between colors.
Beginners often miss the importance of using the right paper. Thin paper may tear or warp. Always choose thicker paper or canvas for best results.
Advanced Finger Painting Ideas
If you feel confident, try these advanced ideas:
- Portraits with shading: Use your finger to add shadows and highlights for realistic faces.
- Large murals: Paint a big scene on canvas or wall, using both hands for faster coverage.
- Mixed media: Combine finger painting with other tools, like sponges or brushes, for extra texture.
- Storytelling art: Paint scenes that tell a story, like a journey or an event.
- 3D effects: Use thicker paint and layer it for raised surfaces.
Advanced projects require patience and planning. Try sketching your idea lightly before adding paint.
Finger Painting As Therapy
Finger painting is not only creative—it’s therapeutic. Many therapists use it to help people express emotions and improve mental health. The direct touch helps people connect with their feelings and reduces anxiety. According to the American Art Therapy Association, finger painting can increase relaxation and self-confidence.
This makes it useful for children, adults, and seniors.
Inspiring Examples From Famous Artists
Some artists have made finger painting their signature style. Iris Scott is well-known for her vibrant finger-painted animals and landscapes. Her technique shows how blending and layering paint with fingers can create rich textures and lively colors. Many other artists use finger painting for portraits, abstract art, and even large murals.
To see more examples and learn about finger painting history, visit Wikipedia.

Credit: b-inspiredmama.com
Frequently Asked Questions
What Type Of Paint Is Best For Finger Painting?
Use non-toxic, washable paint for safety and easy cleanup. For adults, acrylic paint works well, but always check if it’s safe for skin.
Can Finger Painting Improve Creativity?
Yes, finger painting helps you explore new techniques and encourages creative thinking. The tactile approach makes you focus on texture and shapes instead of perfect lines.
How Can I Avoid Making A Mess?
Prepare your workspace by covering surfaces, wearing old clothes, and keeping wet wipes handy. Clean hands between colors to prevent accidental blending.
Is Finger Painting Only For Kids?
No, finger painting is for all ages. Adults use it for stress relief, artistic expression, and therapy. Many professional artists use finger techniques in their work.
What Are Some Advanced Finger Painting Ideas?
Try portrait shading, large murals, mixing media, storytelling scenes, and 3D textures. Advanced ideas require patience and practice but can create impressive results.
Finger painting is a simple, joyful, and powerful way to create art. With your finger tips, you can explore endless ideas—from abstract swirls to detailed landscapes. Whether you paint alone or with friends and family, finger painting brings out creativity and connects you to your artwork in a special way.
Remember, there are no strict rules—just enjoy the colors, shapes, and textures you create with your hands.


