Are your plain plant pots looking a little dull? You don’t have to settle for boring containers when you can easily transform them into eye-catching pieces with just a bit of paint.
Imagine giving your plants a fresh new home that matches your style perfectly—whether it’s bright and bold or soft and subtle. In this guide, you’ll discover simple DIY ideas to paint your plant pots, step-by-step tips to get professional-looking results, and clever tricks to make your pots stand out.
Ready to add a splash of color and personality to your garden or indoor space? Keep reading and unlock your creativity with these easy painting ideas!
Choosing Paint Types
Choosing the right paint type is key to making your DIY plant pots look great and last long. Different pots need different paints. Using the wrong paint can cause peeling or fading. This guide helps you pick the best paint for your pots. Learn which paints work best for terracotta, plastic, and more.
Acrylic Vs Spray Paint
Acrylic paint is water-based and easy to use. It dries fast and comes in many colors. It works well for detailed designs and brushwork. Spray paint covers pots quickly and smoothly. It is good for large areas and even coats. Spray paint is often more durable outdoors. Acrylic paint is better for indoor pots or small projects.
Paints For Terracotta Pots
Terracotta pots are porous and need special paint. Acrylic paint sticks well and lets the pot breathe. Use outdoor acrylic paint for better weather resistance. Spray paint also works but may need a primer first. Always seal painted terracotta pots with a clear varnish. This protects the paint and keeps moisture out.
Paint Options For Plastic Pots
Plastic pots require paint that grips smooth surfaces. Choose spray paints made for plastic for best results. Some acrylic paints also work but need a primer. Clean plastic pots well before painting. A plastic primer helps paint last longer. Finish with a clear sealant to prevent chipping and fading.
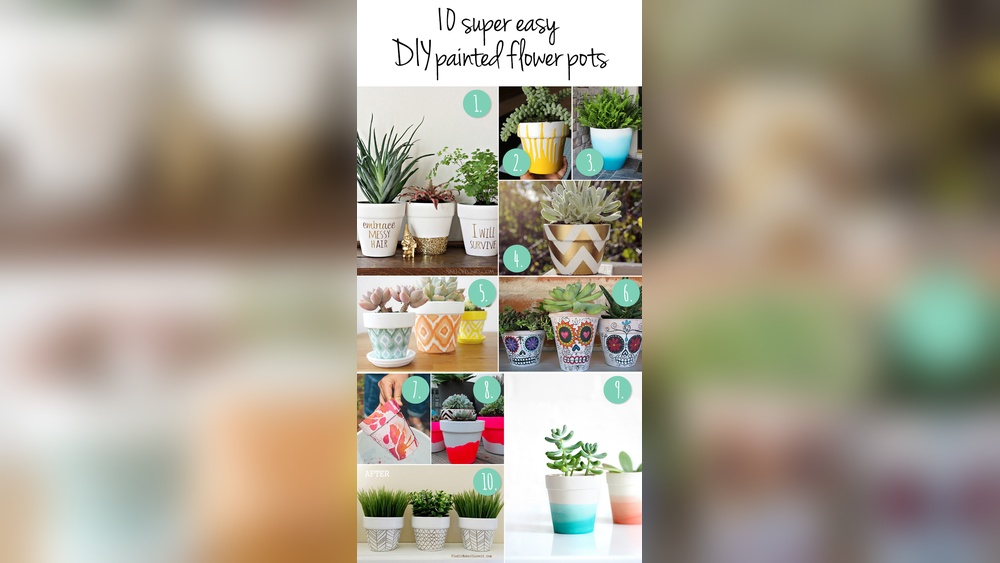
Credit: www.crazylaura.com
Preparing Pots For Painting
Preparing pots for painting is a key step in any DIY plant pot project. Proper preparation ensures your paint sticks well and lasts longer. It also helps prevent peeling and chipping, keeping your pots beautiful over time.
Start by giving your pots the right treatment before applying any paint. This part of the process is simple but important for a smooth finish. Follow these steps to get your pots ready for painting.
Cleaning And Drying
Begin by cleaning the pots thoroughly. Remove dirt, dust, and any old paint or residue. Use warm water and mild soap. Scrub gently with a brush or sponge. Rinse well to wash off soap. Let the pots dry completely. Drying can take a few hours. Paint will not stick properly on wet surfaces.
Sanding For Better Adhesion
Next, sand the pot surface lightly. Use fine-grit sandpaper for this step. Sanding creates a rough texture. This helps the paint grip the pot better. Focus on smooth or glossy pots. Terracotta pots may need less sanding. Wipe off dust with a dry cloth after sanding.
Priming The Surface
Apply a primer suitable for your pot material. Primer seals the surface and improves paint adhesion. Use a brush or spray primer in thin layers. Let the primer dry fully before painting. This step can prevent peeling and improve color vibrancy.
Creative Painting Techniques
Creative painting techniques can turn simple plant pots into charming decor pieces. These methods add personality and style to your pots. Explore different ways to paint and decorate your DIY plant pots. Each technique brings a unique look and texture. Experimenting helps find what suits your space best.
Base Coating Tips
Start with a smooth, even base coat for a clean look. Use acrylic paint for good coverage and durability. Apply thin layers to avoid drips and lumps. Let each layer dry completely before adding the next. A well-prepared base makes patterns and designs stand out better.
Using Stencils And Patterns
Stencils create precise shapes and repeat patterns easily. Choose simple designs for a neat finish. Secure the stencil firmly to avoid paint bleeding. Dab paint lightly with a sponge or stencil brush. Remove the stencil carefully while paint is still wet for sharp edges.
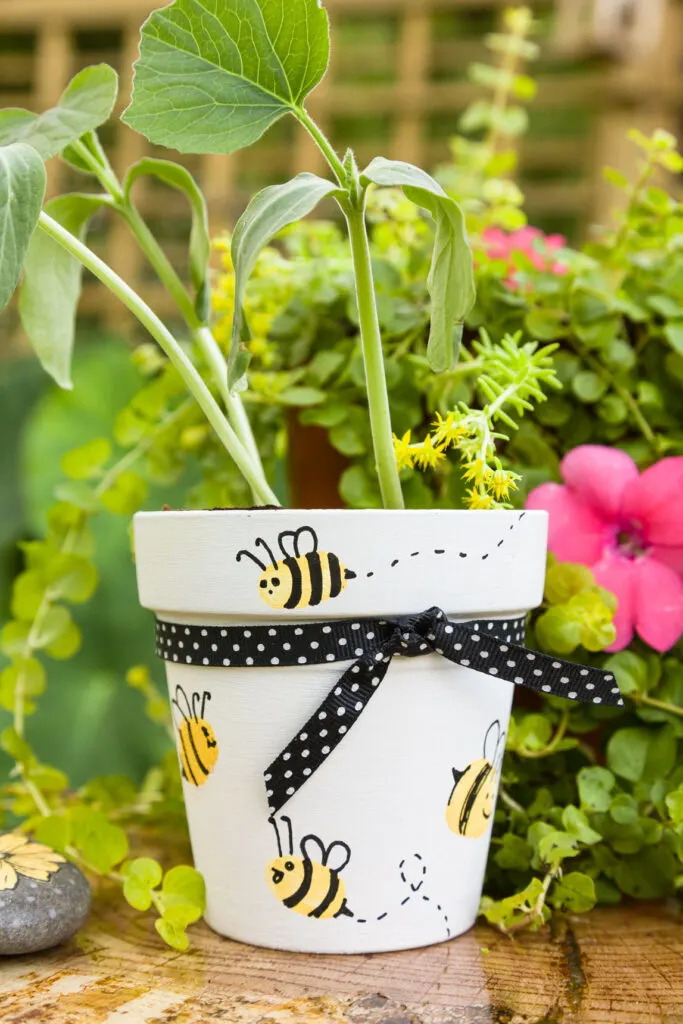
Freehand Designs
Freehand painting adds a personal touch to your pots. Use fine brushes for detailed work and bigger ones for bold strokes. Sketch your design lightly with a pencil first. Practice simple shapes like leaves, dots, or stripes. Freehand allows creativity to flow freely without limits.
Textured Finishes
Texture adds depth and interest to your plant pots. Mix sand or baking soda into your paint for a rough surface. Use sponges or palette knives to create patterns and raised effects. Layer different textures for a unique look. Textured finishes bring a natural, tactile feel to your pots.

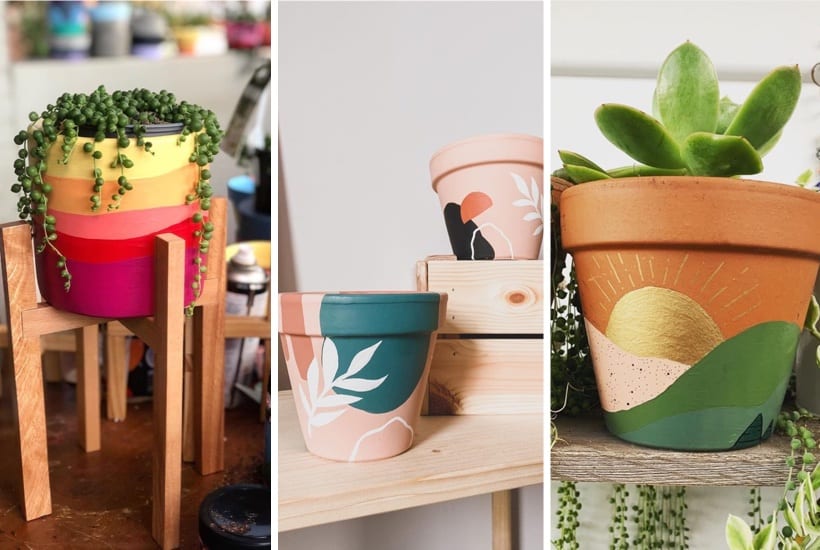
Credit: www.aprilbern.com
Color Choices And Effects
Choosing the right colors for your DIY plant pots shapes the whole look and feel of your garden or indoor space. Colors can change moods and highlight your plants beautifully. Each shade brings its own effect. Understanding these effects helps create a perfect vibe for your pots.
Calming Cool Tones
Cool colors like blue, green, and soft purples soothe the eyes. They create a peaceful and relaxing environment. These tones work well in quiet spaces or reading nooks. Cool colors also make plants appear fresher and more vibrant. Use these shades to build a calm, natural look in your garden.
Vibrant Warm Colors
Warm colors include red, orange, and yellow. They bring energy and brightness to your space. These colors can make your pots stand out and catch attention. Warm tones are perfect for lively patios or sunny windowsills. Use them to add warmth and a cheerful mood around your plants.
Combining Shades For Impact
Mixing cool and warm colors creates visual interest and balance. Try pairing soft blues with bright oranges for contrast. Using gradients or stripes can add depth and style. Experiment with color blocks to highlight your pot’s shape. Combining shades makes your DIY pots unique and eye-catching.
Sealing And Protecting Pots
Sealing and protecting your painted plant pots is key to keeping them beautiful for a long time. Paint alone can chip, fade, or wash away, especially outdoors. A good sealer adds a clear protective layer. It shields your design from water, sunlight, and dirt. This step helps your DIY project last through all seasons.
Types Of Sealers
Choose a sealer based on your pot material and location. Polyurethane sealers offer strong protection and a glossy finish. Acrylic sealers dry fast and work well for indoor pots. Spray sealers are easy to apply evenly. Some sealers are water-based, which are safer and less smelly. Oil-based sealers last longer but take more time to dry.
Applying Varnish Coats
Apply varnish in thin, even coats for best results. Use a soft brush or spray for smooth coverage. Let each coat dry completely before adding the next one. Two to three coats usually provide enough protection. Avoid thick layers to prevent cracking or bubbling. Pay extra attention to edges and rims for full coverage.
Maintaining Painted Pots Outdoors
Outdoor pots face rain, sun, and temperature changes. Clean your pots gently with a damp cloth to remove dust. Reapply a clear sealer every year or when you notice wear. Store pots in shaded or sheltered spots during harsh weather. Avoid standing water inside pots to prevent paint damage. Small touch-ups keep your pots fresh and vibrant.
Credit: kippiathome.com
Upcycling Old Pots
Upcycling old pots is a smart way to refresh your garden without buying new items. It saves money and helps the environment by reducing waste. Old pots can get a new life with simple paint and creativity. This section guides you through the process of preparing and reusing these pots.
Removing Old Paint
Start by cleaning the pot with soap and water. Use a scrub brush to remove dirt and loose paint. For stubborn paint, apply a paint remover suitable for the pot’s material. Let it sit for the time the product recommends.
Afterward, use a scraper or steel wool to peel off the old paint. Rinse the pot well and let it dry completely before painting. This step ensures your new paint will stick well and last longer.
Creative Repurposing Ideas
Think beyond just planting flowers. Old pots can become candle holders or storage containers. You can paint them with bright patterns or soft pastels to match your decor.
Try adding stencils or using tape to create stripes and shapes. Group several painted pots of different sizes for a colorful display. Use chalkboard paint on a pot to label the plants inside. These ideas make your garden more lively and unique.
Tools And Supplies Checklist
Gathering the right tools and supplies is key to a smooth DIY plant pot painting project. Having everything ready makes the process fun and stress-free. This checklist covers all the basics needed for painting your plant pots with great results.
Essential Brushes And Sponges
Choose brushes with soft, synthetic bristles for smooth paint application. A small round brush helps with details and edges. Flat brushes cover larger areas quickly. Sponges add texture and unique patterns to your pots. Use a makeup sponge or a natural sea sponge for varied effects.
Protective Gear
Wear gloves to keep your hands clean and safe from paint chemicals. An apron or old clothes protect your outfit from splashes. Use a mask if you work with spray paint to avoid inhaling fumes. Safety glasses can shield your eyes from accidental splatters.
Workspace Setup
Choose a well-ventilated area to paint your pots. Cover the surface with newspaper or a plastic sheet to catch spills. Set up a container of water for rinsing brushes. Keep paper towels nearby for quick cleanups. Arrange all your supplies within easy reach to stay organized.
Troubleshooting Common Issues
Painting your own plant pots is fun but can come with some challenges. Small mistakes might happen, but they are easy to fix. This section helps you solve common problems in pot painting. Keep your pots looking great with these simple tips.
Paint Peeling Solutions
Peeling paint often means the surface was not clean or dry. Wipe the pot with a damp cloth before painting. Use a primer for better paint grip. Let the primer dry fully.
If paint starts to peel, gently sand the area. Remove loose paint with a soft brush. Apply a new coat of paint and seal it with varnish. This keeps the paint from peeling again.
Dealing With Uneven Coverage
Uneven paint can make your pot look patchy. Thin paint can cause this issue. Always stir paint well before use. Apply thin layers instead of one thick coat.
Allow each layer to dry before adding the next. Use a good quality brush or sponge for smooth coverage. Light, even strokes help spread paint evenly over the surface.
Fixing Paint Drips
Drips happen when too much paint is applied at once. Avoid overloading your brush or roller. If drips appear, wipe them off immediately with a clean cloth.
For dried drips, sand the area lightly to smooth it. Paint over the sanded spot with a thin coat. Let it dry and add a second coat if needed. This keeps your pot looking neat and polished.
Frequently Asked Questions
What Is The Best Color To Paint Plant Pots?
The best color for plant pots depends on your style and space mood. Cool colors like blue and green create calmness. Bright colors such as red, orange, or yellow add energy and vibrancy. Choose colors that complement your plants and outdoor decor.
What Kind Of Paint Do You Use On Pots?
Use acrylic craft paint or spray paint for pots. Both adhere well, especially on terracotta, and offer vibrant, durable finishes. Seal painted pots with a clear varnish for protection and longevity.
What Is The Best Sealer For Painted Plant Pots?
The best sealer for painted plant pots is a clear acrylic or polyurethane varnish. It protects paint and resists water. Polyvine Extreme Varnish offers strong protection without altering colors. Apply one or two coats for durable, weatherproof results on various surfaces.
How To Paint Plastic Garden Pots?
Clean the plastic pot with soap and dry it. Lightly sand the surface for better paint adhesion. Apply a plastic primer evenly. Use acrylic or spray paint in thin coats. Finish with a clear sealer to protect the paint and enhance durability.
Conclusion
Painting your own plant pots adds charm to any space. Simple steps and basic supplies make it easy. Choose colors that match your style and mood. Remember to seal the paint for long-lasting beauty. Enjoy creating unique pots that brighten your home or garden.
Try different designs and have fun with the process. Your plants deserve pots as special as they are. Start your DIY painting project today and watch your space transform.