
PaintingProGuide is reader-supported. When you buy through links on this page we may earn an affiliate commission at no extra cost to you.
Oil paint gives beginners something no other medium does: time. It stays wet for hours, so you can push color around, blend soft edges and fix mistakes long after acrylic would have dried. That same slow drying is what confuses most new painters, because the order you apply layers matters. The best oil painting techniques for beginners are the ones that work with that drying time instead of fighting it: toning the canvas, a simple underpainting, blocking in big shapes, and following the fat over lean rule.
This guide explains the core techniques in the order you will actually use them, with what each one is for and how to practice it. At the end we compare six beginner-friendly oil painting technique books sold on Amazon, for readers who want a structured course on paper.
Quick answer: Learn these five first: tone the canvas with a thin mid-value wash, make a simple underpainting of darks and lights, block in large shapes before details, follow fat over lean (more oil in each later layer), and practice alla prima (wet-into-wet) on small panels. Then add glazing, scumbling and impasto. For a reference that shows dozens of techniques visually, The Encyclopedia of Oil Painting Techniques by Jeremy Galton is the most useful book here.
The Core Oil Painting Techniques for Beginners
1. Toning the canvas (imprimatura)
A pure white canvas makes every color look darker than it is and makes it hard to judge values. Brush a thin wash of a transparent earth color, such as burnt sienna or raw umber thinned with solvent, over the whole surface and wipe it back with a rag. You get a warm mid-tone that makes both darks and lights easier to judge, and small gaps of toned ground showing through later layers tie the painting together.
2. Underpainting
An underpainting is a simple, thin version of the painting in one or two colors. A brown monochrome version is often called a brunaille, a gray one a grisaille. The goal is to solve the drawing and the light-and-dark pattern before thinking about color. Keep it lean, meaning mostly pigment and solvent with little oil, so it dries quickly and stays underneath what follows.
3. Blocking in
Blocking in means covering the canvas with large, flat shapes of approximately the right color and value. Use a big brush and resist details. A painting that is correct in big shapes and slightly blurry looks better than one with perfect details on wrong shapes.
4. Fat over lean
This is the one rule that protects your paintings long term. Oil paint dries by oxidizing, and layers with more oil stay flexible longer. If you put a lean, fast-drying layer over a fat, slow-drying one, the top layer can crack. So begin lean (thin with solvent), and add a little more oil or medium in each later layer.
5. Alla prima (wet-on-wet)
Alla prima means finishing a painting in one session while everything is still wet. It is the best way for beginners to learn color mixing and brush handling, because you see results quickly. Work small, mix generous piles of paint, and place each stroke deliberately rather than scrubbing it in.
6. Wet-on-dry layering
The opposite approach: let each layer dry before the next. It gives more control and is how you build depth over several sessions. Our guide to layering techniques in oil painting covers drying times and layer planning in detail.
7. Blending
Because oils stay wet, you can blend two colors where they meet with a soft, clean brush. Blend sparingly: over-blending makes paintings look airbrushed and lifeless. Keep some edges sharp, especially near the focal point.
8. Glazing
A glaze is a thin, transparent layer of color mixed with medium, applied over a dry layer. It deepens shadows, shifts color temperature and creates a glow that opaque mixing cannot. Use transparent pigments such as alizarin crimson, ultramarine or burnt sienna.
9. Scumbling
Scumbling is the reverse of glazing: a thin, broken layer of lighter, opaque paint dragged over a dry darker area. It softens, adds atmosphere and suggests haze, mist or texture. It is ideal for skies and distant hills.
10. Impasto and palette knife work
Impasto is thick paint that holds the marks of the brush or knife. Use it in the lightest, most important areas, where texture catches real light. A palette knife lays paint in crisp, flat slabs and is excellent for highlights, rocks and abstract work.
11. Dry brush
Drag a brush with very little paint over a textured surface so the paint catches only the raised weave. It suggests grass, bark, sparkle on water and rough textures quickly.
12. Sgraffito
Scratch into wet paint with the end of a brush or a knife to reveal the layer beneath. It is a simple way to add fine lines like grass stems or hair.
Which Technique Solves Which Problem
When a painting is not working, the fix is usually one of these techniques. Colors look chalky or flat: glaze a transparent color over the dry area. A background feels too sharp and close: scumble a lighter, cooler haze over it. Highlights look dull: add a small touch of impasto so the paint itself catches light. Everything looks equally detailed: soften edges away from the focal point by blending, and keep the sharpest edges where you want the eye to land. The painting cracked or wrinkled: check fat over lean and drying times before the next attempt.
A Four-Week Practice Plan
- Week 1: Make value scales and color charts. Paint three simple objects in a monochrome brunaille.
- Week 2: Tone a panel, block in a simple still life, and finish it alla prima.
- Week 3: Paint a landscape on a toned panel, using scumbling in the sky and dry brush in the foreground.
- Week 4: Paint a two-session painting: underpainting and block-in first, glazes and highlights once dry.
For a guided, project-by-project version of this path, follow our step-by-step oil painting techniques for beginners. When you are ready for specific subjects, see oil painting techniques for portraits, or loosen up with abstract oil painting techniques for beginners.
Best Oil Painting Technique Books for Beginners
- The Encyclopedia of Oil Painting Techniques by Jeremy Galton — Best visual technique reference
- Oil Painting For The Absolute Beginner by Mark and Mary Willenbrink — Best complete beginner course
- The Oil Painting Course You’ve Always Wanted by Kathleen Lochen Staiger — Best guided lessons for structured learners
- Oils: Techniques and Tutorials for the Complete Beginner by Norman Long — Best budget step-by-step tutorials
- The Beginner’s Guide to Oil Painting by Craig Stephens — Best for learning through still life
- Artist’s Painting Techniques by DK — Best for comparing oils with watercolor and acrylic
| Product | Best For | Key Spec | Key Strength | Price Tier |
|---|---|---|---|---|
| Encyclopedia of Oil Painting Techniques | Looking up techniques | Visual directory with guidance | Breadth of techniques | $$ |
| Oil Painting For The Absolute Beginner | Starting from zero | Clear, easy guide | Complete beginner path | $$$ |
| The Oil Painting Course You’ve Always Wanted | Structured lessons | Guided lessons, beginner to experienced | Course format | $$ |
| Oils: Techniques and Tutorials | Budget learners | Techniques and tutorials | Affordable, step by step | $ |
| Beginner’s Guide to Oil Painting | Still life learners | Simple still life projects | Project-based | $$ |
| Artist’s Painting Techniques (DK) | Multi-medium beginners | Hardcover, watercolor, acrylic, oil | Broad overview | $$ |
How We Chose
The technique explanations above reflect standard oil painting practice. The book picks are based on their Amazon listing details, checked in October 2026, how directly each title serves beginners learning oil technique, and how widely each is reviewed by Amazon buyers. We describe each book by its stated scope rather than claiming to have worked through it.
- Beginner focus stated in the title or description.
- Technique coverage beyond a few projects.
- Format: visual directories, structured courses and tutorials.
- Price tier for learners on a budget.
Oil Painting Technique Books Reviewed
1. The Encyclopedia of Oil Painting Techniques by Jeremy Galton — Best for a visual technique reference
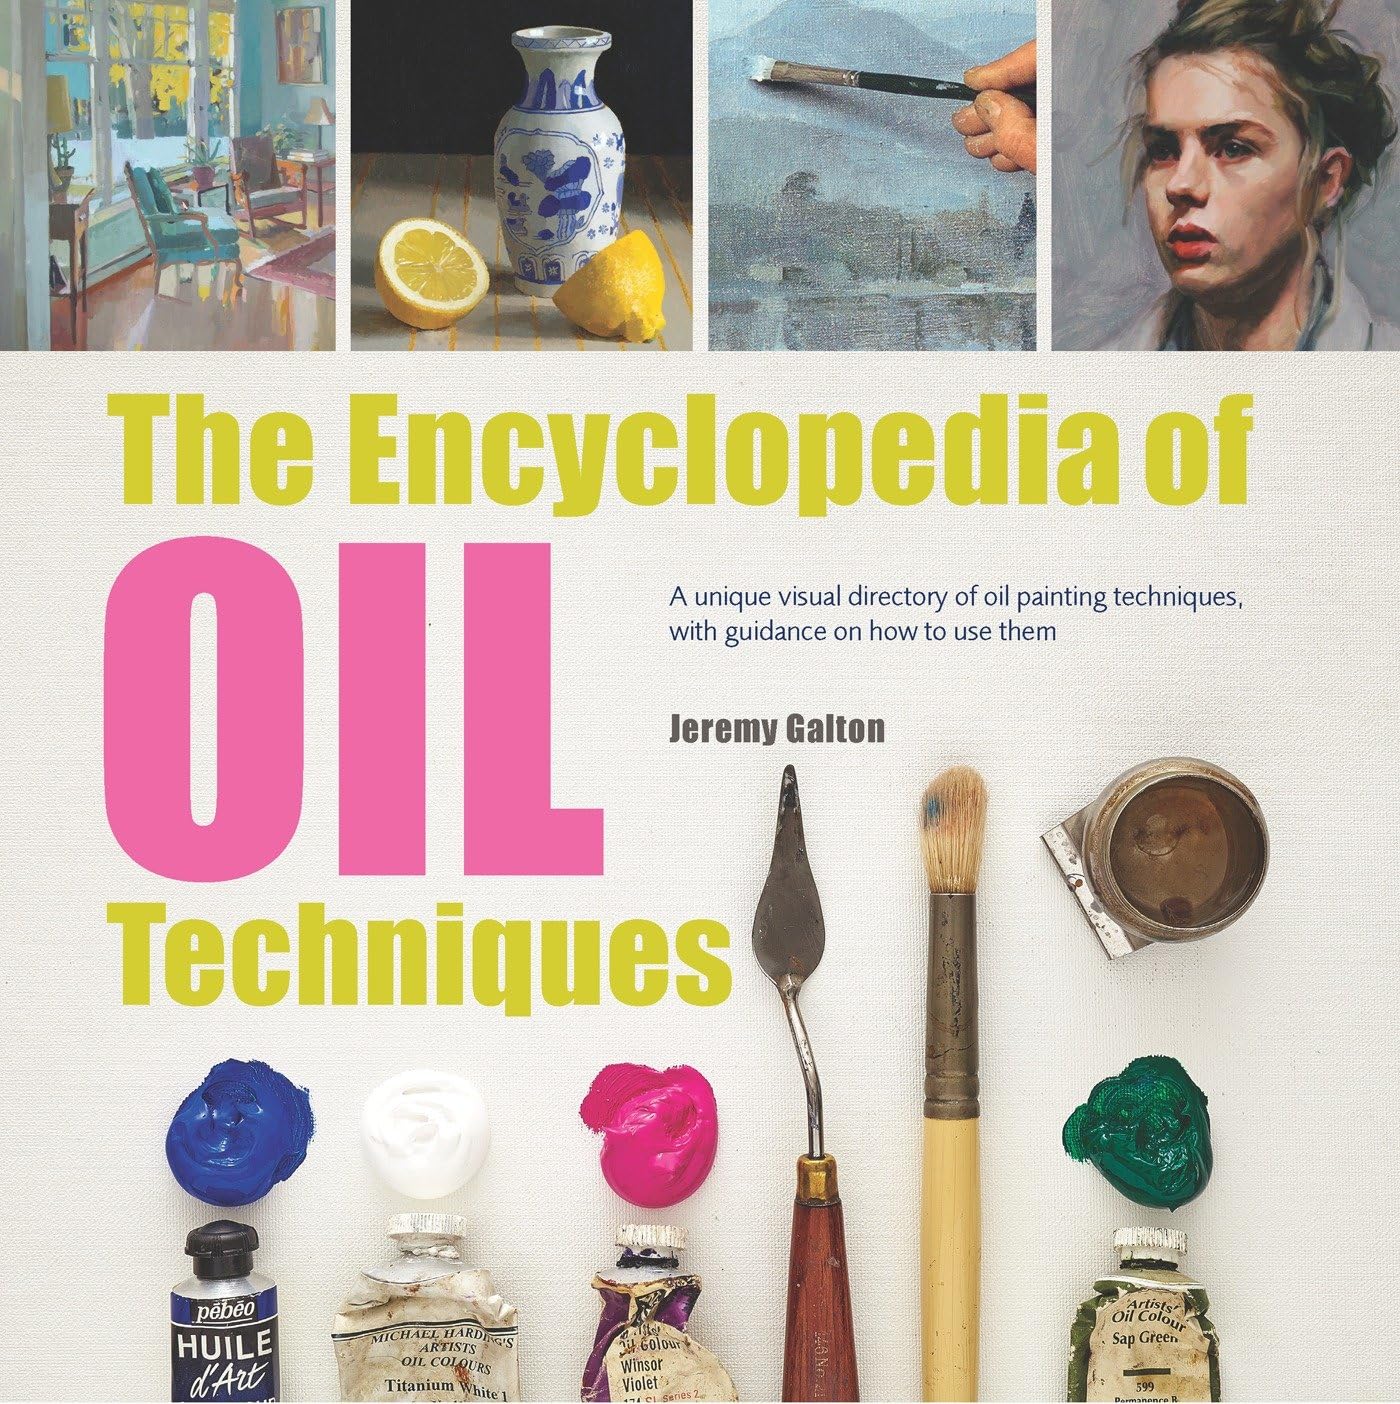
Its subtitle describes it as a unique visual directory of oil painting techniques with guidance on how to use them. That directory format fits the list above: when you want to try scumbling or sgraffito, you can look it up and see it rather than read a long chapter.
It is a reference to keep next to the easel and dip into, rather than a course to follow from page one.
Best suited for: Beginners who learn visually and want to look up specific techniques as they need them.
Key features:
- Visual directory of techniques
- Guidance on use
- Paperback
Pros:
- Broad technique coverage
- Easy to look up
- Good long-term reference
Cons and limitations:
- Not a step-by-step course
- Less hand-holding on materials
Buying consideration: Use it alongside a project-based book: the projects give you practice, the encyclopedia explains each technique you meet.
2. Oil Painting For The Absolute Beginner by Mark and Mary Willenbrink — Best for a complete beginner course

As the title promises, this is a clear and easy guide for people starting from zero. Books in this beginner series by the Willenbrinks typically walk through materials, basic techniques and simple projects in sequence.
Its price on the listing was in the premium tier when checked, so compare with the other options if budget matters.
Best suited for: True beginners who want one book that starts at the very beginning.
Key features:
- Absolute beginner focus
- Clear, easy guidance
- Paperback
Pros:
- Starts from zero
- Logical progression
- Covers basics thoroughly
Cons and limitations:
- Premium price tier at check
- May feel slow for confident beginners
Buying consideration: Check the listing for formats and editions, since prices can vary widely between them.
3. The Oil Painting Course You’ve Always Wanted by Kathleen Lochen Staiger — Best for structured guided lessons

Subtitled Guided Lessons for Beginners and Experienced Artists, this book is organized as a course. For learners who like to work through lessons in order and build skills step by step, that structure is valuable.
Best suited for: Learners who want a course format and plan to keep using the book as they progress.
Key features:
- Guided lessons
- Beginner to experienced
- Paperback
Pros:
- Structured progression
- Grows with you
- Mid price tier
Cons and limitations:
- Requires commitment to work through
- Less of a quick reference
Buying consideration: Set a regular schedule, such as one lesson a week, and repeat lessons that feel difficult.
4. Oils: Techniques and Tutorials for the Complete Beginner by Norman Long — Best for budget step-by-step tutorials

Part of the Art Techniques series, this paperback combines techniques with tutorials for complete beginners. It is the lowest-priced option here, which makes it an easy first book.
Best suited for: Budget-conscious beginners who want techniques plus guided tutorials.
Key features:
- Techniques and tutorials
- Complete beginner focus
- Paperback
Pros:
- Affordable
- Combines theory and practice
Cons and limitations:
- Less depth than larger guides
- Fewer advanced topics
Buying consideration: Pair it with a visual reference like the Galton encyclopedia as you progress.
5. The Beginner’s Guide to Oil Painting by Craig Stephens — Best for learning through still life

This guide teaches oil basics through simple still life projects. Still life is a forgiving subject for practicing techniques like underpainting, blocking in and alla prima, because the subject does not move and the light is controllable.
Best suited for: Beginners who prefer learning by completing projects.
Key features:
- Simple still life projects
- Basics of oil painting
- Paperback
Pros:
- Project-based
- Controllable subjects
- Affordable
Cons and limitations:
- Narrow subject focus
- Not a comprehensive technique directory
Buying consideration: Repeat each project with your own objects to apply the techniques independently.
6. Artist’s Painting Techniques by DK — Best for comparing mediums

This DK hardcover covers watercolors, acrylics and oils, with an emphasis on discovering your own style. It suits beginners who have not settled on a medium or who want to understand how oil techniques differ from water-based ones.
Best suited for: Beginners exploring several mediums, including oil.
Key features:
- Hardcover
- Watercolor, acrylic and oil
- Style development focus
Pros:
- Broad overview
- Helps choose a medium
- DK visual format
Cons and limitations:
- Less oil-specific depth
- Hardcover is heavier at the easel
Buying consideration: If you have already chosen oil, an oil-specific book will give more depth per page.
Buying Guide: Choosing How to Learn Oil Techniques
Reference or course
References let you look up techniques. Courses lead you through them in order. Many beginners benefit from one of each.
Project-based or concept-based
Projects build confidence quickly. Concepts like value, edges and color temperature build lasting skill.
Your subject interests
Choose books that use subjects you enjoy, whether still life, landscape or portraits. Motivation matters.
Materials guidance
Look for clear advice on solvents, mediums and safe studio practice, especially if you paint at home.
Budget
A single good book plus regular practice beats a shelf of unread guides.
Essential Supplies for Practicing These Techniques
You need surprisingly little: a few primed panels or canvas boards, a limited palette of six to eight colors plus white, three or four brushes (a large flat, a medium filbert, a small round), a palette knife, odorless solvent in a closed container, a simple medium, rags and a palette. Our guide on how to start oil painting as a beginner covers setup and safety, and the mastering oil painting techniques hub links deeper guides on each method.
Common Mistakes to Avoid
- Starting on a white canvas. Tone it first to judge values.
- Starting with details. Block in big shapes first.
- Breaking fat over lean. It can lead to cracking later.
- Using too little paint. Mix generous piles; skimpy paint leads to scrubbing.
- Over-blending. Keep some edges crisp.
- Dirty brushes and solvent. They muddy colors. Wipe brushes often.
FAQs
What is the easiest oil painting technique for beginners?
Alla prima on small panels is often the easiest way to start, because you finish in one session and learn mixing and brush handling quickly.
What does fat over lean mean?
Each layer of oil paint should contain a little more oil than the layer beneath it, so upper layers stay flexible and do not crack.
Should beginners do an underpainting?
Yes, a simple monochrome underpainting helps solve drawing and values before color.
Why tone a canvas before oil painting?
A mid-tone ground makes values easier to judge and unifies the painting.
What is the difference between glazing and scumbling?
Glazing is a thin, transparent layer over dry paint. Scumbling is a thin, broken, lighter, opaque layer over dry paint.
How long should I wait between oil layers?
For wet-on-dry work, wait until the layer is touch-dry. Thin layers with fast-drying earth colors can be ready in a day or two; thick paint takes longer.
Final Recommendation
Learn toning, underpainting, blocking in, fat over lean and alla prima first, then add glazing, scumbling and impasto. If you want a book, pick Galton’s Encyclopedia as a visual reference, and pair it with Oil Painting For The Absolute Beginner or The Oil Painting Course You’ve Always Wanted for a structured path. Norman Long’s Oils is the budget start, Craig Stephens suits project learners, and the DK guide helps if you are still choosing a medium.


One Comment