Painting is a wonderful way for kids to express creativity, and turtles make a fun, friendly subject. If you’re searching for an easy, step-by-step guide on how to paint a turtle for kids, you’re in the right place. Whether you are a parent, teacher, or just want to help a child try art, this guide will break down the process into simple steps.
You’ll learn what supplies you need, how to set up, and how to guide a child through painting a turtle, even if you have little art experience yourself. By the end, you’ll also pick up some tips that even beginners often miss.
Why Painting Turtles Is Great For Kids
Turtles are loved by children for their unique shapes and gentle look. Painting a turtle helps kids learn about colors, shapes, and even a bit about nature. Turtle art is simple enough for beginners but also gives room for imagination—kids can make the shell any color they want!
Painting also helps young children develop fine motor skills. Holding a paintbrush, mixing colors, and making lines are all valuable for hand-eye coordination and control. Plus, kids feel proud when they finish their own artwork.
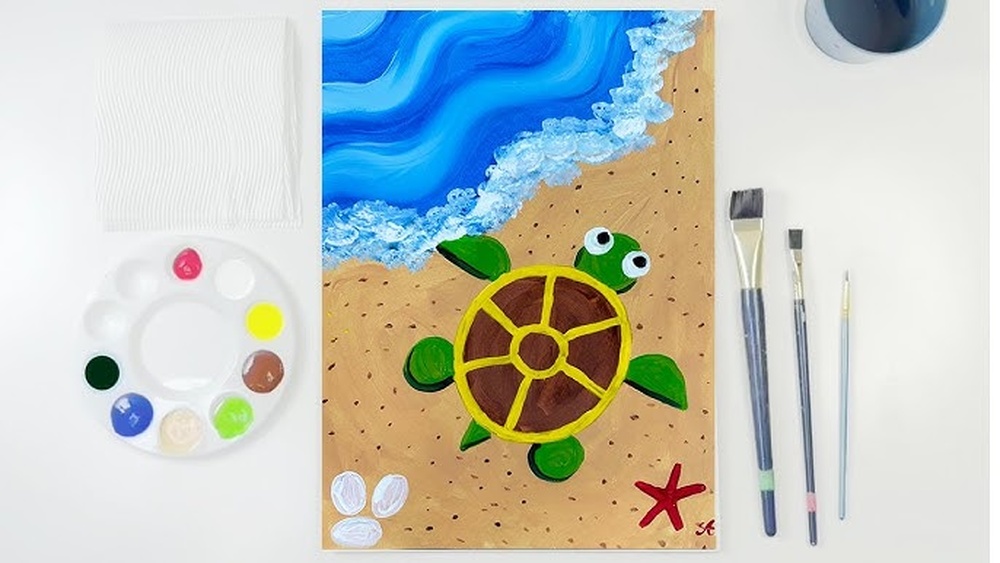
What You Need: Turtle Painting Supplies
Before you start, gather everything you need. Having all supplies ready makes the painting process smooth and fun.
| Item | Why It’s Needed | Tips for Kids |
|---|---|---|
| Paper or Canvas | Painting surface | Use thick paper to avoid wrinkles |
| Paints (Acrylic or Watercolor) | Main colors for painting | Acrylic is easier for bright colors |
| Brushes (Small and Medium) | For details and filling shapes | Round brushes are best for kids |
| Water Cup | Cleaning brushes | Use a plastic cup for safety |
| Palette or Plate | Mixing paints | Paper plates work too |
| Paper Towels | Wiping brushes and spills | Keep several close by |
| Pencil and Eraser | Sketching the turtle | Light lines are easier to cover |
| Apron or Old Shirt | Protect clothes | Art can get messy! |
Extra tip: If you want to add more fun, you can use colored markers or crayons to add details after painting.
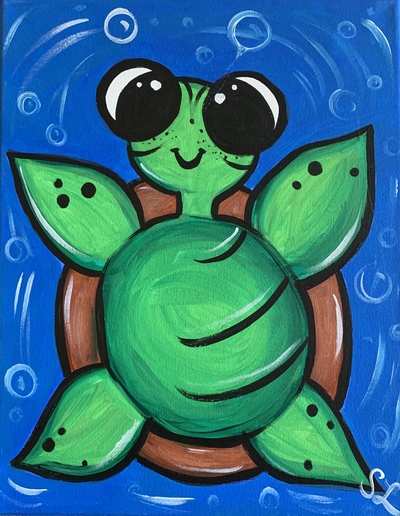
Credit: www.songbirdsmusicartdancecenter.com
Preparing Your Painting Space
A good setup helps kids focus on painting and keeps things tidy. Choose a table with enough space for all supplies. Cover the table with old newspaper or a plastic tablecloth. Put all the supplies within easy reach. Good lighting helps kids see their colors and shapes clearly.
Let the child wear an apron or old shirt. Remind them to roll up sleeves and tie back long hair. Keep a trash can or bag nearby for used towels or paper. Put a cup of water for rinsing brushes away from the edge of the table to avoid spills.
Step-by-step Guide: How To Paint A Turtle For Kids
Now, let’s get into the fun part! Here’s a simple, clear process that works for kids aged 4 and up.
1. Sketch The Turtle Shape
Start by drawing a simple turtle with a pencil. Don’t worry about perfect lines. Show your child how to draw:
- Oval for the shell (the main body)
- Small circle for the head (attached to one end of the oval)
- Four small ovals for the legs (two on each side)
- Triangle for the tail (opposite the head)
Keep the shapes big and clear. If the child makes a mistake, just erase and try again. For very young kids, you can draw the outline and let them paint.
2. Pick And Mix Paint Colors
Let the child choose turtle colors. Most turtles are green or brown, but kids can make theirs any color—rainbow shells look great! Pour small amounts of paint onto the palette.
Show the child how to mix colors for new shades. For example, mixing yellow and blue makes green. This part teaches color blending and gives the child more control.
3. Paint The Turtle Shell
Start with the largest area—the shell. Use a medium brush. Dip the brush in water, then in paint. Remind the child to paint in one direction for smooth color. It’s okay if the color goes outside the lines; art does not have to be perfect.
If you want a multi-color shell, paint sections with different colors. To make the shell look round, use a little darker color at the edges and lighter in the middle.
4. Paint The Turtle’s Body
Use a smaller brush to paint the head, legs, and tail. These are usually green or brown, but any color works. Show how to rinse the brush between colors to avoid muddy paint.
Let the first layer dry for a few minutes. If needed, add a second coat for brighter color.
5. Add Details To The Shell
Once the shell is dry, use a small brush or a black marker to draw lines on the shell. Most turtle shells have a pattern of hexagons or lines. Kids can copy this or invent their own designs—spots, stripes, or even tiny hearts.
Here’s a quick comparison of common shell patterns:
| Pattern Style | How to Paint | Difficulty |
|---|---|---|
| Hexagons | Draw six-sided shapes | Medium |
| Lines | Draw curved lines across shell | Easy |
| Spots | Dot the shell with a brush | Very Easy |
| Stripes | Paint lines from edge to edge | Easy |
Let kids choose the pattern that looks fun to them.
6. Add The Turtle’s Face
With a small brush or marker, add eyes and a smile to the turtle’s head. Big, cartoon eyes make the turtle look friendly. You can also add tiny dots for nostrils. Remind kids to wait until the paint is dry before using markers.
7. Decorate The Background
A simple background makes the turtle stand out. Use blue for water, green for grass, or yellow for sand. Kids can also add plants, rocks, or even little fish near the turtle. Use a larger brush to fill in the background quickly.
8. Let The Painting Dry
Let the finished painting dry flat for at least 20–30 minutes. This avoids smudges if kids want to hang up their art or add more details later.
9. Show Off The Finished Turtle
Once dry, display the artwork. Hang it on the wall, put it on the fridge, or take a photo to share with family. This step builds confidence and pride in a child’s creative work.
Practical Tips For Success
Painting with kids is about having fun, not making perfect art. Here are some tips to make your turtle painting session easy and enjoyable:
- Limit paint colors for younger kids to avoid confusion and mess.
- Use washable paints to make clean-up easy.
- Praise effort, not just the result. Celebrate creativity!
- Break the project into steps if kids lose focus. Take breaks between steps if needed.
- Let kids make choices about colors and patterns. This builds independence.
- Keep extra paper nearby for testing colors or starting over.
- Model patience—mistakes are part of learning.
- Involve everyone: Painting together is more fun than watching.
Common Mistakes And How To Avoid Them
Even with a simple project like a turtle, some mistakes are easy to make. Here’s how to spot and fix them:
- Too much water: Paint becomes runny and colors mix by accident. Use just a little water for acrylics.
- Rushing the drying: If kids paint over wet areas, colors can mix into a muddy brown. Wait for layers to dry.
- Pressing too hard: Brushes can break or leave streaks. Show how to use gentle strokes.
- Using too much paint: Thick paint can take a long time to dry. Start with a little and add more if needed.
- Forget to clean brushes: Leftover paint dries and ruins brushes. Rinse between colors and at the end.
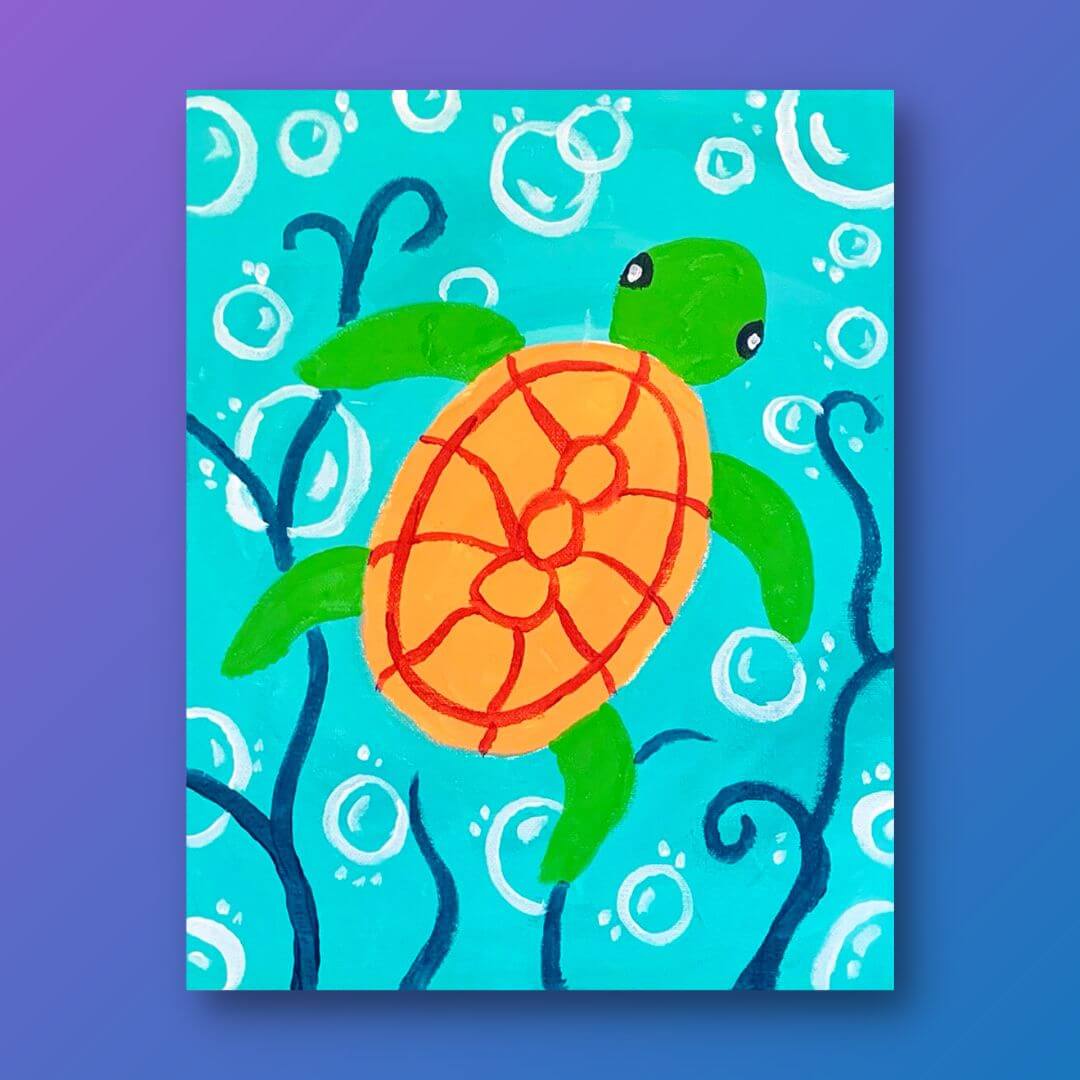
Credit: www.paintingtogogh.com
Creative Variations For Turtle Painting
If you want to keep the activity fresh, try these creative twists:
- Salt Texture: Sprinkle a little salt on wet watercolor for a cool shell texture.
- Glitter Shell: Add glue and sprinkle glitter for a sparkly turtle.
- Collage Turtle: Cut colored paper for the shell pieces and glue them on.
- Nature Turtle: Glue on leaves or small pebbles for a 3D shell.
- Cartoon Turtle: Give your turtle sunglasses, a hat, or a speech bubble.
These ideas help kids think outside the box and try new things.
Choosing The Right Paint For Kids
Picking the right paint makes a big difference in the painting experience. Here’s a quick look at common options:
| Paint Type | Pros | Cons |
|---|---|---|
| Acrylic | Bright colors, dries fast, easy to use | Can stain clothes if not washed quickly |
| Watercolor | Easy to clean, soft colors, good for blending | Paper can wrinkle, colors are lighter |
| Tempera | Washable, safe for young kids | Less vibrant, can flake off paper |
For most kids, acrylic paint is the best choice for turtle painting because it’s easy to use and gives bright results. Always check paint labels for age recommendations and safety.
Non-obvious Insights Beginners Miss
Many guides stop at the basics, but here are two tips many parents and teachers overlook:
- Start with a light pencil sketch. Dark lines can show through the paint, making the turtle look messy. Show kids how to use gentle pressure with the pencil.
- Layer colors for more depth. Most kids paint in one flat color. Show how to add a little white or yellow to parts of the shell to make it look round and interesting.
Also, always encourage kids to clean up with you. This builds responsibility and shows that art is not just about creating, but also about taking care of your space.
Where To Find Turtle Art Examples
If you need more inspiration, check out children’s art books or search online for “turtle painting for kids.” Websites like National Geographic offer real turtle photos, which can help kids see different shell patterns and colors.

Credit: www.paintingtogogh.com
Frequently Asked Questions
How Old Should A Child Be To Paint A Turtle?
Most children age 4 and up can paint a simple turtle with help. Younger kids may need you to draw the outline for them. Older kids can try more complex patterns and color mixing.
What Kind Of Paint Is Safest For Kids?
Washable acrylic or tempera paint is safest for young children. Check that the label says “non-toxic.” Always supervise kids, especially with younger ages.
How Do I Help My Child If They Get Frustrated?
Stay calm and positive. Remind them that art is about having fun, not making perfect pictures. If a mistake happens, show how to fix it or start a new one. Praise their effort.
Can I Use This Turtle Painting Idea For A Classroom Activity?
Yes! Turtle painting is perfect for classrooms. Set up supplies in advance, break the process into steps, and encourage creativity. It’s also a good tie-in for lessons about animals or the environment.
How Do I Clean Up After Painting?
Use paper towels for spills and rinse brushes with warm water. Wash hands with soap. If paint gets on clothes, rinse as soon as possible. Cover tables to make cleaning faster.
Painting a turtle is more than just a fun project—it’s a chance to build skills, confidence, and happy memories. With clear steps, the right supplies, and a bit of patience, any child can create a colorful turtle painting to be proud of.