
Are you looking for a simple and creative way to add charm to your garden? Painting DIY rocks is a fun and easy project that can brighten up your outdoor space instantly.
Whether you want colorful garden markers, cute decorations, or personalized art pieces, painting rocks lets you bring your ideas to life with just a few supplies. In this guide, you’ll discover step-by-step how to prepare, paint, and protect your rocks so they stay beautiful season after season.
Ready to transform your garden with your own unique touch? Let’s dive in and make your rocks stand out!
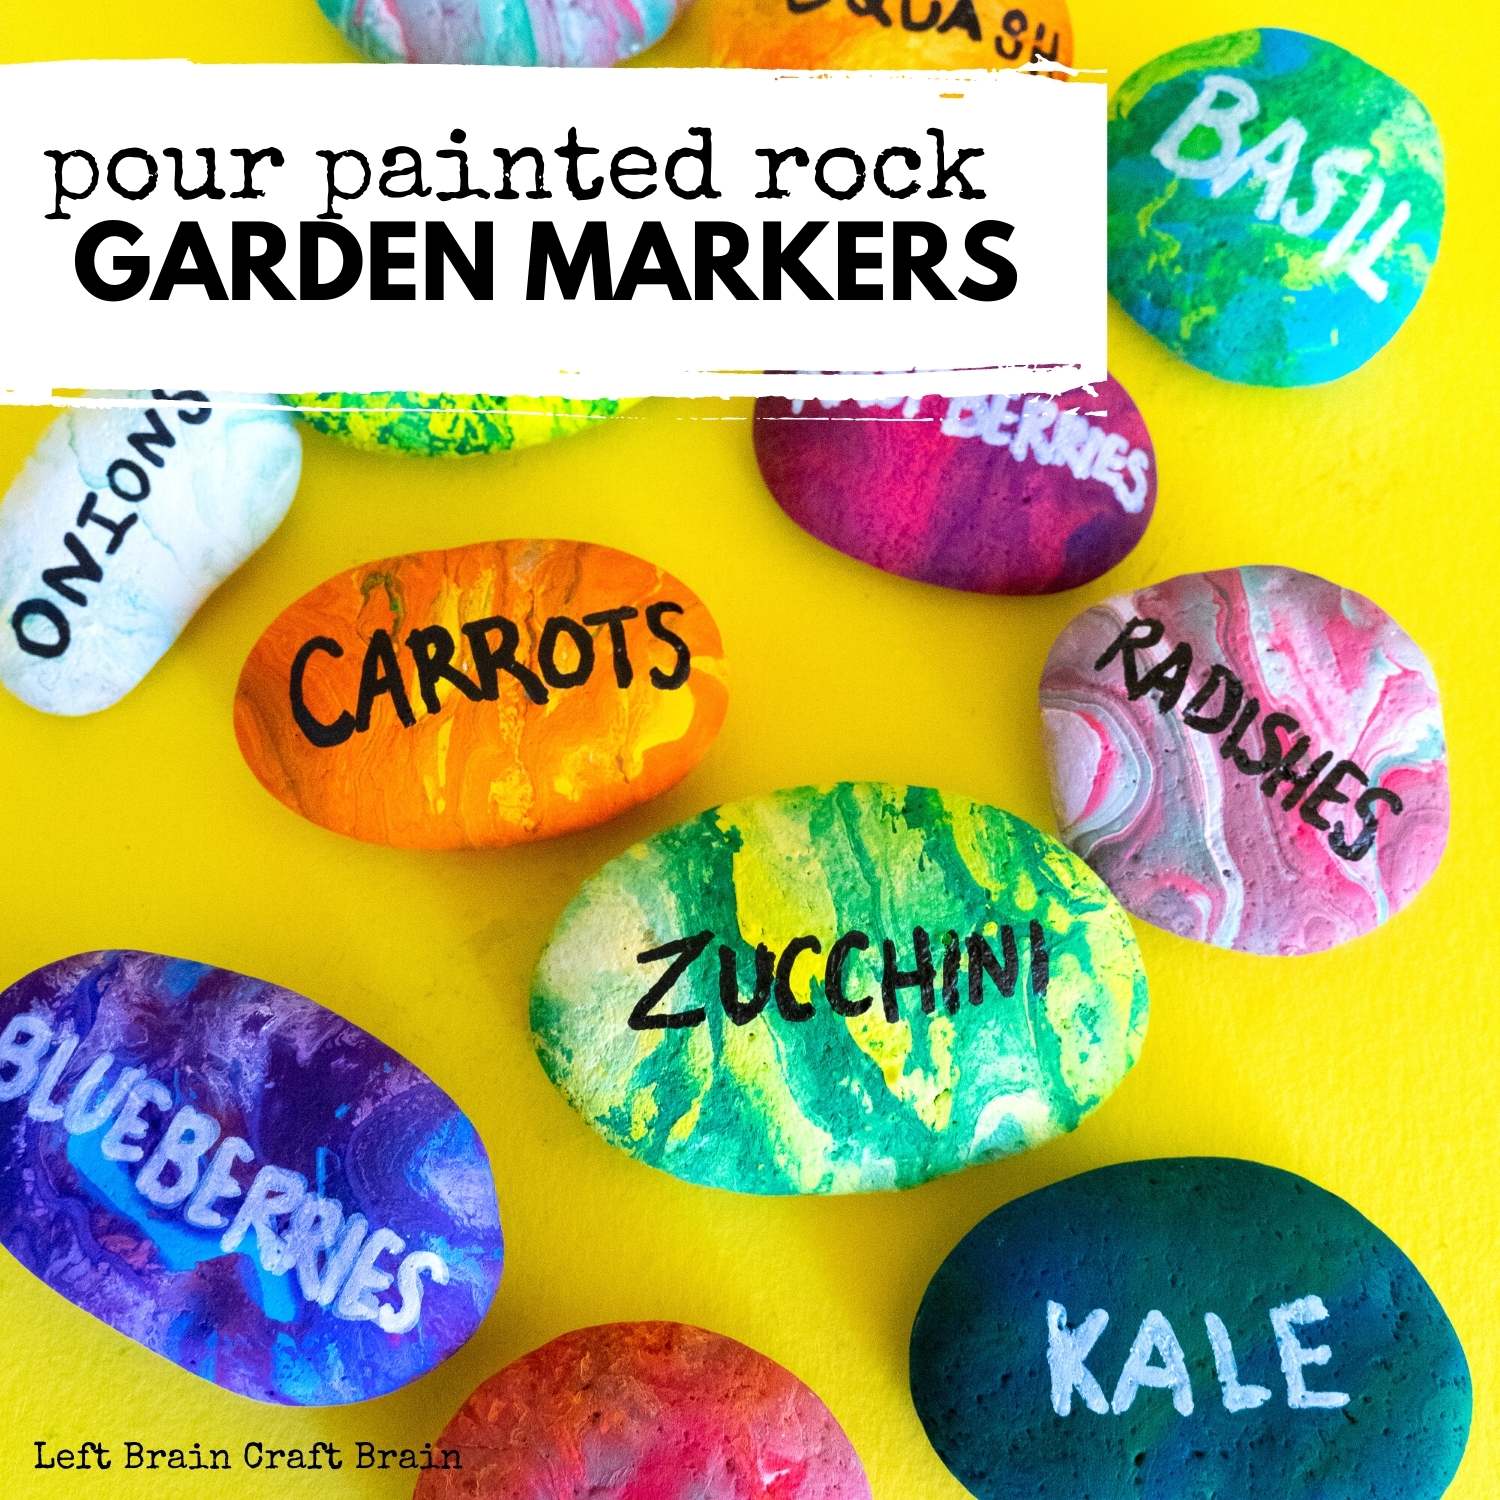
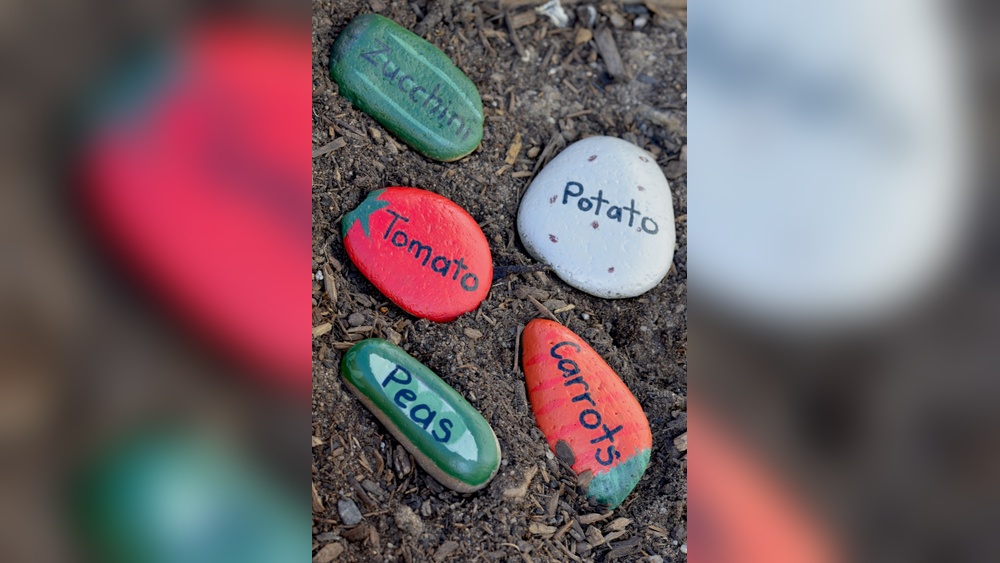
Credit: leftbraincraftbrain.com
Choosing Rocks For Painting
Choosing the right rocks is the first step in creating beautiful painted garden stones. The rock you pick can affect how well the paint sticks and how your design looks. Some rocks are better for painting because of their texture and shape. Knowing where to find good rocks and what size or shape to pick helps you get started easily.
Best Rock Types
Smooth rocks are easier to paint on. River rocks and beach pebbles have smooth surfaces. Flat stones hold paint well and show your design clearly. Avoid rocks with rough or crumbly surfaces. Granite, slate, and sandstone work well for painting. These rocks provide a good base and keep the paint from chipping.
Where To Find Suitable Rocks
Look for rocks in natural places like riverbeds, parks, and beaches. Garden centers and craft stores often sell painting-friendly stones. Collect rocks from areas where it is allowed and safe. Washed rocks from home improvement stores are also a good choice. Choose clean rocks without dirt or moss for better paint adhesion.
Selecting Size And Shape
Pick rocks that fit your design idea. Small rocks work well for simple patterns or dots. Larger rocks give more space for detailed artwork. Flat or slightly curved rocks provide a good painting surface. Odd shapes can add fun and character but may be harder to paint. Balance size and shape with the complexity of your design.
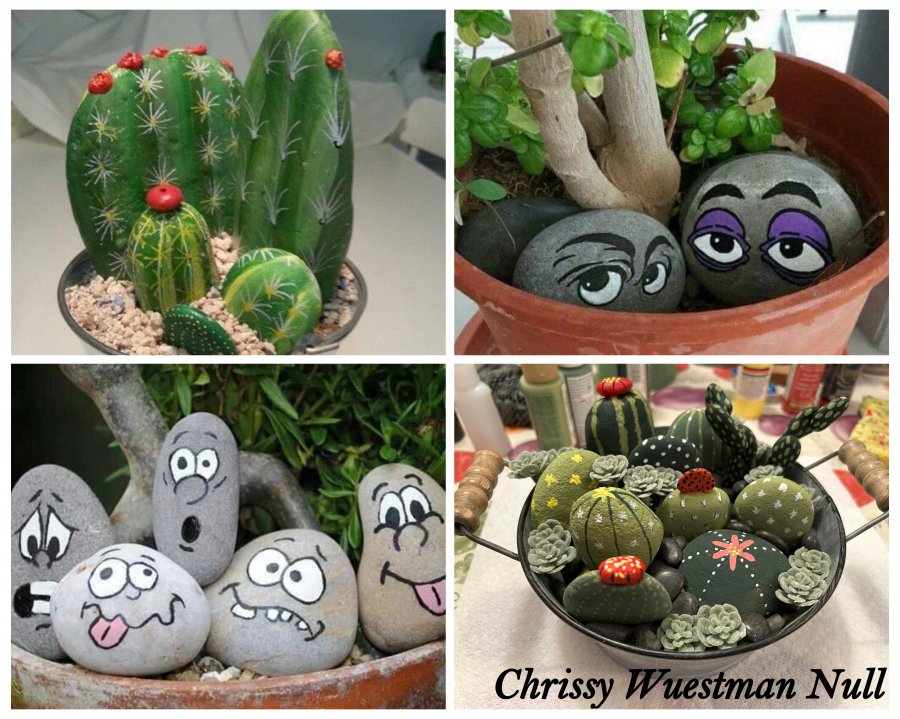
Credit: fb-rocks.com
Preparing Rocks
Preparing rocks is the first step in creating beautiful garden art. Clean, dry, and smooth rocks hold paint better and last longer outdoors. Taking time to prepare your rocks helps your DIY painted garden rocks look professional and vibrant.
Cleaning Techniques
Start by washing the rocks with warm water and dish soap. Use a scrub brush or an old toothbrush to remove dirt and grime. For porous rocks, gentle scrubbing prevents damage. Rinse thoroughly to remove soap residue. Clean rocks give paint a strong surface to stick to.
Drying Methods
After cleaning, dry the rocks with a paper towel. Let them air dry completely in a warm, dry place. Avoid painting on damp rocks because moisture stops paint from adhering properly. Dry rocks ensure your paint will not peel or bubble later.
Sanding And Smoothing
Use fine sandpaper to smooth rough edges or surfaces. This step helps paint apply evenly and prevents chipping. Sanding also removes any leftover dirt or loose particles. Smooth rocks create a neat canvas for your garden designs.
Picking Paints And Tools
Painting designs on garden rocks brings life and color to your outdoor space. Choosing the right design makes your rocks stand out beautifully. Designs can be simple or detailed, depending on your skill and time. Experimenting with different patterns helps you find what fits your garden style best.
Simple Patterns For Beginners
Start with easy shapes like dots, stripes, or zigzags. These patterns need no special tools and look charming. Use bright colors to make the rocks pop in your garden. Simple designs build your confidence and prepare you for complex art.
Floral And Nature Themes
Flowers, leaves, and butterflies fit perfectly in garden rock art. Paint petals with soft colors and add tiny dots for details. Use green shades for leaves and stems. Nature themes blend well with plants and create a peaceful look.
Abstract And Geometric Ideas
Try triangles, circles, or random shapes in bold colors. Abstract art allows freedom and creativity. Mix and match colors without worrying about rules. Geometric designs give a modern and stylish touch to your garden rocks.
Using Stencils And Tape
Stencils help create neat shapes and letters easily. Tape guides your painting lines for clean edges. Both tools save time and reduce mistakes. Use them to add patterns like stars, hearts, or words to your rocks.
Base Coating Rocks
Sealing painted rocks is a key step in your DIY garden project. It protects your artwork from weather and wear. A good sealant keeps colors bright and prevents paint from chipping. Without sealing, your rocks may fade or peel quickly outdoors.
Choosing the right sealant depends on the look you want and where you place your rocks. Some sealants offer a shiny finish, while others are matte. Understanding the types of sealers helps you pick the best one for your garden stones.
Choosing The Right Sealant
Select a sealant designed for outdoor use if your rocks stay outside. Acrylic sealants work well for painted rocks. They dry clear and protect against water and sun damage. Water-based sealants are easy to apply and clean up. Avoid sealants with yellow tint to keep colors true.
Spray Vs Brush-on Sealers
Spray sealants cover rocks quickly and evenly. They are ideal for small or oddly shaped stones. Brush-on sealers allow more control over coverage. Use a soft brush to avoid disturbing the paint. Both types protect well, so choose based on your comfort and project size.
Protecting Rocks For Outdoors
Outdoor rocks face rain, sun, and dirt. Seal them with at least two coats for strong protection. Let each coat dry fully before adding another. Place rocks in shaded areas to reduce sun fading. Check sealant yearly and reapply if the finish wears off.

Credit: www.momendeavors.com
Frequently Asked Questions
What Kind Of Paint Will Stick To Rocks?
Acrylic paint sticks best to rocks due to its durability and adhesion. Clean and dry rocks before painting for optimal results.
How To Paint Rocks For A Garden?
Clean rocks thoroughly and dry completely. Apply a base coat of acrylic paint. Paint your design and let it dry. Seal with a clear outdoor varnish to protect. Place decorated rocks in your garden for lasting charm.
What Do You Put On Rocks Before Painting?
Clean rocks with soap and water to remove dirt and oils. Dry completely before painting. Apply a base coat of acrylic paint.
How Do I Seal Painted Rocks For Outdoor Use?
Clean and dry rocks thoroughly. Apply acrylic paint and let it dry. Seal with outdoor clear spray varnish for protection. Reapply yearly.
Conclusion
Painting DIY rocks for your garden adds color and charm easily. Start with clean, dry rocks for best paint adhesion. Use acrylic paint and seal your art to protect it outdoors. Experiment with designs that fit your garden style. This simple project brings joy and brightens any space.
Enjoy creating unique decorations with just a few supplies. Your garden will look lively and inviting all year round. Keep practicing to improve your rock-painting skills step by step.


