
Painting rocks is a simple and joyful activity for kids. It does not require expensive materials, and you can do it indoors or outdoors. With just a few rocks, some paints, and a little imagination, children can create colorful art pieces, gifts, or decorations for the garden.
In this guide, you’ll discover how to paint rocks with kids, step-by-step, and find easy ideas that spark creativity. You’ll also learn tips for choosing the right materials, keeping things mess-free, and making the experience fun for all ages.
Why Paint Rocks With Kids?
Painting rocks is more than just a fun craft. It helps children develop fine motor skills, encourages self-expression, and offers a calm, screen-free activity. Many parents and teachers use rock painting to teach patience and focus because each step—from washing the rock to adding the final details—takes time and care. Plus, finished rocks can become unique story stones, game pieces, or cheerful gifts.
Getting Started: What You Need
Before you begin, gather some basic materials. Here’s what you should have on hand:
- Smooth rocks (washed and dried)
- Acrylic paints (or paint pens for easy details)
- Small brushes
- Cups of water (for washing brushes)
- Paper towels (for cleaning up)
- Aprons or old shirts (to protect clothes)
- Non-toxic sealant (to protect the finished design)
You don’t need fancy art supplies. Even a set of basic paints will work for most projects.
Choosing The Right Rocks
Look for smooth, flat stones. River rocks or beach stones are perfect because their surface is easy to paint. Avoid rough, chalky, or crumbly stones, as paint won’t stick well.
Safe Paints For Kids
Always use non-toxic acrylic paints. These are bright, dry quickly, and are safe for children. For younger kids, washable tempera paints work too, but the colors may fade faster.
Preparing Rocks For Painting
Proper prep makes a big difference in how your finished rocks look.
- Wash the rocks with warm water and a bit of soap. Remove any dirt or sand.
- Dry completely. Paint sticks best to dry surfaces.
- For extra smoothness, you can lightly sand rough spots, but this is optional.
- If you want, paint a white base coat on each rock. This helps the colors look brighter, especially on dark stones.
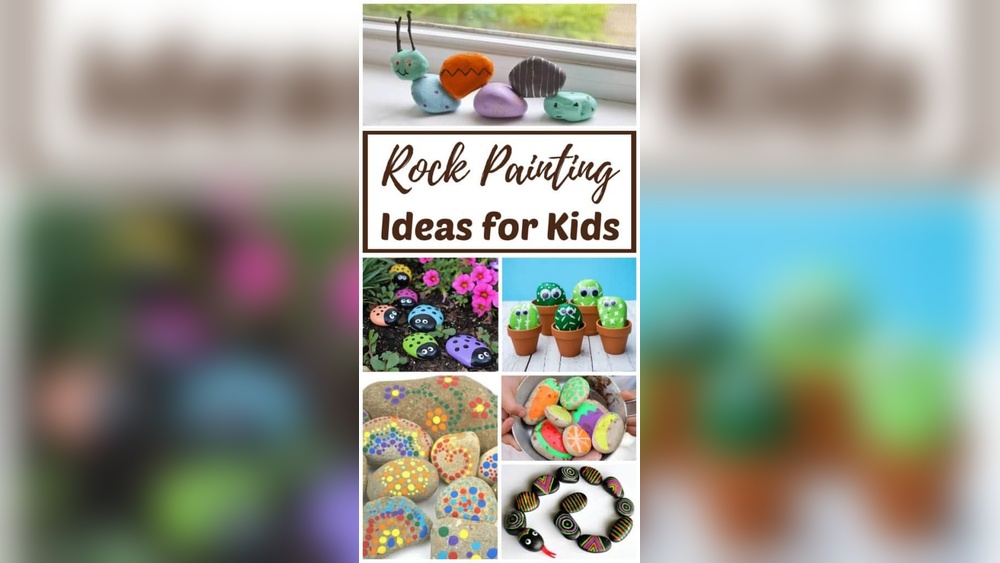
Easy Rock Painting Ideas For Kids
Kids love variety. Here are some easy and popular ideas that work for all ages:
1. Smiley Faces
Use yellow paint for the base, then add black eyes and a smile. These cheerful rocks are quick and make great gifts.
2. Ladybugs
Paint the rock red, add a black head, and use black dots for spots. A white dot inside each eye gives a lively look.
3. Animals
Try cats, dogs, or owls. Start with a solid color, then add simple features: triangles for ears, dots for eyes, a line for the mouth.
4. Rainbow Rocks
Paint stripes in bright colors. Rainbows are forgiving, and every one looks unique.
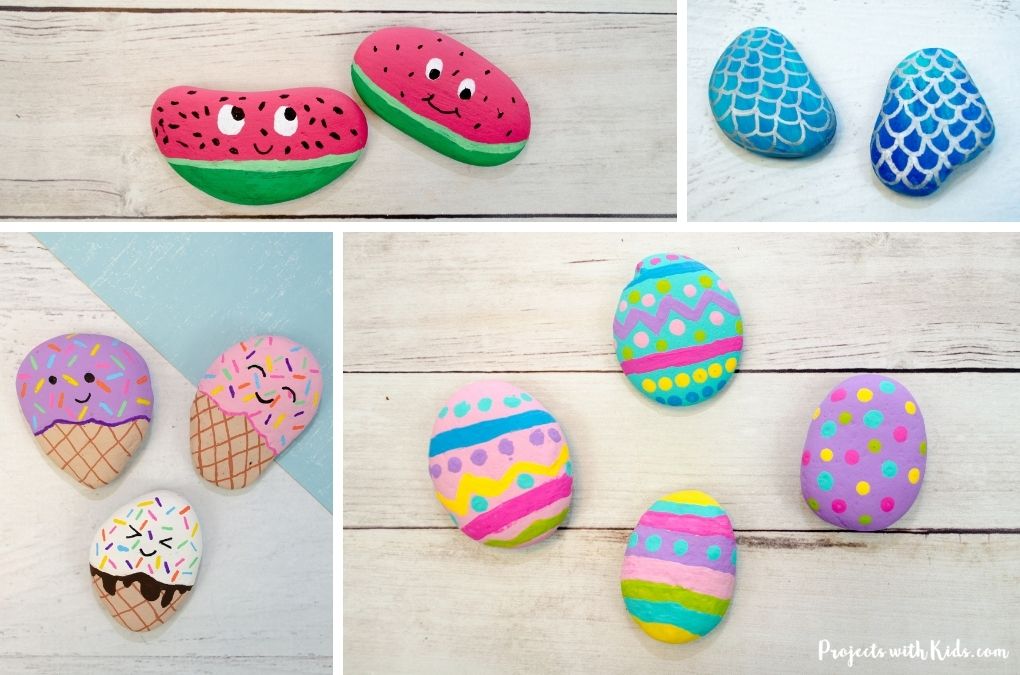
5. Fruit Slices
Paint the rock like a slice of watermelon (red center, green rind, black seeds), lemon (yellow with white lines), or kiwi (green with black seeds).
6. Monsters
Let kids use their imagination! Use wild colors, add silly eyes, and paint zigzag mouths. Monsters can be any color or shape.
7. Bugs And Insects
Paint bees, butterflies, or caterpillars. Use black and yellow for bees, or bright patterns for butterflies.
8. Flowers
Simple daisy or tulip shapes are easy. Start with a circle for the center, then add colorful petals.
9. Nature Scenes
Try a blue sky, green grass, and a simple sun. These are relaxing and let kids use their favorite colors.
10. Emojis
Paint classic emoji faces—heart eyes, sunglasses, or silly winks. These are familiar and fun to copy.
11. Space Rocks
Use a black or dark blue base, then add stars, a planet, or a rocket. Flick white paint with a toothbrush for a starry effect.
12. Animals In Costumes
Paint a bear with a superhero cape or a cat in a wizard hat. Kids love mixing ideas.
13. Simple Words
Write short words like “Love,” “Joy,” or “Hope” in big, bold letters. Outline with white or black for contrast.
14. Abstract Patterns
Let kids fill the rock with dots, zigzags, or swirls. There’s no right or wrong—just color and fun.
15. Under The Sea
Paint a blue background, then add simple fish, seaweed, or bubbles. Use metallic colors for a shiny effect.

Credit: www.kinueko.com
Step-by-step Guide: Painting Rocks With Kids
Here’s how to make the process easy and enjoyable:
- Set up the workspace. Cover the table with newspaper or a plastic cloth. Put out all supplies within reach.
- Let kids choose their rocks. Picking their favorite shapes gets them excited.
- Sketch simple designs. Use a pencil or chalk if the child wants to plan before painting.
- Paint the base color first. One or two coats may be needed. Let each layer dry before adding details.
- Add details with a thin brush or paint pen. This step is where faces, patterns, and words come alive.
- Let the rock dry completely. This prevents smudging.
- Apply a sealant if desired. This step is important if the rocks will be outdoors or handled often.
Practical Tips For Success
- Keep designs simple for younger children. Big shapes are easier than tiny details.
- Use paint pens for outlines or small details. They’re less messy than brushes.
- Give each child their own water cup and brush. This avoids muddy paint.
- Let kids mix colors. They love making new shades.
- Be patient with drying time. Rushing can smudge the design.
- Praise effort, not just results. Creativity is the goal!
Non-obvious Insights
- Prime dark rocks with white paint before adding color. This makes the final design much brighter and more vivid—a step many skip, but it transforms the look.
- Seal only when paint is fully dry. Even slightly wet paint can turn cloudy or smudge under the sealant. Waiting overnight is best.
Comparing Paint Types For Rock Painting
Choosing the right paint makes a big difference. Here is a comparison:
| Paint Type | Best For | Drying Time | Washable? | Colors Stay Bright? |
|---|---|---|---|---|
| Acrylic | Most projects | Quick (10-30 min) | No | Yes |
| Tempera | Young kids | Medium (30-60 min) | Yes | No (fades) |
| Paint Pens | Details/Outlines | Quick (5-10 min) | No | Yes |
Popular Themes For Kids’ Rock Art
Kids love painting rocks with familiar themes. Here are some favorites and what makes them fun:
| Theme | Why Kids Love It | Color Suggestions |
|---|---|---|
| Animals | Relatable and cute | Brown, gray, white, black |
| Emojis | Expressive, easy faces | Yellow, red, blue |
| Space | Stars and planets excite imagination | Black, blue, silver, white |
| Fruit | Bright, simple shapes | Red, green, orange, yellow |
| Flowers | Endless color options | Pink, purple, yellow, green |
Credit: www.projectswithkids.com
Safety Tips For Painting With Kids
- Supervise at all times, especially with young children.
- Check paint labels for “non-toxic” certification.
- Avoid small rocks for kids under 3, as they can be a choking hazard.
- Open windows or work outside to reduce fumes.
- Wash hands after painting.
Cleaning Up After Rock Painting
Cleanup can be quick if you prepare:
- Wash brushes right after use with warm water.
- Wipe up spills with a damp cloth while still wet.
- Leftover paint can be covered and saved for next time.
- If paint dries on the table or clothes, gently scrub with soap and water.
Storing And Displaying Painted Rocks
Kids enjoy seeing their artwork around the house or yard.
- Indoors: Place rocks on shelves, in potted plants, or use as paperweights.
- Outdoors: Seal first, then decorate garden beds or line a walkway.
- Gift idea: Place in a small box with tissue paper for a handmade present.
- Community sharing: Some families hide painted rocks in parks for others to find. This creates a sense of surprise and joy.
Troubleshooting Common Problems
Sometimes things don’t go perfectly. Here’s how to fix common issues:
- Paint won’t stick: Wash and dry rocks well. Try a white base coat.
- Colors look dull: Use two layers of color, let dry between coats.
- Details are messy: Switch to a paint pen or thinner brush.
- Paint peels outside: Always seal with a weatherproof, non-toxic finish.
How Rock Painting Supports Child Development
Rock painting isn’t just creative—it’s educational. Kids practice hand-eye coordination by painting small shapes. They learn planning by sketching designs first. When kids share their art, they build confidence and communication skills. Group rock painting can also teach teamwork and patience.
Inspiring Kids To Try New Designs
Encourage children to invent their own themes. Suggest mixing two ideas, like a “rainbow animal” or a “monster emoji. ” Show them photos online (always supervised) for inspiration. Celebrate their unique choices—there’s no wrong way to paint a rock.
If you want more advanced ideas or examples, check resources like Parents Magazine for fresh inspiration.
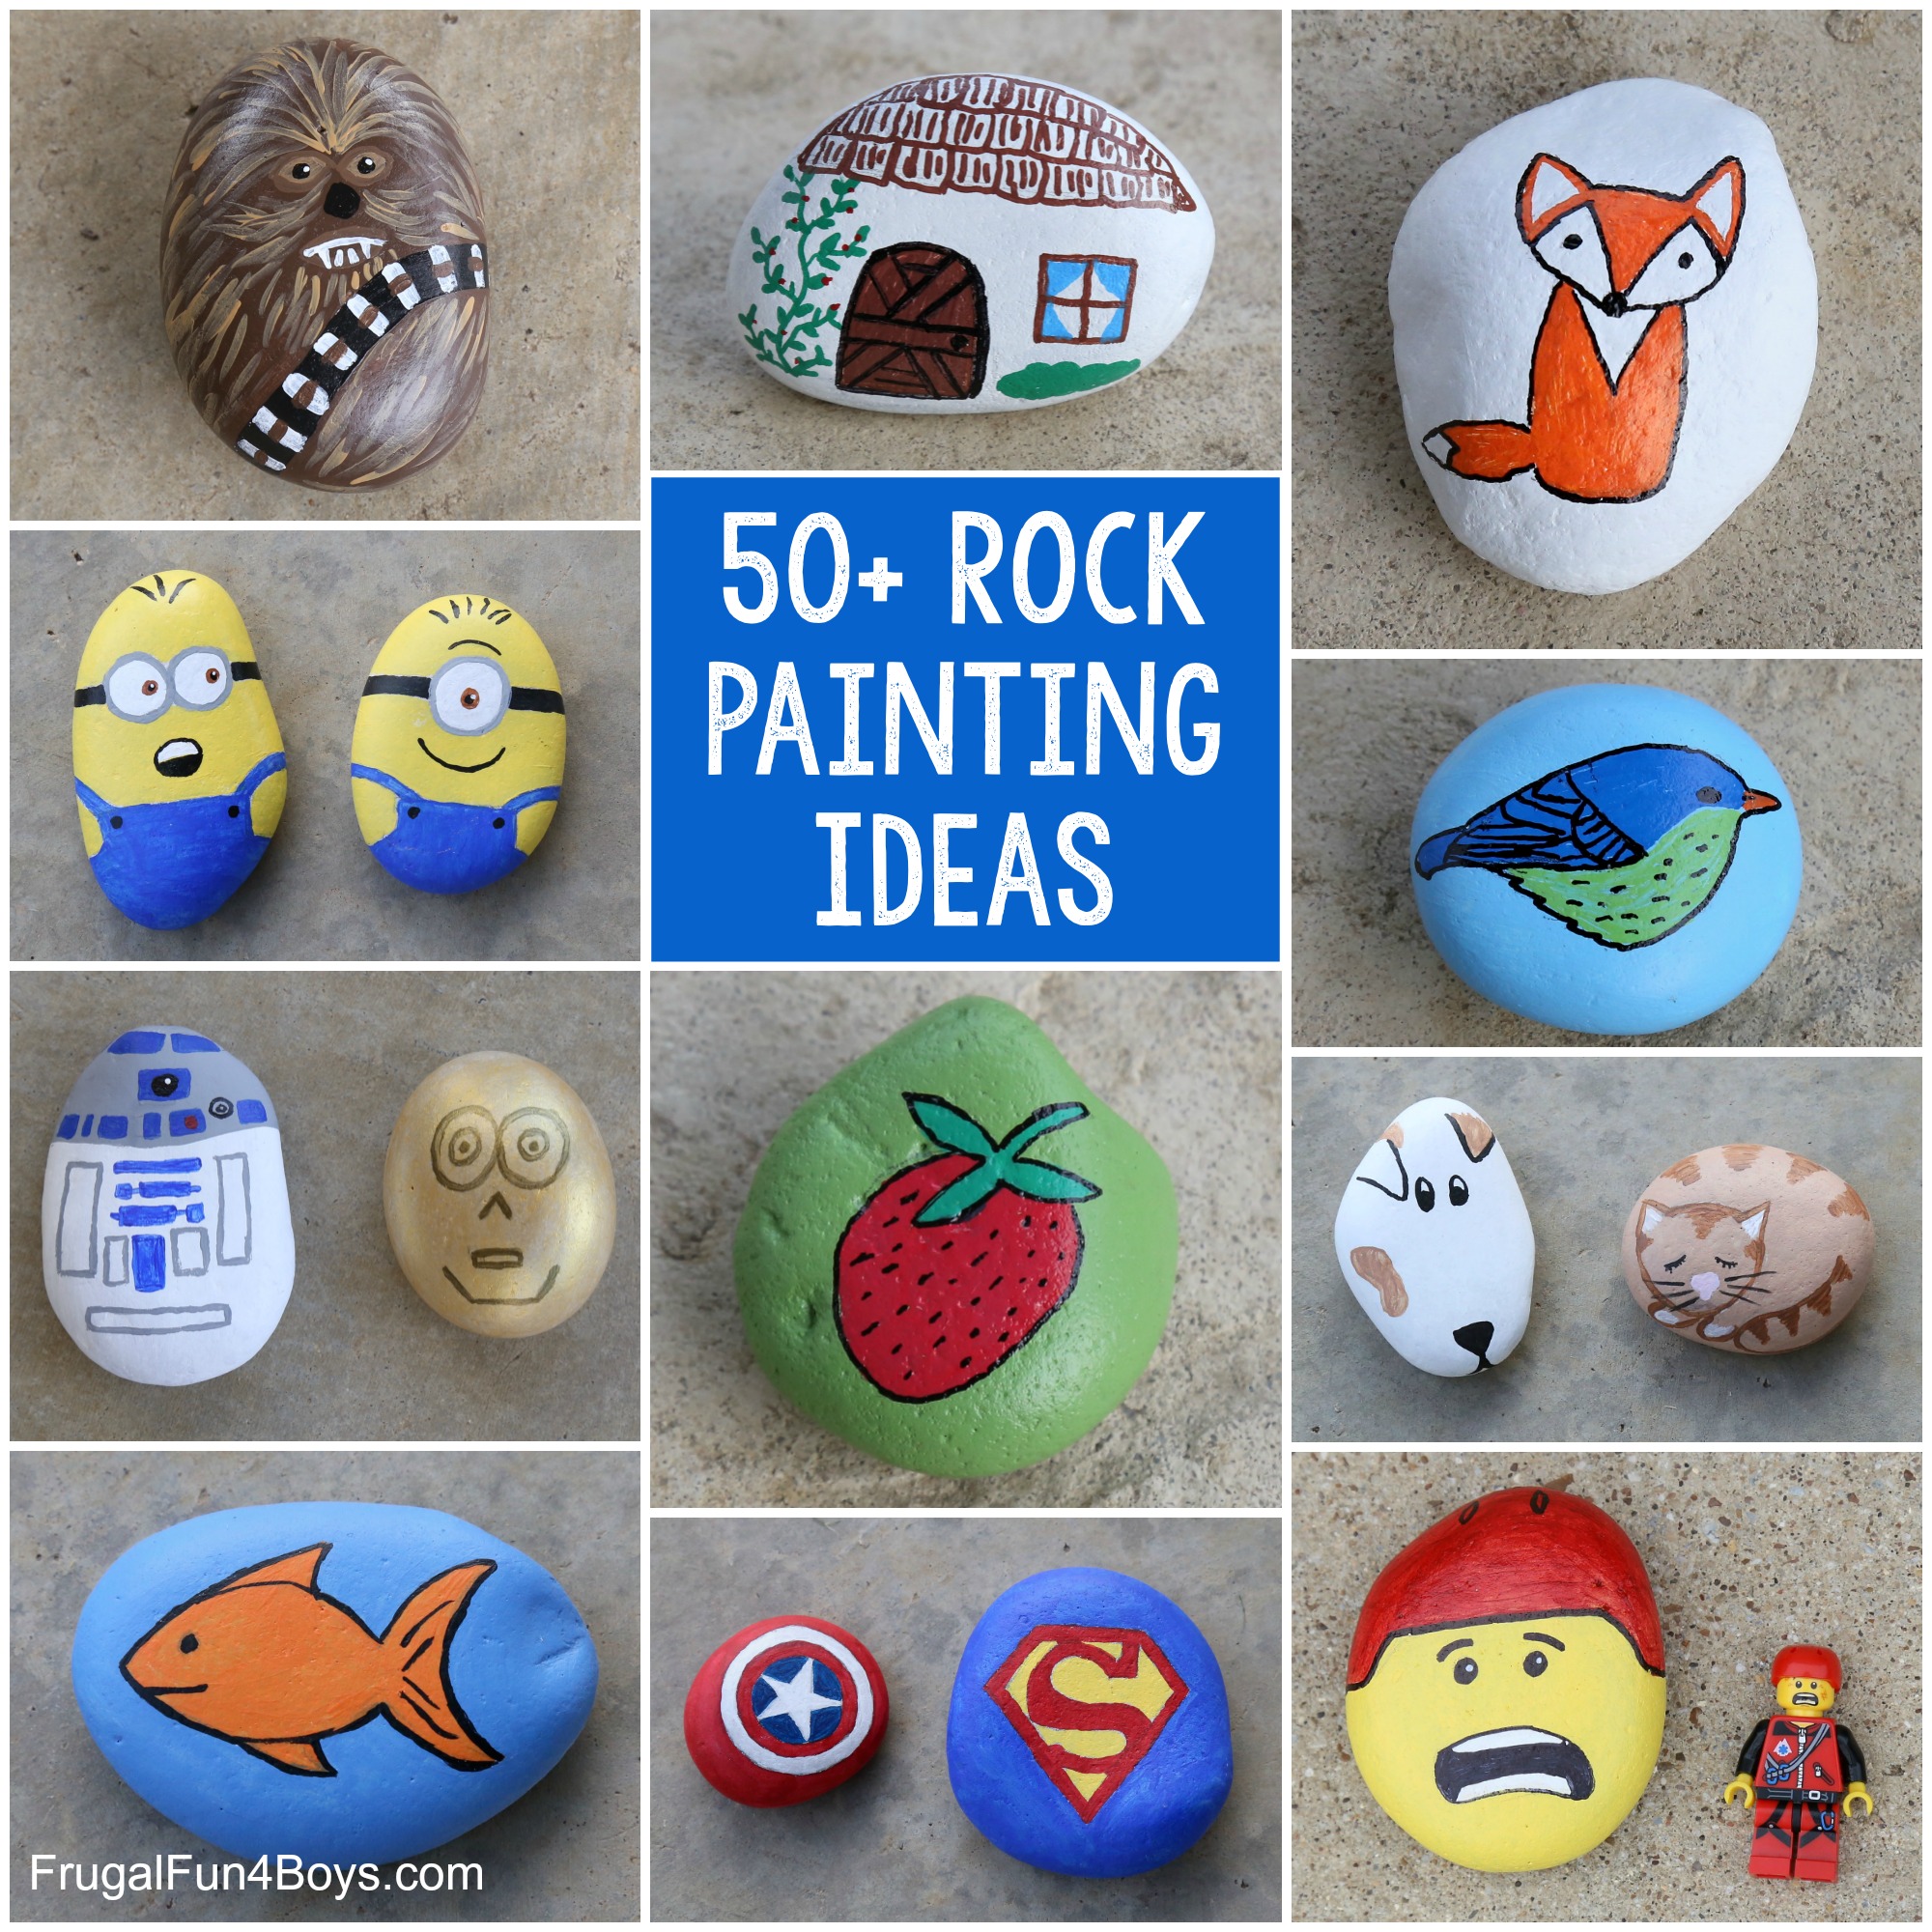
Credit: frugalfun4boys.com
Frequently Asked Questions
What Paint Is Best For Kids’ Rock Painting?
Acrylic paint is best for most projects because it is bright, dries fast, and sticks well. For very young children, washable tempera paint is safer but may fade or wash off if rocks get wet.
How Do I Keep Painted Rocks From Fading?
Apply a non-toxic clear sealant after the paint dries fully. This protects the design, especially if the rocks are placed outside. Let the sealant dry completely before handling.
Can I Use Rocks From My Garden?
Yes, you can use garden rocks if they’re smooth and clean. Wash them well and let them dry before painting. Avoid using rocks from protected parks or beaches.
What’s The Best Way To Paint Small Details?
Use fine paint brushes or paint pens for small lines, dots, or letters. Paint pens are easier for children and make less mess than brushes.
Is Rock Painting Safe For All Ages?
With proper supervision and non-toxic materials, rock painting is safe for most ages. Always keep small rocks and paints out of reach of children under three, and supervise to avoid accidents.
Painting rocks with kids is a simple way to fill a day with color, laughter, and creativity. Whether you’re decorating a garden or making gifts, these easy ideas and tips will help your children create art they’re proud of—one rock at a time.


