Painting fire and flames in oil can seem almost magical when done well. The dance of color and light in a flame is both beautiful and complex. Many artists struggle to capture the vivid energy and depth of fire. But with the right approach, you can create flames that leap off the canvas and draw viewers into your work. Whether you’re a beginner or have some experience, this guide will help you master the art of painting fire and flames using oils.
Understanding The Nature Of Fire
Fire is not a solid object—it’s a moving, ever-changing phenomenon. When you paint flames, you are really painting light, heat, and movement. Flames are usually brightest at the base and fade as they rise. The colors shift from white and yellow near the source to orange and red at the edges, and sometimes even blue at the hottest points.
To paint convincing fire, observe real flames. Watch how the light moves, how the shapes twist, and how the colors blend. Use reference images or, even better, study a real candle or campfire. Notice that flames don’t have hard edges.
They are transparent and layered, with softer transitions than many artists expect.
Materials And Preparation
Oil painting gives you plenty of time to blend and adjust, which is perfect for painting something as fluid as fire. Here’s what you’ll need:
- Oil paints: At minimum, get titanium white, cadmium yellow, cadmium red, burnt sienna, ultramarine blue, and alizarin crimson.
- Mediums: Linseed oil, stand oil, or a premixed medium. These help blend colors and create glazes.
- Brushes: A mix of round and filbert brushes for detail and blending.
- Palette knife: Useful for mixing and sometimes for applying bold strokes.
- Canvas or panel: Stretched canvas or primed panel, depending on your preference.
- Rags and palette: For cleaning and mixing.
Set up your workspace with good ventilation. Arrange your reference photo or object where you can see it clearly. Prepare your palette with the main colors you’ll use—having them ready saves time and helps you work more fluidly.
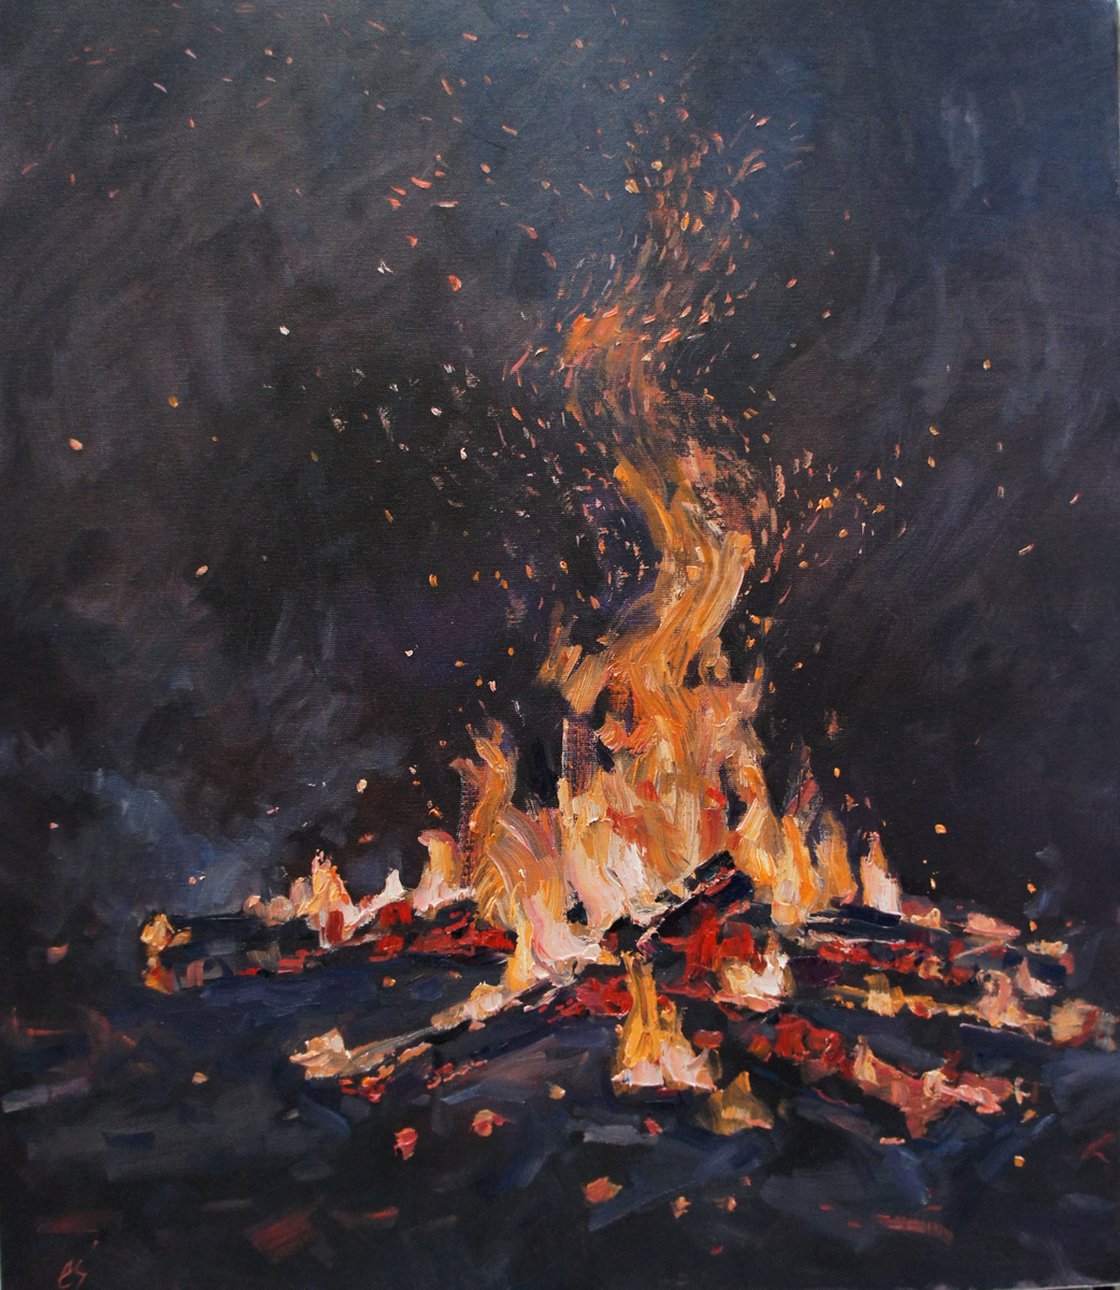
Credit: www.artfinder.com
Color Theory For Flames
To paint realistic fire, you must understand how colors interact. Flames usually start with a bright white or blue center (hottest part), surrounded by yellow, then orange, and finally red at the outer edges. Sometimes you’ll see a touch of purple or even green in certain types of flames.
Here’s a quick comparison of the temperature and color zones in a typical flame:
| Zone | Temperature (°C) | Typical Color |
|---|---|---|
| Core/Base | 1400–1650 | White/Blue |
| Inner Flame | 1200–1400 | Yellow |
| Outer Flame | 800–1200 | Orange/Red |
Use pure colors sparingly. Realistic fire needs subtle blends. Too much straight yellow or red can look flat or cartoonish. Instead, mix small amounts of complementary colors to create depth. For example, a bit of ultramarine blue in your shadows can make the warm colors pop.
Planning Your Composition
Before you start painting, plan how the fire fits into your overall scene. Ask yourself:
- What is the source of the fire?
- What time of day is it?
- How much light should the fire cast on nearby objects?
- Do you want a calm candle flame or a roaring bonfire?
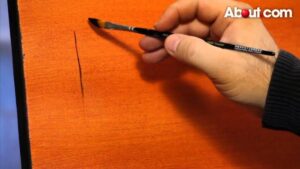
Sketch your flame lightly with charcoal or a thin brush and diluted paint. Focus on the overall shape. Flames are rarely symmetrical—they twist, split, and flicker. Draw the largest shapes first, then sketch a few smaller tongues of fire reaching out.
If you want your flames to really stand out, surround them with darker backgrounds. This creates contrast and makes the fire appear brighter and more intense.
Step-by-step: Painting Fire In Oil
Now let’s break down the actual painting process. These steps will help you build up your fire in a way that feels natural and convincing.
1. Block In The Background
Start by painting the area around your fire. If you want your flames to glow, use a dark or neutral background. Blend the background smoothly to avoid hard lines near the flame.
2. Lay Down The Underpainting
Use thin washes (paint thinned with medium) to block in the main flame shapes. Begin with the lightest areas—often white or pale yellow. Don’t worry about details yet. This step helps you set the composition and value structure.
3. Build Up The Color Layers
Oil paint is perfect for layering. After the underpainting dries a bit (or use the “fat over lean” rule), start adding color:
- Paint the brightest center of the flame with a mix of titanium white and a touch of cadmium yellow or blue (for a blue core).
- Surround this with a blend of cadmium yellow and a bit of cadmium red for the inner flame.
- Add orange and red to the outer parts, blending into the background.
- Use a soft, dry brush to feather the edges, keeping transitions smooth.
4. Glaze For Glow
Oil glazing can make fire look incredibly realistic. Once your layers are dry to the touch, mix a thin glaze using transparent colors (like alizarin crimson or Indian yellow) and a medium. Brush this glaze lightly over parts of the flame to create depth and luminosity.
Glazing takes patience, but it’s what gives fire its unique glow. You can layer several glazes, allowing each to dry in between, to build up rich color.
5. Add Details And Sparks
Now it’s time for final touches. Use a fine brush to add small tongues of flame, sparks, or embers. Add a few highlights where the flame is brightest. Be careful—too many highlights can flatten the image.
If your fire is casting light on nearby objects, add reflected light in warm tones. For example, a log near the fire might have orange highlights facing the flame.
Blending And Edges
One of the biggest beginner mistakes is painting flames with hard, clear edges. In reality, flames are soft and fade into the air. To avoid this, use:
- Soft brushes for blending
- Feathering (lightly dragging a dry brush across wet paint)
- Scumbling (gently brushing a thin, opaque layer over dry paint to soften transitions)
Here’s a quick comparison of edge treatments:
| Edge Type | Effect | When to Use |
|---|---|---|
| Hard Edge | Sharp, clear outline | Rarely in flames, more for objects |
| Soft Edge | Blended, smooth transition | Most of the flame, especially at the outer parts |
| Lost Edge | Edge disappears into background | Where flame fades into dark |
Practice blending until you can create edges that seem to vanish, just like real fire.

Credit: www.youtube.com
Common Mistakes And How To Avoid Them
Many artists run into similar problems when painting fire. Here are some common errors and how to fix them:
- Too much white: Overusing white makes flames look chalky. Use white only in the hottest, brightest spots.
- Flat colors: Not blending colors results in unnatural, cartoonish flames. Always mix and layer your paints.
- Hard edges everywhere: As mentioned, flames need soft, blended edges to look real.
- Ignoring light effects: Fire casts colored light on nearby surfaces. Paint these reflections for added realism.
- Rushing the process: Take time to let layers dry and build up your painting gradually.
Non-obvious Tips For Realistic Fire
Most guides cover the basics, but a few insights can make your fire paintings stand out:
- Vary flame shapes: Flames are never uniform. Some are wide and round, others thin and pointed. Overlapping and twisting shapes add realism.
- Use negative painting: Sometimes, paint the area around the flame with a dark color, letting the untouched canvas form the flame shape. This technique helps control the flame’s edge softness.
- Add a cool color: A hint of blue or green at the base can make the warm colors seem even hotter. This temperature contrast tricks the eye and enhances the sense of heat.
- Observe real fire: Paint from life or high-quality video instead of imagination. Small details, like the way flames flicker, are hard to invent but easy to observe.
Practical Examples: Candle, Campfire, And Explosion
Let’s see how these techniques apply to different types of fire.
Candle Flame
A candle flame is small, steady, and mostly vertical. Start with a white or blue core, then blend into yellow and a little orange. The outer edge is very soft. Surround with a dark background for the most dramatic effect.
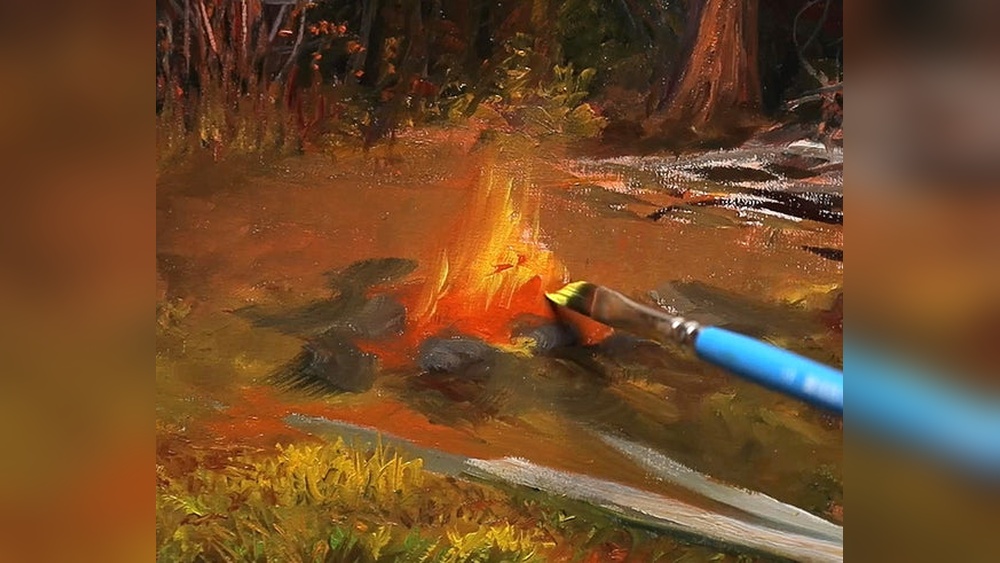
Campfire
A campfire has multiple flames of different sizes. Use overlapping shapes and a mix of yellows, oranges, and reds. Add glowing embers and orange highlights on nearby wood. Suggest movement by making some flames lean or twist.
Explosion
For explosions, use bolder strokes and more dramatic contrasts. Explosions often have a bright white core, surrounded by yellow, orange, and thick smoke. Use a palette knife to add texture and energy. Explosions usually have sharper edges, but still blend outward into smoke or dust.
How To Fix Mistakes
Oil paint is forgiving. If you make a mistake:
- Wipe off wet paint with a clean rag.
- Scrape off thick mistakes gently with a palette knife.
- Let the area dry, then paint over it with a new layer.
- Use glazes to subtly correct color without redoing the whole area.
Being able to fix mistakes is one reason many artists love oil paint for complex subjects like fire.
Advanced Techniques: Glazing And Impasto
Once you master the basics, try these advanced methods:
- Glazing: As described earlier, glazing adds richness and depth. Use thin, transparent layers to adjust color and luminosity.
- Impasto: For explosive or intense fire, use thick paint to create raised, textured areas. Apply with a brush or palette knife for a three-dimensional effect.
These techniques give your flames a unique personality and can make your painting more dynamic.
Comparing Oil To Other Mediums For Fire
How does oil paint compare to other mediums for painting fire? Here’s a quick overview:
| Medium | Blending | Drying Time | Best For |
|---|---|---|---|
| Oil | Excellent | Slow | Layered, luminous flames |
| Acrylic | Good | Fast | Quick studies, bold color |
| Watercolor | Soft, subtle | Fast | Atmospheric effects |
| Digital | Variable | Instant | Experimentation, quick edits |
Oil is ideal if you want to take your time blending and building up layers. The slow drying time lets you make gradual changes and achieve a glowing effect that’s hard to match.

Credit: www.youtube.com
Frequently Asked Questions
How Do I Make Flames Look More Three-dimensional?
To create a three-dimensional flame, focus on value (light and dark), color transitions, and highlights. Layer your colors from the inside out and make sure the brightest spots are surrounded by softer, darker edges. Adding reflected light on nearby surfaces also helps enhance the illusion of depth.
What Brushes Are Best For Painting Fire In Oil?
Use soft round or filbert brushes for blending, and smaller detail brushes for highlights and fine lines. A fan brush can be useful for softening edges. Avoid stiff brushes, as they tend to leave unwanted marks.
How Can I Paint Blue Flames In Oil?
To paint blue flames, start with a mix of ultramarine blue and a touch of white for the hottest part. Surround with a transition to yellow, orange, and then red as you move outward. Keep the blue area small—it’s most common at the base of very hot flames.
Should I Use A Photo Reference Or Paint From Imagination?
It’s best to use a photo reference or observe real fire whenever possible. Fire is complex and moves in ways that are difficult to invent. References help you capture realistic shapes, colors, and lighting.
How Do I Make Flames Look Like They Are Moving?
To suggest movement, paint flames with different shapes and directions. Use overlapping strokes, twisting lines, and varied brushwork. Soft edges and blurred transitions also give the illusion of flickering and motion.
Painting fire and flames in oil is both challenging and rewarding. With careful observation, smart planning, and patience, you can achieve results that glow with life. If you want to explore more about the science and art of fire, the Wikipedia page on fire is a great resource for deeper understanding. Keep practicing, experiment with new techniques, and let your creativity burn bright.