
Painting your own tropical leaf wall art is a fantastic way to bring a fresh, vibrant look into your home. You don’t need to be a professional artist to create beautiful, eye-catching pieces. With a bit of planning and the right techniques, anyone can make stunning tropical wall art that looks great in living rooms, bedrooms, or even offices. This guide will walk you through every step, from choosing materials to adding the finishing touches. Along the way, you’ll discover tips that can help your artwork look polished and unique—plus, you’ll avoid common beginner mistakes.
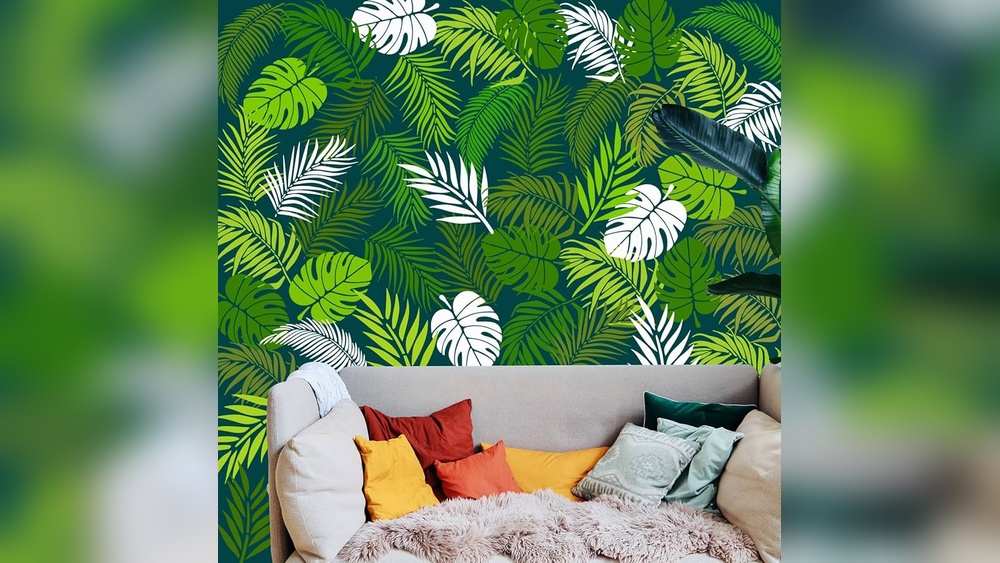
Why Choose Tropical Leaf Wall Art?
Tropical leaves—like monstera, palm, banana, and philodendron—are popular in interior decor because they add a sense of nature and tranquility. The bold shapes and rich greens of these leaves are perfect for creating a relaxing, modern vibe. Painting them yourself gives you the freedom to pick the exact colors, sizes, and styles that match your space.
DIY art is also budget-friendly and deeply personal, transforming plain walls into something special.
Gathering Your Materials
Before you start, it’s important to have all the necessary supplies. Here’s what you’ll need for a basic tropical leaf wall art project:
- Canvas or sturdy art paper (size of your choice)
- Acrylic paints (various greens, yellows, blues, and white; optional: Metallics)
- Paintbrushes (flat, round, and detail brushes in different sizes)
- Palette or disposable plate for mixing colors
- Painter’s tape or masking tape
- Pencil and eraser
- Reference images of tropical leaves
- Ruler (for layout)
- Paper towels and cup of water for cleaning brushes
- Protective covering for your work surface
If you want a more textured look, you can also use modeling paste or texture gel, available at most art stores.
Comparing Canvases And Papers
Choosing the right surface is crucial. Here’s a comparison to help you decide:
| Surface | Pros | Cons |
|---|---|---|
| Canvas | Durable, professional look, suitable for hanging | More expensive, needs a frame or hooks |
| Art Paper | Cheaper, easy to cut to size, works with frames | Less durable, may warp with heavy paint |
For most beginners, canvas boards or pre-stretched canvases offer the best balance between quality and ease of use.
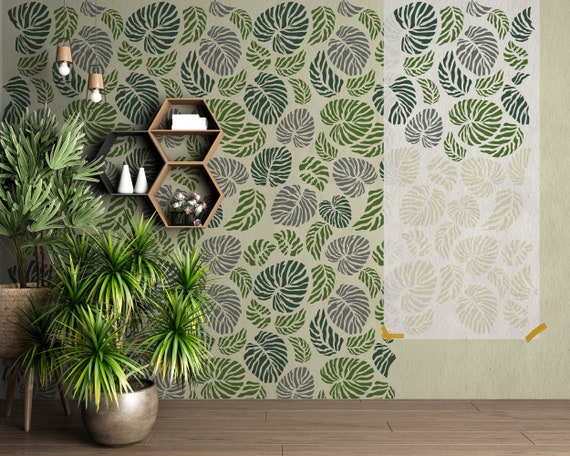
Choosing Your Tropical Leaf Design
Start by picking the types of tropical leaves you want to feature. The monstera leaf is a popular choice because of its dramatic cutouts. Palm leaves have a feathery, elegant look, while banana leaves are long and simple. Use online photos or houseplants as references.
Tip: Avoid copying designs exactly. Combine different leaves or add your own twist with color or composition for a unique result.
Planning Your Layout
Before painting, sketch your design lightly with a pencil. Think about:
- Balance: Arrange leaves so the composition feels even, not crowded on one side.
- Overlap: Let some leaves overlap to add depth.
- Scale: Use a mix of large and small leaves for variety.
- Direction: Angle leaves in different directions for a natural look.
If you’re unsure, cut out leaf shapes from paper and arrange them on your canvas to test ideas before sketching.
Mixing Your Paints
Tropical leaves aren’t just one flat green. They have rich, varied colors. Mix different shades of green by blending:
- Blue + Yellow: Basic green (add more blue for cooler tones, more yellow for warmer)
- Green + White: Lightens the color for highlights
- Green + Black or Red: Darker shades for shadows
- Add Yellow or Blue: Creates more natural, varied greens
You can also add touches of teal, lime, or even gold for extra interest. Don’t be afraid to experiment on a scrap piece before painting your canvas.
Sample Color Mixes
| Color Name | How to Mix | Best Use |
|---|---|---|
| Leaf Green | Equal parts blue and yellow | Main body of leaves |
| Jungle Shadow | Green + touch of black or red | Leaf undersides, deep shadows |
| Tropical Highlight | Green + white + touch of yellow | Sunlit areas, edges |
| Turquoise Accent | Blue + green + white | Modern, stylized leaves |
Credit: www.etsy.com
Painting Techniques For Realistic Leaves
Using the right brushstrokes makes a big difference. Here are key techniques:
1. Base Layer
Paint the main shape of each leaf using a medium-sized flat or round brush. Don’t worry about details yet. Let this layer dry before adding more.
2. Adding Depth
Once the base is dry, use a smaller brush to add shadows along the veins and edges. Mix a slightly darker green for this step. For highlights, use a lighter green or white along the edges and center veins.
3. Detailing Veins
With a thin detail brush, paint the main vein first, then add smaller veins branching out. Veins don’t have to be perfect—nature is irregular.
4. Blending
For a soft, natural look, blend the edges of the highlights and shadows into the base color while the paint is still wet. If you want a more graphic, modern style, leave the edges crisp.
5. Overlapping Layers
Paint lighter leaves first if they will sit behind darker ones. This prevents muddy colors and keeps each leaf looking clean.
6. Creating Texture
Dab your brush to create a textured look on some leaves, or use a dry brush for a slightly rough effect. You can also use a sponge for a unique background.
Non-obvious insight: If you make a mistake, let the area dry completely, then paint over it with the background color before redoing the leaf.
Adding Backgrounds And Finishing Touches
A background can make your leaves stand out or blend softly into your wall. Here are a few options:
- Solid Color: Make your leaves pop with a bold or pastel background.
- Gradient: Blend two or more colors for a smooth transition (e.g., blue fading to white).
- Abstract: Add splashes, dots, or brush marks for a playful look.
- Metallic Touches: Gold or copper paint on the leaf edges or veins adds elegance.
Use painter’s tape to mask off areas for clean edges or geometric shapes. Remove the tape slowly once the paint is dry.
Finishing Steps
- Check for any missed spots or pencil marks. Touch up as needed.
- Let your painting dry fully—acrylics usually dry in 1-2 hours, but thicker areas may need more time.
- If you want your art to last longer, seal it with a clear acrylic spray.
- Sign your work! Use a fine brush and a corner for a personal touch.
Extra tip: Hang your art in bright, indirect light to prevent fading and keep colors vibrant.
Common Mistakes And How To Avoid Them
Even with care, some mistakes are common in DIY tropical wall art. Here are a few to watch out for:
- Flat, lifeless leaves: Add layers of color and highlights for depth.
- Overworking paint: Too many brushstrokes can muddy colors. Work in stages and let layers dry.
- Ignoring leaf direction: Real leaves curve and twist. Add bends for a natural look.
- Using only one green: Mix several shades for realism.
- Crowded composition: Leave some blank space so the art can “breathe.”
Hidden beginner tip: Before starting your main piece, paint a mini practice leaf on a scrap canvas. This helps you test color mixes and brush techniques before committing.
Displaying Your Tropical Leaf Wall Art
Once your art is finished, choose the best way to display it. Here are some ideas:
- Hang it solo as a statement piece above a couch or bed.
- Create a gallery wall with several smaller leaf paintings in matching frames.
- Frame your canvas for a polished, professional look.
- Mix with real plants for a lush, coordinated vibe.
When hanging, place your art at eye level for the best impact. Use proper hooks or wall strips to avoid damage.
Comparing Display Options
| Display Method | Look | Best For | Difficulty |
|---|---|---|---|
| Unframed Canvas | Modern, casual | Large, bold art | Easy |
| Framed Canvas/Paper | Classic, finished | Smaller or multiple pieces | Medium |
| Gallery Wall | Eclectic, artistic | Collections, varied sizes | Medium to hard |

Credit: www.walmart.com
Ways To Personalize Your Tropical Leaf Art
Making your wall art unique is easy with a few creative ideas:
- Use unexpected colors (pinks, blues, metallics) for a modern twist
- Add hand-lettered quotes over or under the leaves
- Combine painted leaves with stenciled patterns
- Include animal silhouettes for a jungle feel
- Layer paper cutouts or fabric for mixed media art
Personal touches make your art stand out and reflect your style.
Where To Find Inspiration
If you’re unsure where to start, look for inspiration in these places:
- Instagram and Pinterest for modern tropical art trends
- Botanical books for accurate leaf shapes
- Real houseplants in your home
- Travel photos from tropical destinations
One helpful resource is the Wikipedia page on Monstera, which includes images and facts about one of the most popular tropical leaves.
Credit: www.etsy.com
Frequently Asked Questions
How Long Does It Take To Paint Tropical Leaf Wall Art?
The time depends on the size and detail of your piece. A simple painting can take 2–4 hours, while more detailed art may take a full day, including drying time. Beginners should plan extra time for practice and corrections.
What Type Of Paint Is Best For Tropical Leaf Wall Art?
Acrylic paint is the best choice. It’s easy to use, dries quickly, and cleans up with water. Acrylics also come in many colors and can be layered for depth. For a glossy finish, you can use acrylic varnish.
Can I Do This Project With Kids Or Beginners?
Yes! Tropical leaves have simple shapes, so they’re great for beginners or kids. Use larger canvases and simple designs for younger artists. Always supervise children with paints and sharp tools.
Do I Have To Use Green?
No. While green is classic, you can use any color you like—blues, pinks, golds, or even black and white. Try unusual color palettes for a unique, modern look.
How Do I Fix Mistakes On My Painting?
Let the mistake dry fully, then paint over it with your background color. Once dry, redo the area as needed. Acrylic paint is very forgiving, so don’t stress over small errors.
Painting your own tropical leaf wall art is not just a fun project—it’s a way to add personality and freshness to your space. With a little planning and creativity, you’ll have a piece you’re proud to display. Enjoy the process, experiment with colors and textures, and remember that every brushstroke brings you closer to a unique work of art.


