PaintingProGuide is reader-supported. When you buy through links on this page we may earn an affiliate commission at no extra cost to you.
Realism in oil painting is not one technique but a sequence of decisions that build on each other: an accurate drawing, a clear value structure, controlled edges, color that is mixed to match what you see, and paint applied in layers that respect how oil dries. The best oil painting techniques for realism are the ones that give you control at each of those stages. The two main approaches are indirect painting (an underpainting followed by layers and glazes) and direct painting (alla prima, finishing wet-into-wet), and most realist painters borrow from both.
This guide explains the techniques that matter most, in the order you use them, and finishes with a short list of instructional books that teach them in more depth.
Quick answer: The techniques that most improve realism are: a careful drawing or transfer, a monochrome underpainting to lock in values, building color from dark to light following the “fat over lean” rule, managing edges (hard, soft and lost), and finishing with glazes and scumbles for depth and atmosphere. For a book that covers these step by step, Jan Matěják’s Realistic Oil Painting focuses on underpaintings, layered technique and the direct method, and Jeremy Galton’s Encyclopedia of Oil Painting Techniques is a broad visual reference.
The Core Oil Painting Techniques for Realism
1. Start with accurate drawing
Realism lives or dies on drawing. Proportions, angles and placement need to be right before paint goes on, because correcting a misplaced eye in thick oil is far harder than in charcoal. Many realist painters work out the drawing on paper first, then transfer it with a grid, tracing or projection, and reinforce the lines with thinned paint.
Measure constantly. Use your brush handle at arm’s length to compare heights and widths, check angles with a plumb line, and look at negative shapes, the spaces between objects, which are often easier to see accurately.
2. Tone the ground
A white canvas makes every color look darker than it is. A thin, transparent tone of a warm earth such as burnt sienna or raw umber, wiped back to a mid-value, gives you a neutral starting point and helps unify the painting. Lights pop against it and darks need less paint.
3. Build a monochrome underpainting
An underpainting, sometimes called a grisaille (gray) or brunaille (brown), establishes the value structure in one color. Painting values separately from color lets you solve light and shadow first. Keep it thin and lean (little oil), so later layers adhere properly.
Squint while you paint the underpainting. Squinting simplifies the scene into big light and dark masses, which is exactly what this stage needs. Our guide to layering techniques in oil painting goes deeper into building depth this way.
4. Follow fat over lean
Oil paint dries by oxidation, and each layer should contain slightly more oil (be “fatter”) than the one beneath it. Lean early layers thinned with solvent dry faster and stay flexible beneath fatter top layers. Ignoring this rule is a leading cause of cracking in realist oil paintings, which tend to have many layers.
5. Mix color to match value first
When moving into color, match value before hue and saturation. A correctly valued color reads as realistic even if the hue is slightly off; a wrong value breaks the illusion immediately. Mix piles of each key color on the palette before you start, rather than mixing tiny amounts on the brush. Generous piles make it easier to keep colors consistent across a large area.
6. Paint from dark to light, thin to thick
Lay in shadows thinly and transparently, then build lights more thickly and opaquely. This mirrors how light behaves: shadows absorb and recede, lights reflect and advance. The thickest paint usually belongs in the brightest highlights.
7. Control your edges
Edges are the secret of convincing realism. Hard edges attract attention and suggest solidity or a focal point. Soft edges suggest form turning away from the light or atmospheric distance. Lost edges, where a shape merges into its background, make a painting feel natural rather than cut out. Most beginners paint every edge hard; realism needs variety.
8. Blend with purpose
Smooth gradations on skin, skies and rounded forms come from placing correct values side by side and then blending lightly where they meet, not from scrubbing large areas. Soft synthetic or mongoose-style brushes and a light touch help. See our guide on mastering oil painting techniques for blending approaches.
9. Glaze for depth
Glazing means applying a thin, transparent layer of color mixed with medium over a dry layer. It deepens shadows, adjusts color temperature and creates luminosity that is hard to achieve with opaque mixing. Glazes are a hallmark of the indirect method.
10. Scumble for atmosphere
Scumbling is the opposite: a thin, broken layer of lighter, semi-opaque paint dragged over a dry darker area. It softens, suggests haze and adds texture to surfaces like stone and fabric.
11. Use a limited palette
Many realist painters work with a small set of colors, such as a warm and cool version of each primary plus white and an earth or two. A limited palette makes color harmony easier and teaches you to mix accurately.
12. Observe from life when possible
Photographs flatten form, crush shadows and distort color. Painting from life, even simple still lifes, trains you to see the subtle temperature shifts and reflected light that make realism convincing. When you do use photos, use them as information rather than as something to copy exactly.
Light, Temperature and Materials for Realism
Set up a single, consistent light
Realist painters, especially in still life and portraiture, often use one light source from above and to the side. It creates clear planes of light and shadow and makes form easy to read. Natural north light is traditional because it is steady through the day; a daylight-balanced lamp is a practical substitute. Light your palette with the same quality of light as your subject so mixed colors match.
Watch color temperature
Under a warm light, shadows tend to look cooler, and under a cool light, shadows often look warmer. Painting those shifts, rather than simply darkening a color with black, is one of the biggest differences between amateur and convincing realism. Reflected light bouncing into shadows from nearby surfaces adds another layer of subtle temperature change.
Choose a surface that suits detail
Finely woven linen or smooth primed panels make fine detail and smooth blending easier than coarse cotton canvas. Many realists sand their grounds between gesso coats for an even smoother surface.
Use the right brushes
Hog bristle brushes are excellent for laying in and underpainting. Soft synthetic or natural-hair brushes handle blending, glazing and small details. Keep a few very small rounds for final accents, but resist using them early.
Add mediums carefully
A glazing medium helps thin, transparent layers flow and dry evenly. Mediums add oil, so keep fat over lean in mind as you increase them in later layers.
Allow drying time
Indirect realism depends on layers drying between sessions. Plan to work on two or three paintings in rotation, so one can dry while you work on another.
Indirect vs Direct Painting for Realism
Indirect (layered) painting builds the image over several sessions: drawing, underpainting, color layers and glazes. It offers maximum control and suits highly finished realism, portraits and still lifes. It requires patience and attention to drying times and fat over lean.
Direct painting (alla prima) completes the painting wet-into-wet, often in one session. It produces fresh, confident brushwork and is popular for plein air landscapes and portrait studies. It depends on accurate drawing and mixing up front.
Many contemporary realists combine them: a quick direct lay-in followed by refining layers and selective glazing. If you are new to realism, try both on the same simple subject. The comparison shows quickly which approach suits your temperament, and the skills from each strengthen the other.
A Simple Realist Workflow for One Painting
Session 1: drawing and tone. Tone the canvas, let it set, then draw the subject with thinned paint, correcting proportions until they are right.
Session 2: underpainting. Paint the full value structure in one earth color, keeping it thin. Let it dry.
Session 3: dead color. Block in the main colors at roughly the right values, opaque in lights and thinner in shadows. Do not chase detail yet.
Session 4: refinement. Adjust values and temperature, soften and sharpen edges, and develop form in the focal areas.
Session 5: glazes and accents. Glaze shadows for depth, scumble atmospheric areas, and place the brightest highlights and darkest accents last.
Leave drying time between sessions, and step back often, ideally to the distance a viewer would stand. Realism is built by repeated, small corrections rather than one heroic pass.
Practice Exercises That Build Realism
- Value scale: paint a nine-step gray scale from white to black, then match objects to it.
- Sphere study: paint a white egg or ball under a single light, showing light, halftone, core shadow, reflected light and cast shadow.
- Grisaille copy: copy a master painting in monochrome to study value structure.
- Edge study: paint a simple object and deliberately vary hard, soft and lost edges.
- Limited palette still life: paint a still life with three colors plus white.
- Glaze test: glaze a transparent color over a dry underpainting and compare it with an opaque mix.
Repeat each exercise more than once; the second and third attempts are where the real learning happens. Small, focused studies teach faster than large ambitious paintings. A subject such as an oil-painted seashell is ideal for practicing subtle values and soft edges.
Books That Help You Learn Realism
The following books from our product data are all listed under realistic or technique-focused oil painting titles. We have not reviewed their contents in detail, so the notes below are based on their titles, authors and stated subjects. Look inside on Amazon before buying to check that the teaching style suits you.
| Product | Best For | Key Spec | Key Strength | Price Tier |
|---|---|---|---|---|
| Realistic Oil Painting (Matěják) | Realism methods | Underpaintings, layered and direct methods | Realism-specific | $$ |
| Encyclopedia of Oil Painting Techniques (Galton) | Technique reference | Visual directory of techniques | Broad coverage | $$ |
| Landscapes in Oil (Salaz) | Realist landscapes | Classical tradition | Landscape focus | $$ |
| Oil Painting Techniques and Materials (Speed) | Theory and tradition | Dover reprint | Classic text | $$ |
| The Oil Painting Course (Staiger) | Guided lessons | Beginner to experienced | Structured course | $$ |
| Mastering Composition (Roberts) | Composition | Techniques and principles | Design skills | $$ |
Realistic Oil Painting by Jan Matěják
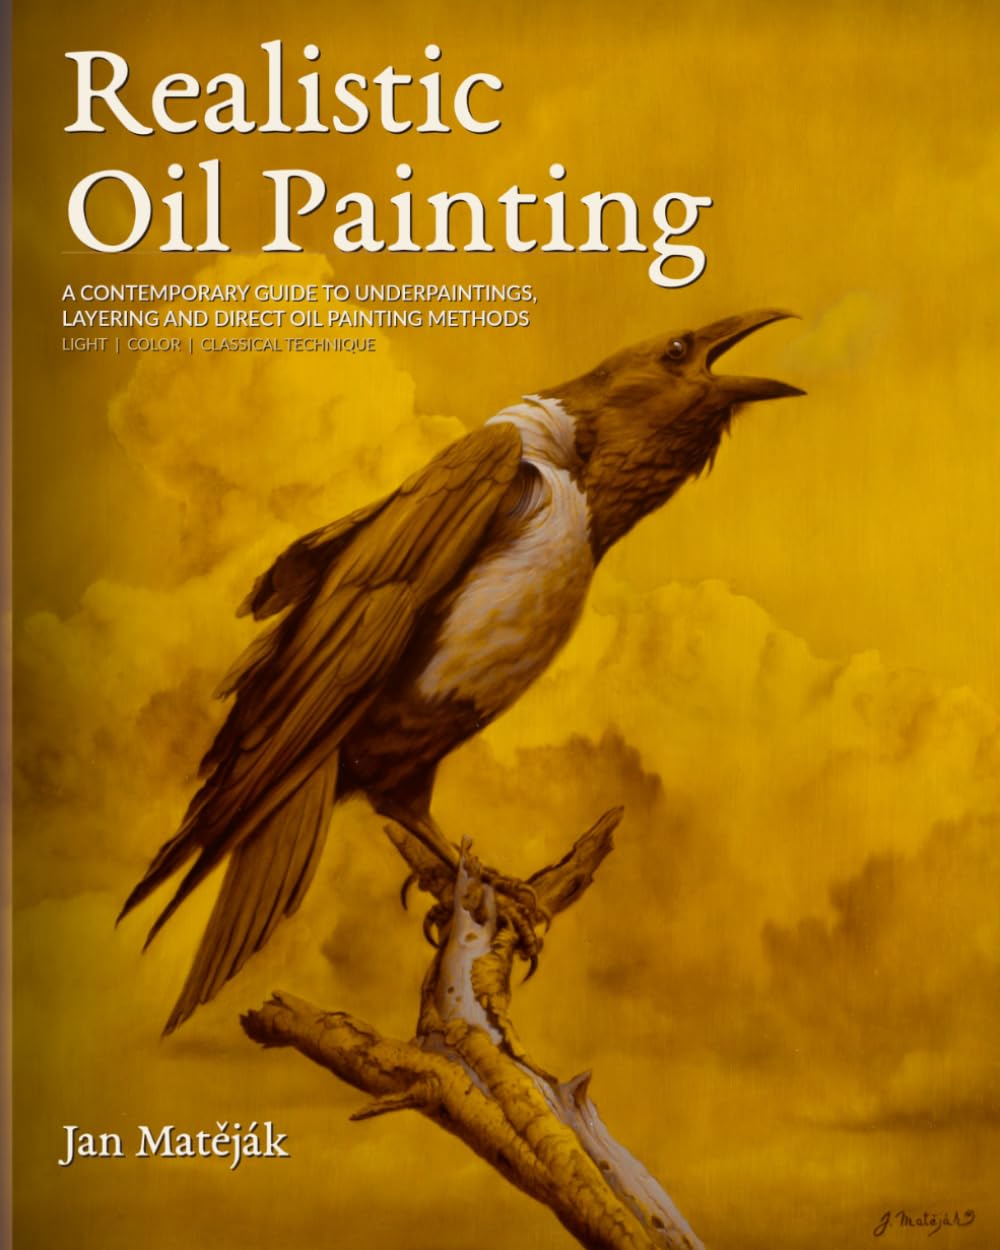
The subtitle describes it as a contemporary guide to realistic oil painting covering underpaintings, the layered technique and the direct painting method. That maps directly onto the techniques above, making it a natural first choice if realism is your goal.
Best suited for: Painters who want a realism-specific guide covering both indirect and direct methods.
The Encyclopedia of Oil Painting Techniques by Jeremy Galton
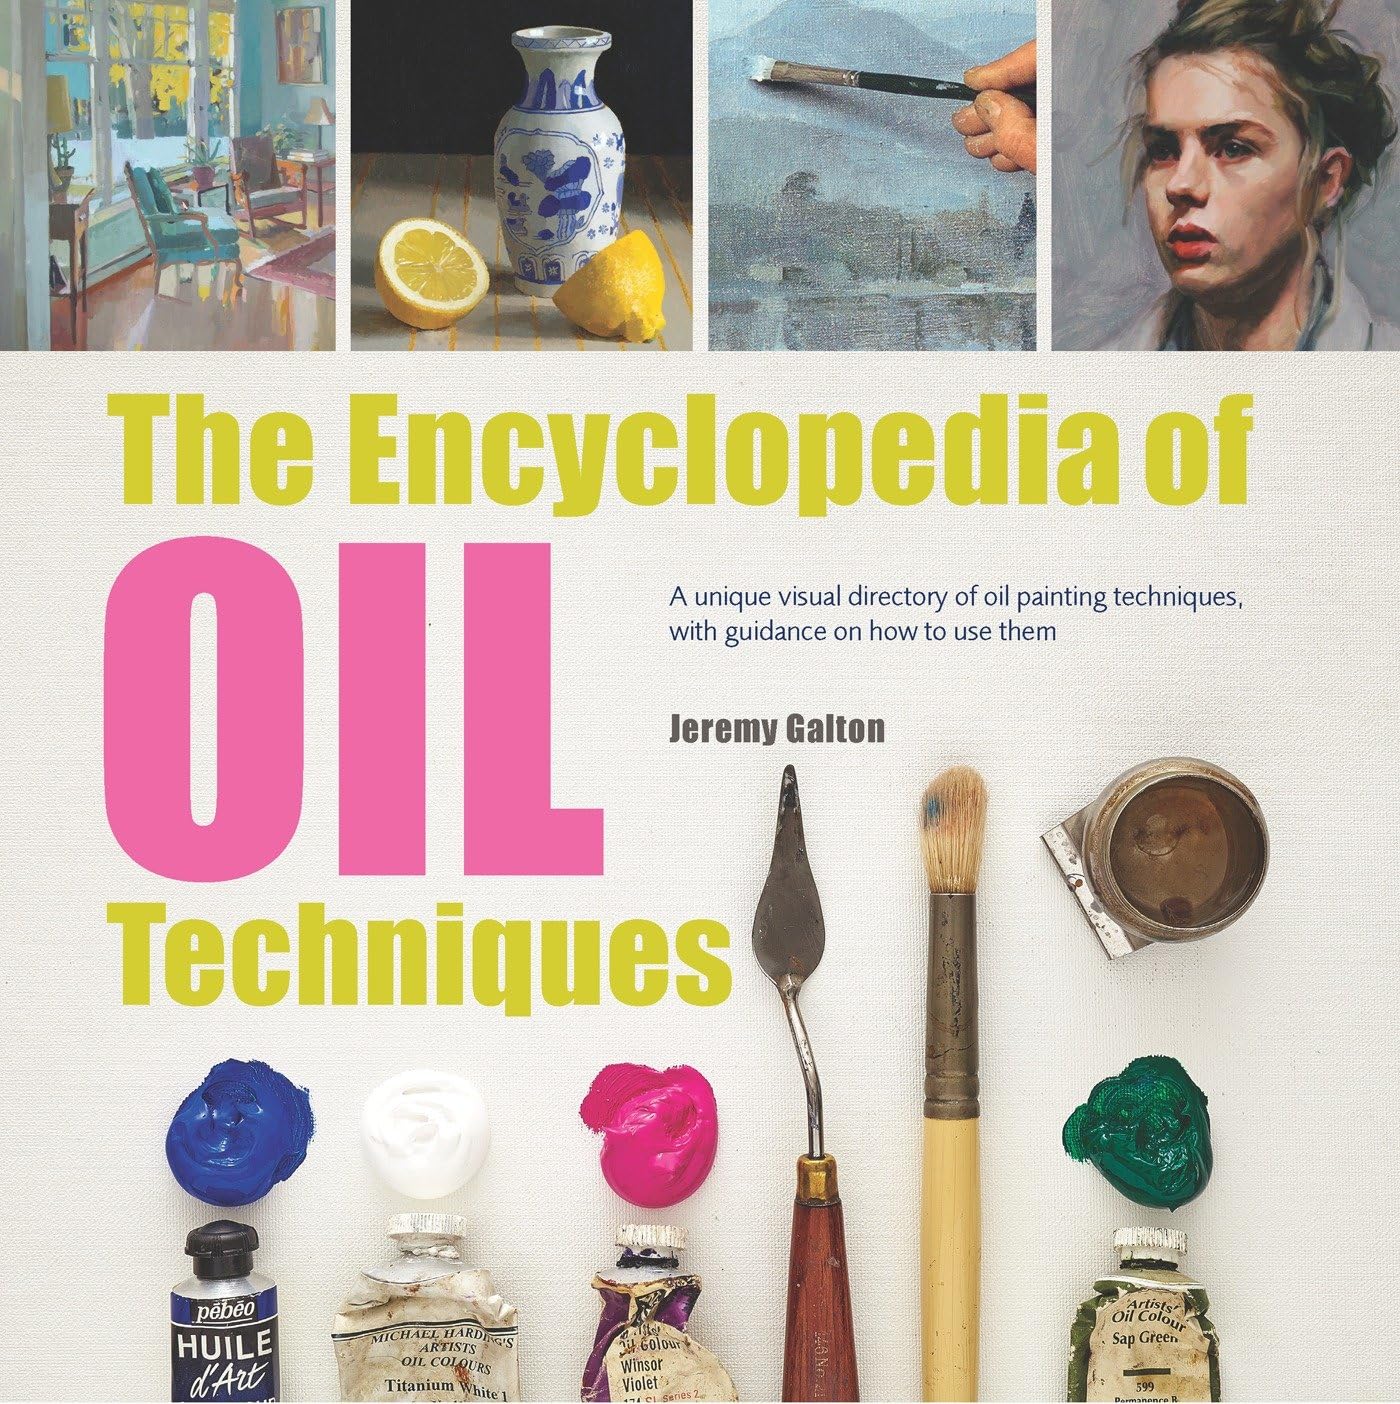
Billed as a visual directory of oil painting techniques with guidance on how to use them, it works as a reference you return to when you want to try glazing, scumbling, impasto or a specific approach. Two editions appeared in our data; check which one is current when you buy.
Best suited for: Painters who want a broad, visual technique reference.
Landscapes in Oil by Ken Salaz

Subtitled “A Contemporary Guide to Realistic Painting in the Classical Tradition”, with a foreword by Peter Trippi, it is aimed at painters interested in realist landscape work rooted in traditional methods.
Best suited for: Landscape painters pursuing classical realism.
Oil Painting Techniques and Materials by Harold Speed

A Dover Art Instruction reprint of a classic text on oil painting technique and materials. Older instructional books can be dense, but they often explain the reasoning behind traditional methods in depth.
Best suited for: Painters who enjoy theory and the traditional foundations of technique.
The Oil Painting Course You’ve Always Wanted by Kathleen Lochen Staiger

Its subtitle promises guided lessons for beginners and experienced artists. A structured course format suits painters who want to progress lesson by lesson rather than dip into a reference.
Best suited for: Self-taught painters who want a structured sequence of lessons.
Mastering Composition by Ian Roberts

Composition is the part of realism many technically skilled painters neglect. This book focuses on techniques and principles to improve painting design, which helps realist work look intentional rather than merely accurate.
Best suited for: Painters whose technique is ahead of their composition.
How We Chose These Books
We have not read these specific editions cover to cover. They were selected from Amazon listings checked in October 2026 based on how closely their titles and stated subjects match realist oil painting technique, and how widely each is reviewed by Amazon buyers. Use Amazon’s preview feature to check the content and teaching style.
Common Mistakes to Avoid
- Starting color before values are solved. Values carry realism.
- Painting every edge hard. Vary edges for natural form.
- Breaking fat over lean. Lean underlayers, fatter top layers.
- Using too many colors. A limited palette improves harmony.
- Copying photos exactly. Photos distort shadows and color.
- Overblending. Place correct values first; blend only where needed.
- Working small brushes too early. Use large brushes until the final details.
FAQs
What is the most important technique for realistic oil painting?
Accurate values. If light and dark relationships are correct, a painting reads as realistic even with simple color. That is why many realists start with a monochrome underpainting.
What is the difference between grisaille and brunaille?
Both are monochrome underpaintings. Grisaille uses grays; brunaille uses browns. They establish values before color is added.
Is alla prima good for realism?
Yes, especially for studies, portraits from life and plein air. Highly finished realism usually benefits from layering and glazing.
How do I make oil paintings look less flat?
Strengthen value contrast, vary edges, use warm and cool temperature shifts, and glaze shadows for depth.
What does fat over lean mean?
Each successive layer should contain more oil than the one beneath it, which helps prevent cracking as the painting dries.
Should I paint from photos or from life for realism?
Both have value, but painting from life trains your eye to see subtle color and edges that photos often lose.
Final Recommendation
To paint realistically in oil, focus on drawing, values, fat over lean, edge control and glazing, in that order of priority. Practice with small studies, a limited palette and a single light source before tackling complex subjects.
If you want a book to guide you, start with Matěják’s Realistic Oil Painting for realism-specific methods, keep Galton’s Encyclopedia as a technique reference, and add Roberts’ Mastering Composition once your technique is solid. Landscape painters should consider Salaz, theory lovers Speed, and those wanting structured lessons Staiger.