
Have you ever wanted to capture the magic of snow in your paintings but didn’t know where to start? Painting snow with acrylic paint might seem tricky, but with the right techniques, you can create stunning, realistic winter scenes.
Imagine your artwork coming to life with the soft shimmer of fresh snow or the crisp texture of icy frost. In this guide, you’ll discover simple steps and expert tips that make painting snow easy and fun. Ready to transform your canvas into a winter wonderland?
Keep reading, and you’ll be amazed at what you can create!

Credit: www.youtube.com
Choosing The Right Materials
Choosing the right materials is key to painting snow with acrylic paint. The right tools help create realistic snow effects. They make painting easier and more fun. Understanding what to pick guides you to better results.
Selecting Acrylic Paint Colors
White is the main color for snow. Choose a bright, clean white paint. Mix in small amounts of blue or gray to show shadows. Light blues give a cold feel. Soft grays add depth. Avoid pure black; it looks too harsh. Use colors that blend well for smooth snow effects.
Best Brushes For Snow Painting
Soft brushes help create smooth snow surfaces. Round brushes work well for snowflakes and details. Flat brushes cover larger areas quickly. Fan brushes add texture and soft edges. Choose brushes with synthetic bristles. They handle acrylic paint better and last longer. Clean brushes after each use to keep them soft.
Using Textured Surfaces
Textured paper or canvas adds interest to snow scenes. Rough surfaces catch paint unevenly, mimicking snow’s natural look. Use watercolor paper or canvas with a light texture. Avoid very smooth surfaces; they make snow look flat. Textured surfaces help paint layers stand out and look more real.
Preparing Your Workspace
Preparing your workspace is the first step to paint snow with acrylics. A neat, well-organized area helps you focus on your art. It also keeps your materials safe and ready to use. Clean space means fewer mistakes and better results.
Setting Up Your Canvas
Choose a sturdy surface for your canvas. Use a flat table or an easel. Make sure your canvas is clean and dry. Secure the canvas to avoid movement while painting. Position it at a comfortable height for your arms.
Organizing Paint And Tools
Arrange your acrylic paints by color and shade. Keep brushes, palette knives, and water cups close by. Use a palette to mix colors easily. Have paper towels or cloths for quick cleanup. This setup saves time and helps keep focus.
Lighting Tips For Accurate Colors
Natural light is best for true color views. Place your workspace near a window with soft daylight. Avoid harsh direct sunlight that creates glare. If using artificial lights, choose daylight bulbs. Good lighting prevents color mistakes and eyestrain.
Basic Techniques For Snow Effects
Painting snow with acrylics can seem tricky. Snow is not just white. It has shadows, texture, and light reflections. Using basic techniques helps create a realistic snow effect in your artwork. These methods make your snow look soft, cool, and full of life.
Start by understanding how to use colors and brush strokes. Then, add small details like snowflakes. These simple steps bring your snowy scene to life.
Applying White And Cool Tones
Begin with a base of white paint. Use pure white for bright snow areas. Mix in cool tones like light blue or gray for shadows. These colors make snow look cold and real. Apply the cool tones gently under the white. This creates depth and soft shadows on the snow.
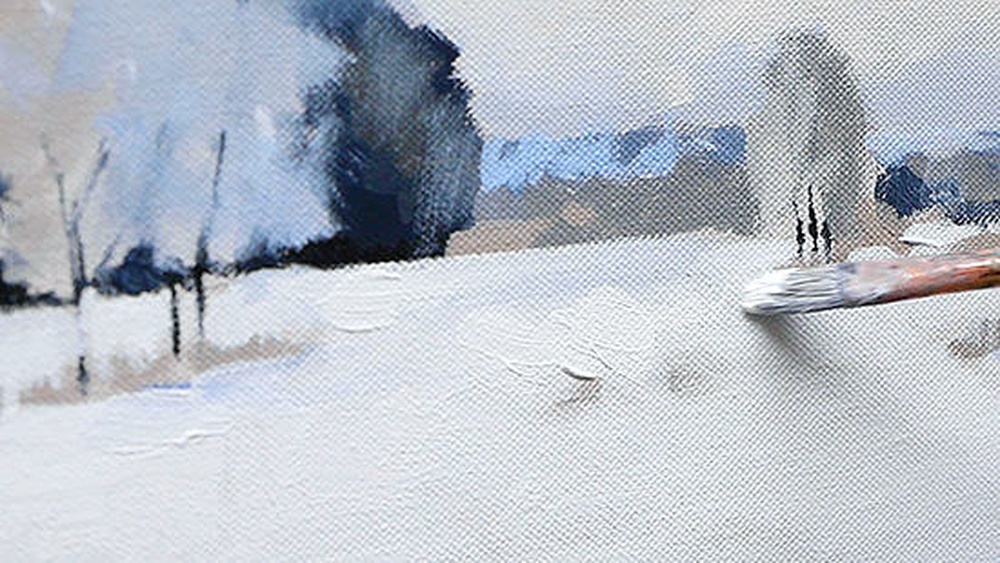
Creating Snow Texture With Brush Strokes
Use a dry brush technique to add texture. Lightly drag a stiff brush over the surface. This makes small, rough marks that look like snow clumps. Vary your brush strokes to show different snow shapes. Dab or tap the brush for fluffy snow effects. Texture adds realism and interest to your painting.
Using Spattering For Snowflakes
Spattering is perfect for tiny snowflakes. Load a brush with watered-down white paint. Flick the brush with your finger to spray small dots. These dots look like falling snowflakes. Control the size by changing paint thickness. Spattering adds a lively, snowy atmosphere to your work.
Credit: samuelearp.com
Adding Depth And Shadows
Adding depth and shadows to snow in acrylic paintings makes the scene more lifelike. Snow is not just white. It has many tones shaped by light and shadow. Painting shadows gives the snow shape and volume. It shows where the snow is soft or hard.
Use different shades of blue, gray, and purple for snow shadows. These colors help create a cool and natural look. Shadows add contrast and show the snow’s texture clearly.
Mixing Shades For Snow Shadows
Start with white paint as your base. Add small amounts of blue or gray to create shadow colors. Use ultramarine blue or payne’s gray for soft shadows. Mix tiny touches of purple to warm some shadow areas. Test your shades on a palette before applying. Make sure shadows are darker than the snow but not too black. This keeps the snow soft and natural.
Layering Techniques For Realism
Apply shadows in thin layers. Begin with light shades and build darker tones gradually. Use a dry brush for soft edges. Let each layer dry before adding the next one. Layering helps shadows look deep and real. It also gives the snow a fluffy or icy texture. Avoid painting shadows all at once. Slow layering creates a gentle and natural effect.
Blending Colors Smoothly
Blend shadow colors into the white snow carefully. Use a clean, dry brush to soften edges. Work quickly while the paint is wet for smooth blends. Use small strokes to mix colors gently. This creates smooth transitions between light and shadow. Avoid harsh lines for a natural snow look. Blending adds softness and helps shadows flow with the snow’s shape.
Highlighting Snow’s Sparkle
Painting snow with acrylics is fun and creative. Capturing the sparkle of snow adds life to your artwork. Bright highlights, light reflections, and subtle shimmer make snow look real and fresh. These details bring a magical feel to your painting. Below are easy ways to highlight snow’s sparkle.
Using White Highlights
White highlights create the bright spots where light hits the snow. Use a small brush to add dots or short strokes of pure white paint. Focus on edges and raised areas of the snow. Keep highlights soft to avoid harsh lines. This simple step adds brightness and contrast.
Incorporating Light Reflection
Snow reflects colors from the sky and surroundings. Mix light blue, soft pink, or pale yellow with white paint. Gently brush these colors on the snow’s surface to show reflected light. This technique gives snow a natural and cool glow. It also adds depth and interest.
Adding Glitter Or Iridescent Paint
Glitter or iridescent paint adds sparkle that changes with light. Use a tiny amount on top of dry paint. Apply it on areas where light hits most. This effect makes snow shimmer and look magical. Be careful not to overuse glitter to keep the look subtle and realistic.
Credit: willkempartschool.com
Painting Snow In Different Scenes
Painting snow in different scenes adds variety and depth to your artwork. Each setting shows snow in a unique way. Understanding these differences helps you create realistic and beautiful paintings.
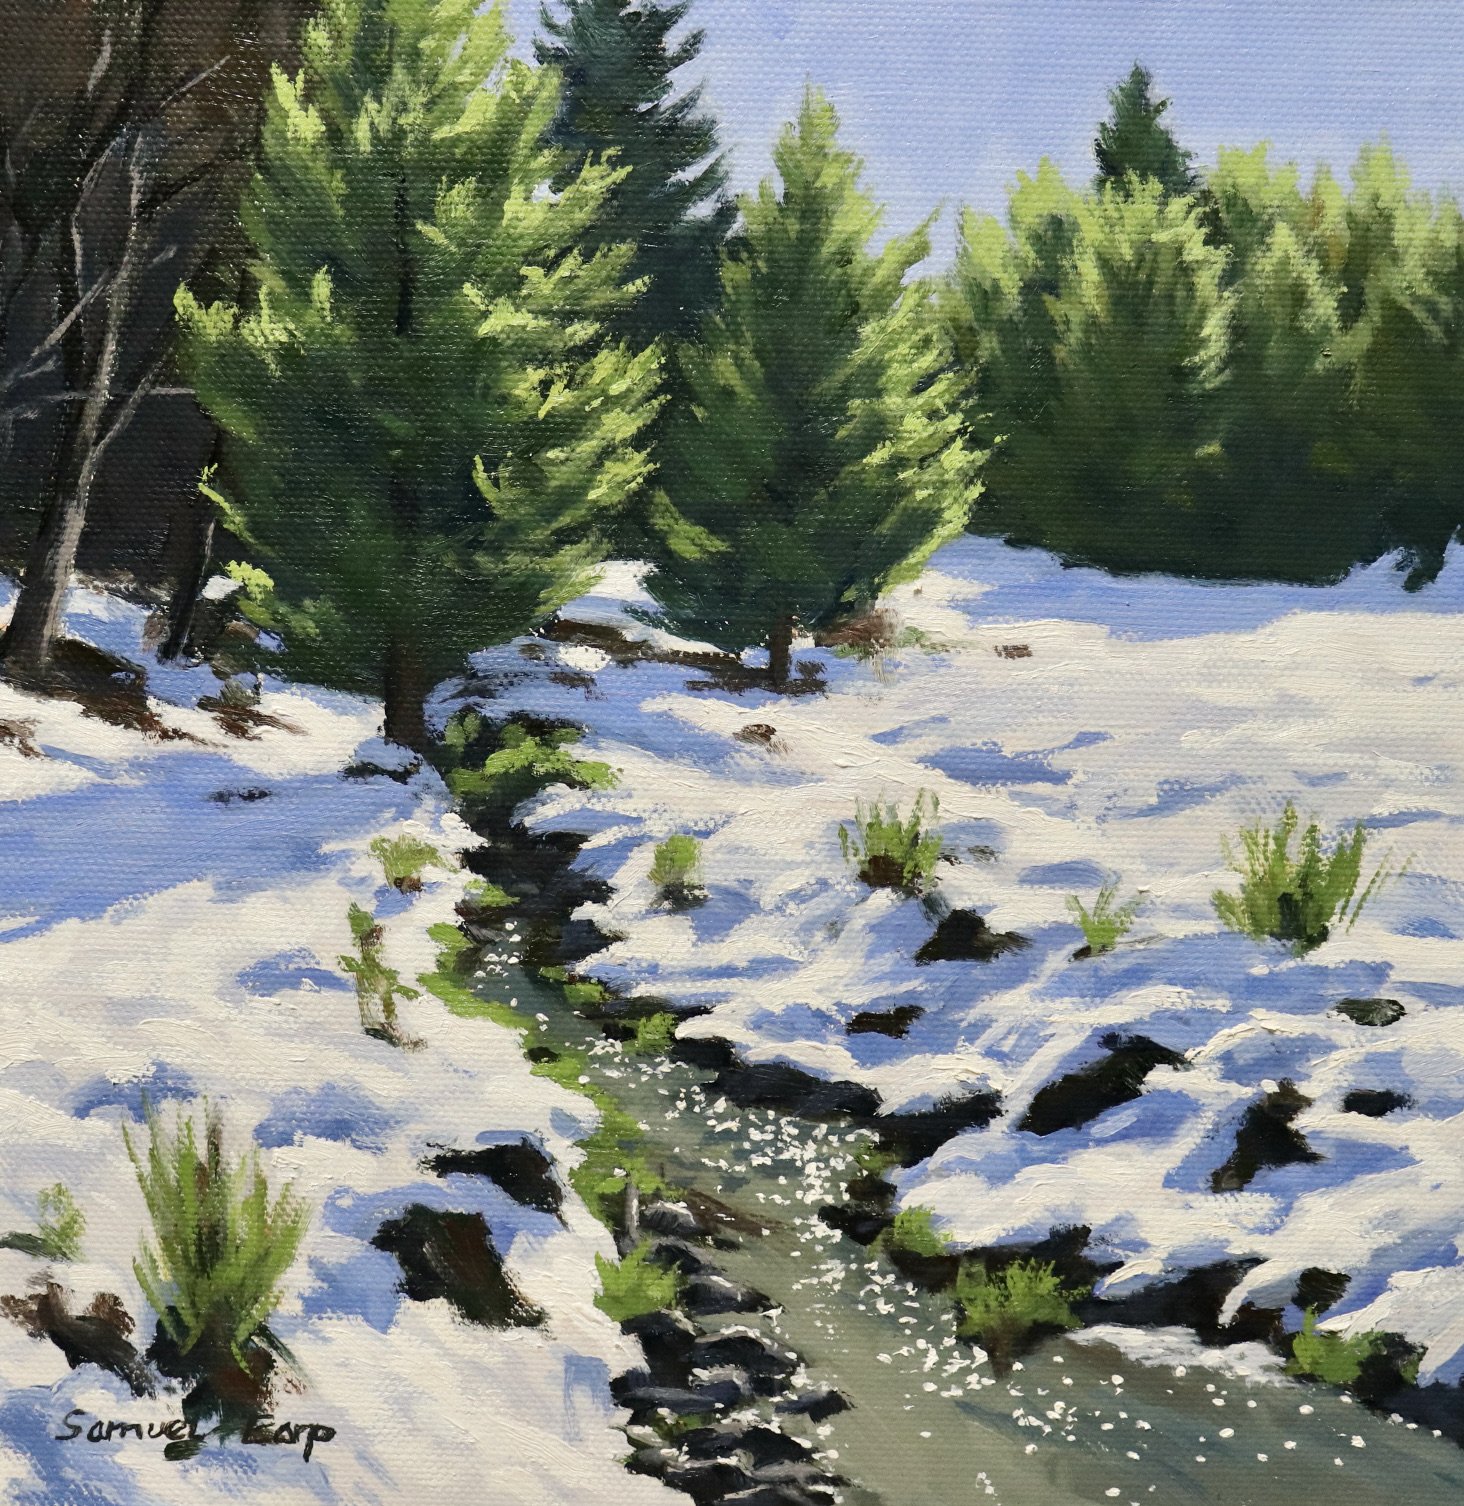
Snowy Landscapes
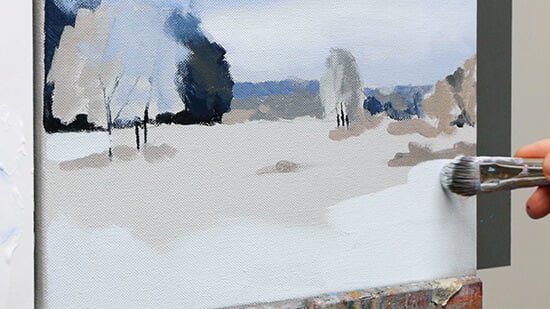
Snowy landscapes need broad areas of white and light blue. Use soft strokes to show smooth snow on hills and fields. Add shadows with cool blues and purples to give snow shape. Keep the sky light and clear to enhance the cold feeling.
Snow On Trees And Branches
Painting snow on trees requires a careful touch. Use thick white paint to show snow resting on branches. Small brush strokes work well to create texture. Add dark colors under the snow to show the branch shapes. This contrast makes the snow look real and fresh.
Snow In Urban Settings
Urban scenes show snow on roads, rooftops, and cars. Paint snow with rough, uneven edges to show melting and footprints. Use gray and brown shades under the snow to show dirt and wear. Reflections on wet surfaces add realism. Small details bring the city snow to life.
Common Mistakes To Avoid
Painting snow with acrylic paint can be tricky. Many artists make common mistakes that affect the final look. Avoiding these errors helps create snow that looks real and beautiful. Focus on key areas like color use, light, and texture for best results.
Overusing White Paint
Using too much white paint makes snow look flat and dull. Snow has shadows and colors, not just plain white. Mix white with blues, grays, or even light purples. This adds depth and makes snow appear natural. Paint with lighter touches to keep details clear.
Ignoring Light Source
Snow changes color depending on light direction. Ignoring light makes the snow look strange and lifeless. Always decide where the light comes from. Paint shadows and highlights accordingly. This shows the snow’s shape and surface better.
Skipping Texture Details
Snow is not smooth; it has texture and irregularities. Skipping texture makes the painting boring and flat. Use brush strokes or sponges to add bumps and patterns. Small details like glistening spots or rough edges bring snow to life.
Finishing Touches And Protection
Finishing touches and protection are key steps in completing your snow painting. These steps keep your artwork looking fresh and bright for a long time. Proper finishing also helps to avoid damage and fading.
Sealing Your Artwork
Sealing your acrylic snow painting locks in the colors and details. Use a clear acrylic varnish spray or brush-on sealer. Choose a matte or glossy finish based on your style. Apply thin, even coats to avoid cloudiness. Let each coat dry fully before adding the next. Sealing protects against dust, moisture, and UV light.
Framing Tips
Frame your snow painting to give it a polished look. Use a frame that matches the cool tones of snow. Avoid direct glass touching the paint surface. Use a mat board to keep space between the glass and paint. This prevents condensation and sticking. Choose a sturdy frame to protect edges and corners.
Maintaining Acrylic Paint Durability
Keep your acrylic snow painting safe by avoiding direct sunlight. Store it in a dry place to stop moisture damage. Clean gently with a soft, dry cloth to remove dust. Avoid harsh chemicals or water on the painting. Check your painting regularly and reseal if needed. Proper care ensures your snow art stays beautiful for years.
Frequently Asked Questions
How Do You Create Realistic Snow Texture With Acrylic Paint?
To create realistic snow texture, use thick white acrylic paint and apply it with a palette knife. Add texture by dabbing with a sponge or stippling with a brush. Layering and varying shades of white and blue help enhance the snow’s depth and realism.
What Colors Mix Well To Paint Snow Shadows?
Mix light blues, grays, and a touch of purple to paint snow shadows. Avoid pure black as it looks unnatural. These colors create soft, cool shadows, giving snow a realistic and three-dimensional appearance in your acrylic painting.
How To Prevent Acrylic Paint From Cracking On Snow Paintings?
Use a flexible, high-quality acrylic paint and apply thin layers. Allow each layer to dry completely before adding the next. Avoid overworking the paint to prevent cracking and maintain the smooth texture needed for snow effects.
Can I Use Acrylic Mediums To Enhance Snow Effects?
Yes, acrylic mediums like glazing gel or texture paste add depth and dimension to snow. They help create realistic snow’s reflective qualities and texture. Using mediums enhances the overall appearance and makes the snow in your painting more lifelike.
Conclusion
Painting snow with acrylics can be simple and fun. Use white and light blues for a soft look. Add shadows with gray or light purple. Don’t forget to create texture by layering paint. Practice different brush strokes to find your style.
Keep your colors bright and clean for fresh snow. Enjoy the process and watch your painting come alive. You can create beautiful winter scenes with these easy steps. Just remember to be patient and have fun!


