
Have you ever looked at a simple wood slice and wondered how to turn it into a stunning piece of art? You’re about to discover just how easy and fun it is to create your own DIY painted wood slice art.
Whether you’re a beginner or just looking for a new creative project, this guide will walk you through every step. Imagine adding a personal touch to your home decor or gifting something handmade that truly stands out. Ready to bring your wood slices to life with vibrant colors and unique designs?
Let’s dive in and make art that speaks to your style and creativity!
Credit: www.unoriginalmom.com
Materials Needed
Starting a DIY painted wood slice art project needs the right materials. Gathering these items first helps create a smooth painting experience. Each tool and supply plays a role in the final look of your art.
Choosing quality materials saves time and improves your results. Below is a detailed list of what you need to get started.
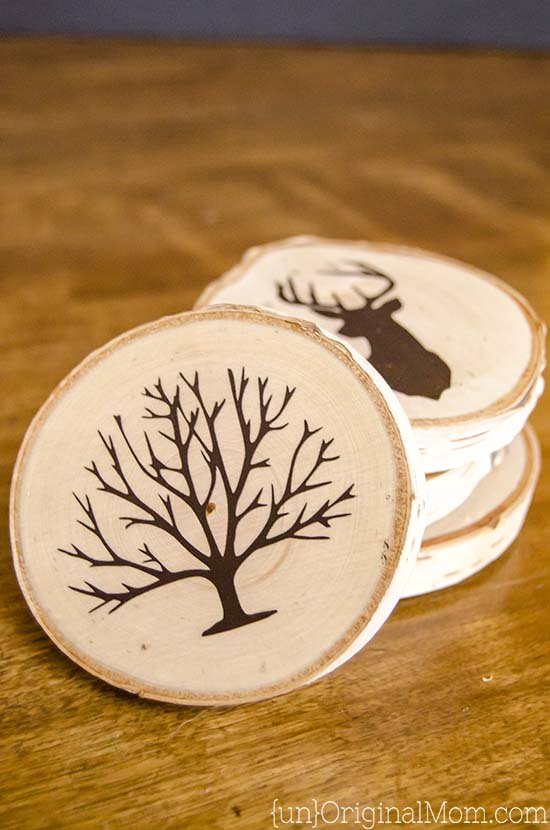
Wood Slice Selection
Pick wood slices that are smooth and flat. Look for natural wood with visible rings for character. Sizes vary, so choose based on your design idea. Thicker slices hold paint better and last longer. Avoid slices with cracks or rough surfaces.
Paint Types And Brushes
Acrylic paints work best for wood slice art. They dry fast and have vibrant colors. Use small, fine-tipped brushes for details. Larger, flat brushes cover bigger areas quickly. Quality brushes help control paint flow and precision.
Additional Supplies
Prepare sandpaper to smooth wood surfaces before painting. Use a pencil for sketching your design lightly. A palette or plate holds your paint for easy mixing. Have a cup of water ready to rinse brushes. Paper towels help clean brushes and fix mistakes.

Credit: www.youtube.com
Preparing Wood Slices
Creating beautiful painted wood slice art can be very rewarding. Yet, some common problems might slow you down. Knowing how to fix these issues helps keep your project smooth and enjoyable. This section covers simple solutions to frequent troubles.
Paint Smudges
Paint smudges happen when the paint is still wet and touches another surface. Avoid touching the painted area too soon. Use a fine brush for details to reduce mistakes. If a smudge occurs, wait for the paint to dry fully. Then, gently sand the area with fine sandpaper. Repaint the spot carefully for a clean finish.
Wood Cracking
Wood slices can crack if they dry too fast or unevenly. Store your wood slices in a cool, dry place before painting. Avoid painting on wood that feels damp. To fix small cracks, use wood filler or glue designed for wood. Let it dry completely, then sand smooth. This step stops cracks from getting worse.
Uneven Surfaces
Wood slices may have bumps or rough spots. These make painting harder and less smooth. Sand the wood slice lightly with medium-grit sandpaper before painting. This creates a flat surface that holds paint better. Check the wood for any dirt or dust and wipe it clean. A smooth surface helps your paint look even and neat.

Credit: artistro.com
Frequently Asked Questions
What Materials Are Needed For Diy Painted Wood Slice Art?
You need wood slices, acrylic paints, paintbrushes, and a sealant. Optionally, use sandpaper and stencils for better results.
How Do You Prepare Wood Slices For Painting?
Sand the wood surface smoothly to remove roughness. Clean dust with a dry cloth before painting.
Which Paint Is Best For Wood Slice Art?
Acrylic paint works best. It adheres well and dries quickly on wood surfaces.
How Can I Seal And Protect My Finished Wood Slice Art?
Apply a clear acrylic sealer or varnish after painting. This protects the artwork and enhances durability.
Conclusion
Creating DIY painted wood slice art is fun and rewarding. Use simple steps to bring your ideas to life. Choose colors and designs that inspire you. Enjoy the process of painting each unique wood slice. Display your art at home or gift it to friends.
Keep practicing to improve your skills over time. This craft suits all ages and skill levels. Start your wood slice art project today and explore creativity.