Are you ready to create stunning artwork that looks complex but is surprisingly simple? DIY string art with paint is a fun and creative way to transform ordinary materials into eye-catching designs.
Whether you want to add a personal touch to your home decor or find a relaxing new hobby, this technique lets you explore colors and patterns in a unique way. In this guide, you’ll discover easy steps and helpful tips to make your own beautiful string art paintings.
Get ready to surprise yourself with what you can create using just paint, string, and a little imagination!
Materials Needed
Starting a DIY string art project with paint requires gathering the right materials. Having quality supplies makes the process smoother. It also helps to create a beautiful finished piece. Below are the key materials to prepare for your string art painting.
Choosing The Right String
Pick a string that holds paint well and is easy to handle. Cotton thread or embroidery floss works best. These strings come in many colors and thicknesses. Avoid slick or very thin strings. They do not pick up paint evenly. A thicker string helps create clear paint lines.
Selecting Paint Types
Use liquid or acrylic paints for the best results. Liquid paints soak into the string easily. Acrylic paints dry fast and have bright colors. Choose non-toxic paints, especially if kids join the project. Avoid oil-based paints because they are harder to clean. Pick colors that contrast well for striking effects.
Additional Supplies
Prepare a wooden board or canvas as the base. You need nails or pins to wrap the string around. Have a hammer ready to tap nails gently. Use paper towels or rags to clean excess paint. A palette or small containers help hold paint. Gloves protect your hands from stains. Finally, a pair of scissors is essential to cut the string.
Preparing Your Workspace
Preparing your workspace is the first step in creating beautiful DIY string art with paint. A clean, organized area helps you focus on your project. It also prevents messes and protects your furniture. Taking time to set up properly makes the process smoother and more enjoyable.
Protecting Surfaces
Cover your table or desk with newspaper or a plastic sheet. This stops paint from staining your furniture. Use painter’s tape to secure the covering. Keep a few paper towels nearby for quick cleanups. Protecting surfaces keeps your space neat and damage-free.
Organizing Materials
Gather all your tools before starting. Place paint, string, brushes, and nails within easy reach. Use small containers to hold paint or water. Arrange items so you can grab them quickly without searching. Organized materials save time and reduce frustration during your project.
Creating Your Pattern
Creating your pattern is the first step in making beautiful DIY string art with paint. A clear pattern guides your nails and string placement. It helps keep your design neat and balanced. You can choose simple or detailed designs depending on your skill and style. The right pattern makes your artwork stand out.
Simple Design Ideas
Start with easy shapes like hearts, stars, or circles. These shapes are quick to trace and nail. Letters and numbers work well too. They add a personal touch to your art. Floral patterns are also popular and simple to create. Choose designs with clear lines for better results. Simple patterns reduce mistakes and save time.
Transferring Patterns To Canvas
Print or draw your design on paper first. Place the paper on your canvas or wood board. Use tape to hold it in place. You can poke small holes along the pattern lines. These holes mark where to place your nails. Another way is to trace the pattern with a pencil. Make sure the pattern is centered and straight. This step sets the foundation for your string art.
String Art Painting Techniques
String art painting blends simple materials with creative techniques. It uses string dipped in paint to create unique designs on canvas. This method adds texture and vibrant colors. Each step shapes the final artwork’s look. Learning key string art painting techniques helps you control the paint flow and design.
Dipping String In Paint
Choose a smooth string like cotton or embroidery floss. Cut a length that fits your project. Dip the string lightly in paint. Avoid soaking it too much to prevent drips. Use acrylic or liquid watercolor paints for best results. Let excess paint drip off before placing the string on canvas. This step controls how the paint transfers.
Arranging String On Canvas
Lay the painted string on your canvas carefully. Create shapes or abstract lines by placing the string in patterns. Use tweezers or fingers to guide the string. Try straight lines or curved shapes for variety. Overlapping strings add depth and color mixing. Plan your design before pulling the string to keep it neat.
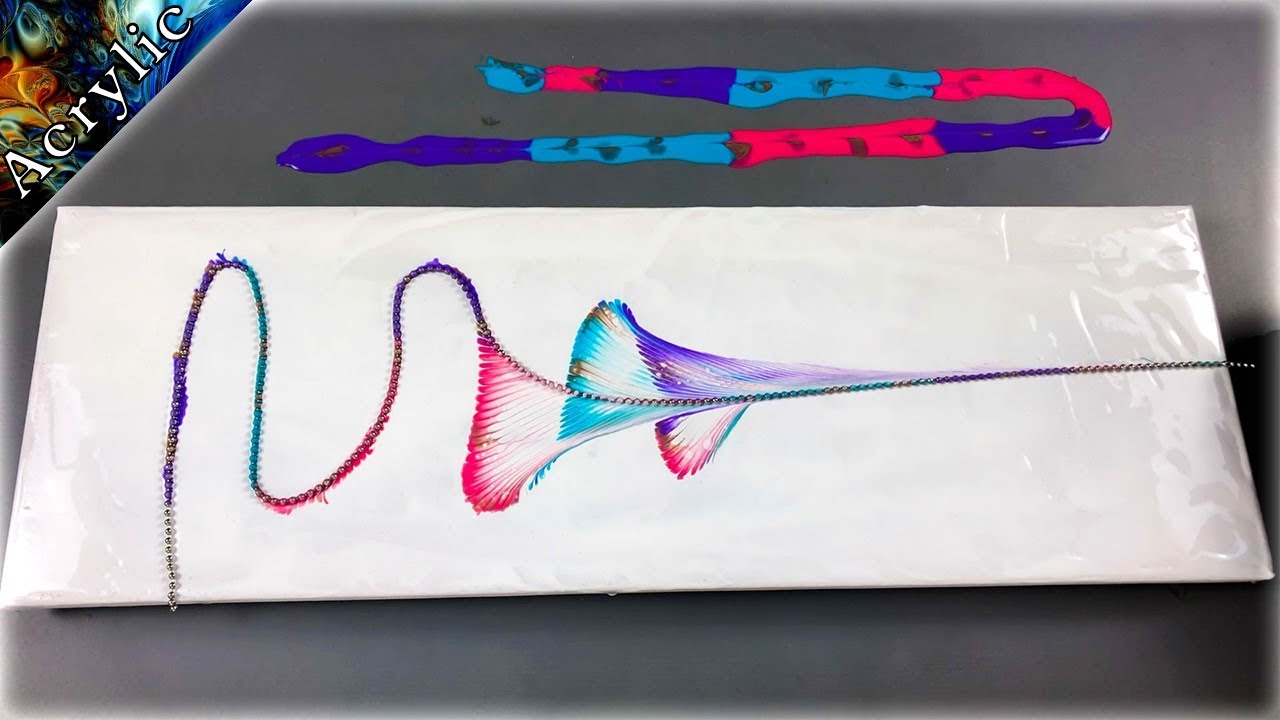
Pulling String For Effect
Hold one end of the string firmly. Pull slowly across the canvas to drag the paint. Pulling creates streaks and blends colors naturally. Change the pull direction for different effects. Use varying pressure to control the paint thickness. This motion brings life and movement to your string art painting.
Layering Colors
Layering colors in DIY string art with paint adds vibrancy and richness to your project. It creates a dynamic look that catches the eye. Each layer builds on the previous one, making the design stand out. This technique lets you play with shades and tones easily. Patience and careful application bring the best results.
Combining Multiple Paints
Use different paint colors on separate strings for a lively effect. Dip each string into a different paint shade before pulling it across the canvas. Blend colors by overlapping string pulls gently. This method creates smooth transitions between hues. Experiment with bold and soft colors to find what you like.
Achieving Depth And Texture
Apply thicker layers of paint in some areas to add texture. Pull strings slowly to leave more paint behind for a raised effect. Use lighter colors on top of darker ones to create depth. Allow each layer to dry before adding the next to avoid smudging. This builds a three-dimensional feel in your artwork.
Credit: www.etsy.com
Drying And Finishing Touches
After creating your DIY string art with paint, drying and finishing touches are crucial. Proper drying ensures your colors stay vibrant and your design stays intact. Finishing touches protect your artwork and give it a polished look. Take time to follow these steps for the best results.
Proper Drying Times
Let your string art dry fully before moving it. Paint can take several hours to dry, depending on thickness and humidity. Wait at least 24 hours to be safe. Avoid touching the surface during this time. Place your artwork in a well-ventilated area for faster drying. Do not stack or cover your art until it is completely dry.
Sealing And Protecting Artwork
Once dry, seal your artwork to protect it. Use a clear acrylic spray or brush-on varnish. This seals the paint and prevents dust or moisture damage. Apply a thin, even layer over the entire surface. Allow the sealer to dry fully before handling your art. Sealing also gives a smooth, finished look to your piece. It helps your DIY string art last longer and look great on any wall.
Troubleshooting Tips
Troubles can happen during DIY string art with paint. Knowing how to handle common issues helps keep your project neat and fun. These troubleshooting tips cover paint smudges and fixing mistakes.
Avoiding Paint Smudges
Use a clean workspace to prevent dust and dirt on your art. Let each paint layer dry before adding more color or pulling string again. Hold the string gently but firmly to avoid dragging wet paint. Use a small brush to clean edges if paint spreads outside the design. Wear gloves to keep your hands clean and avoid accidental smears.
Fixing Mistakes
Act quickly if paint spills or spreads where it should not. Dab the spot gently with a damp cloth to lift fresh paint. For dried paint, use a small craft knife to scrape off carefully. You can cover small errors with another layer of paint or string in a different color. Plan your colors and layers to hide minor mistakes easily.
Credit: www.youtube.com
Creative Variations
Creative variations bring fresh ideas to your DIY string art with paint. They help you explore new styles and textures. These variations make your artwork unique and fun to create. Experimenting can lead to beautiful results beyond the classic methods.
Using Different String Types
Try various string types for distinct effects. Cotton thread offers a soft, smooth finish. Embroidery floss adds bright colors and shine. Jute or twine gives a rustic, natural look. Thin yarn creates delicate, fine lines. Thick strings add bold, strong shapes. Each string type changes the painting’s texture and style.
Experimenting With Canvas Sizes
Choose different canvas sizes to suit your project. Small canvases work well for detailed designs. Large canvases allow big, sweeping movements with the string. Medium sizes balance detail and broad strokes. Changing canvas size changes the art’s visual impact. Try square, rectangular, or even round canvases for variety.
Credit: www.youtube.com
Frequently Asked Questions
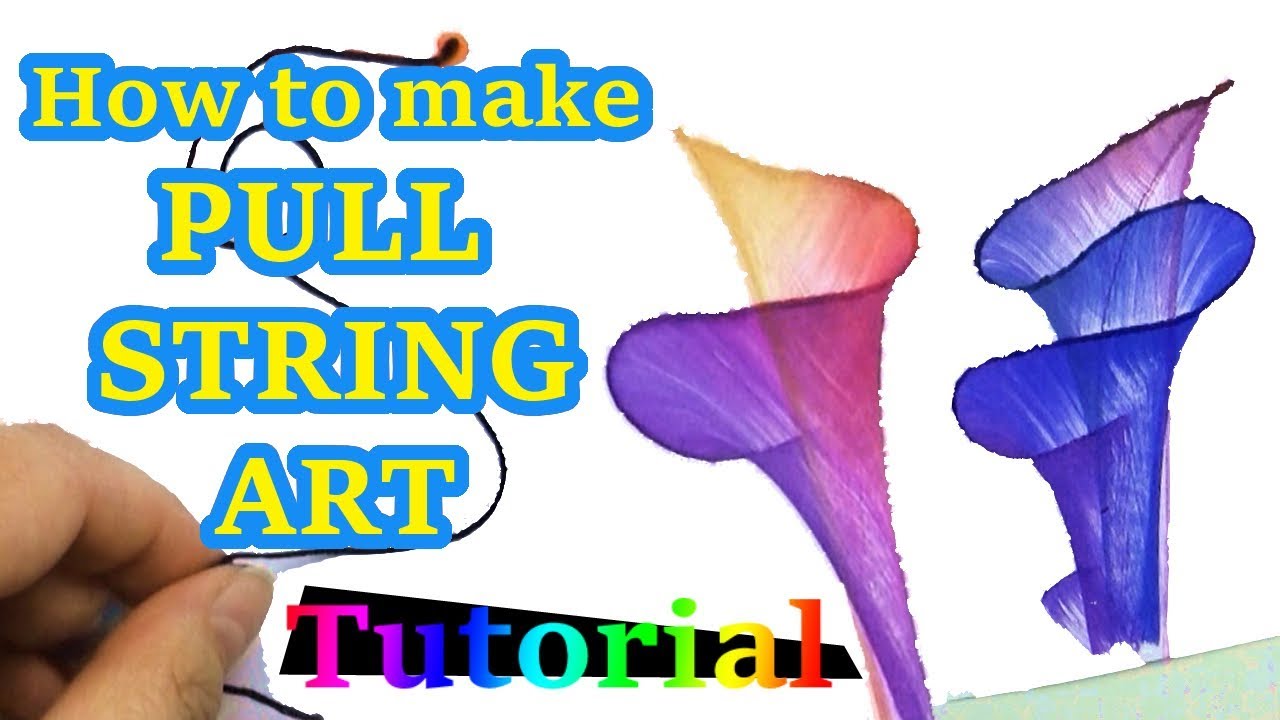
How To Do String Paint Art?
Dip a string into paint, place it on folded paper, then pull to create patterns. Repeat with colors for layered effects.
How To Create Tension With Color In A Painting?
Create tension with color by contrasting warm and cool hues, light and dark values, and saturated versus muted tones. Place colors strategically using the rule of thirds or golden ratio. These contrasts grab attention and create dynamic energy in your painting.
What Is The Best String For String Painting?
Embroidery floss and cotton thread work best for string painting. They offer vibrant colors and flexible thickness for detailed designs. Choose smooth, durable strings to create clean paint pulls and striking patterns in your artwork.
How To Make Easy String Art?
Choose a simple pattern and lightly hammer nails along its outline on a wooden board. Tie string to the first nail, then wrap it around others to fill the design. Secure the string ends with knots. Use colorful thread for added vibrancy.
Conclusion
DIY string art with paint is a fun and creative project anyone can try. It uses simple materials like string, paint, and paper. You can create beautiful patterns and colors by pulling the paint-covered string across your canvas. This craft lets you express your style and enjoy the process.
Keep practicing to improve your technique and create unique designs. Give it a try and add a personal touch to your home decor or gifts. String art painting brings color and texture in an easy, enjoyable way.