
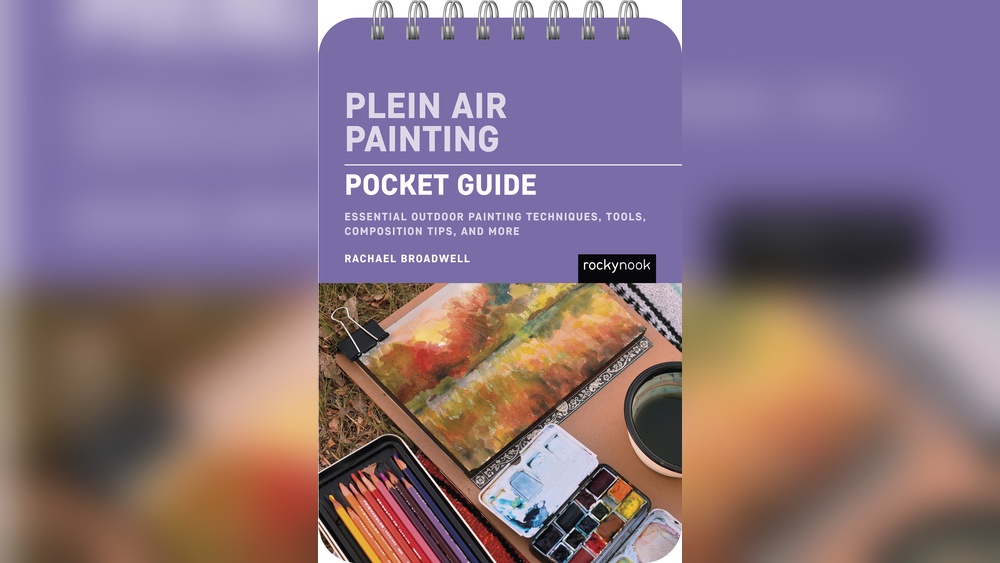
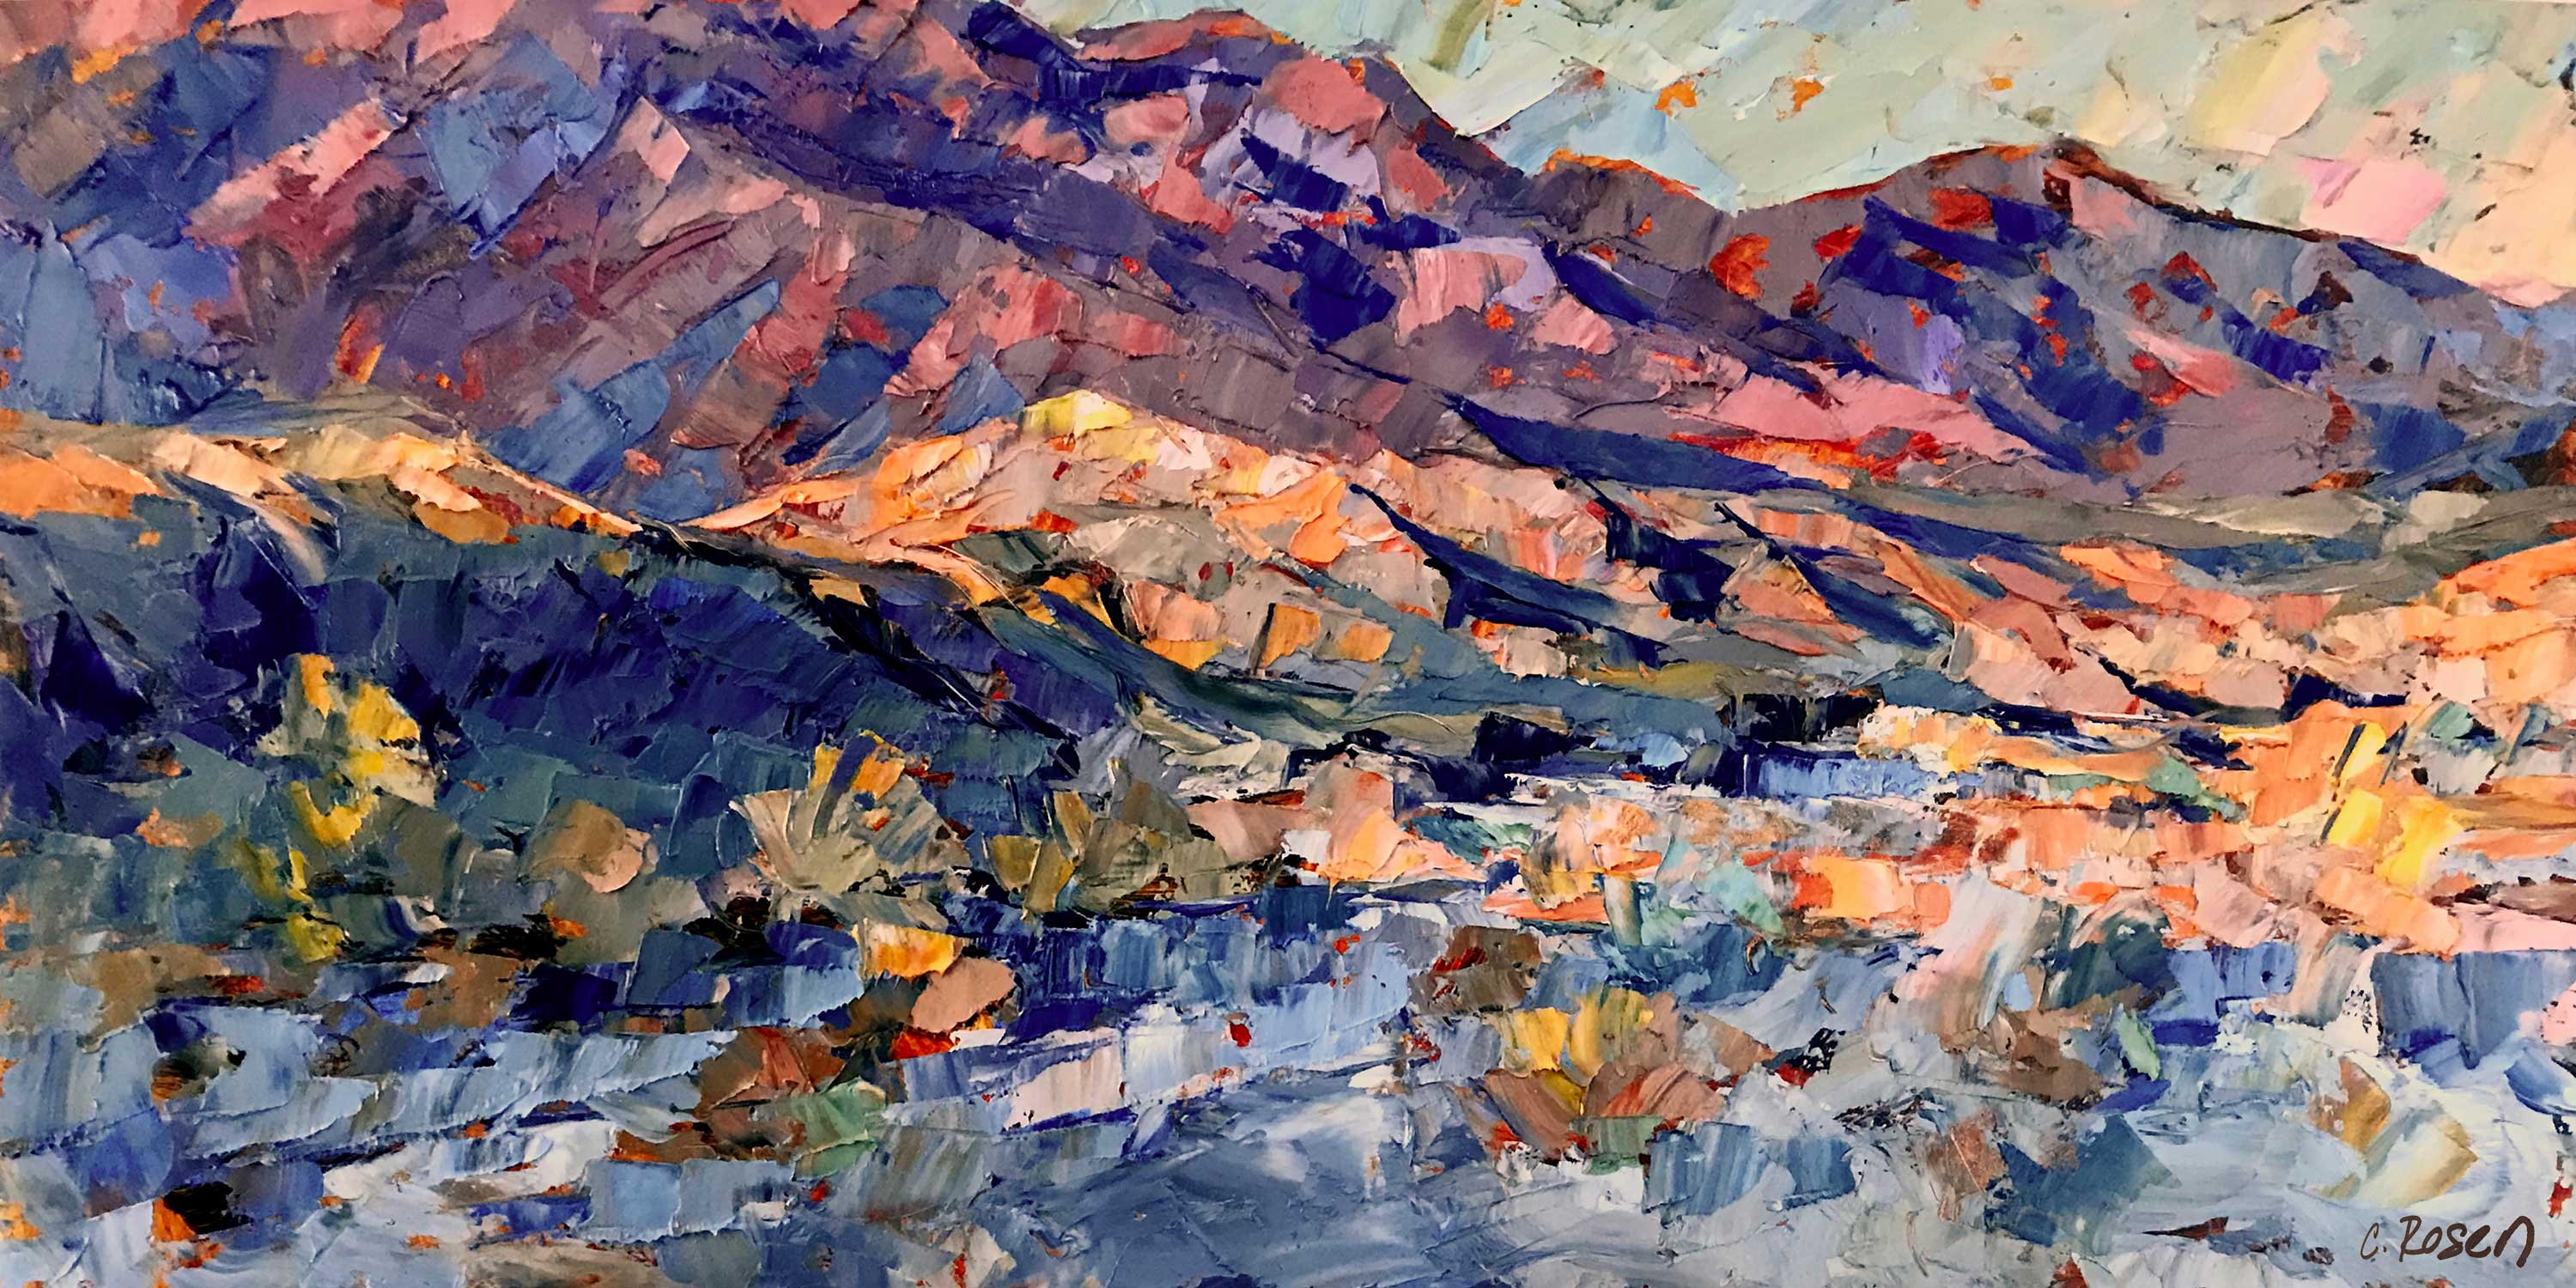
Painting outdoors, also called plein air, offers a fresh perspective and energy that studio work sometimes lacks. One of the best ways to capture the changing light and dynamic scenery is with an oil sketch. These quick, expressive paintings help artists record impressions, test compositions, and practice seeing color and value outdoors. If you want to try oil sketching outside, this guide will walk you through everything you need to know, from packing your supplies to handling the unique challenges of working in nature.
Why Try Oil Sketching Outdoors?
An oil sketch is a loose, small painting that focuses on capturing light, color, and shapes rather than fine details. Working outdoors has unique benefits:
- You see true colors and values under natural light.
- You practice making quick decisions, since light and weather change fast.
- You develop confidence with your brushwork and color mixing.
Many famous artists—like Claude Monet and John Singer Sargent—used outdoor oil sketches to grow their skills and inspire their larger works. Outdoor sketching also helps you build a visual memory of places, making your studio paintings feel more alive.
Essential Supplies For Outdoor Oil Sketching
Before you head out, packing light but smart is key. Here’s what you really need for a successful outdoor oil sketch session.
| Supply | Why It’s Needed | Tips |
|---|---|---|
| Portable easel (pochade box or tripod) | Holds your panel and palette steady | Choose a lightweight, foldable model |
| Oil paints (basic palette) | Primary colors, white, and maybe earth tones | Limit colors for faster mixing and less weight |
| Brushes (3-5 sizes) | Different marks for blocking in and details | Synthetic or bristle brushes; bring a rag |
| Small panels or canvas (6×8 to 9×12 inches) | Easier to finish quickly | Pre-toned surfaces help judge values |
| Palette knife | Mixes paint and adds texture | Can also scrape mistakes easily |
| Solvent or medium (in a leak-proof container) | Thins paint and cleans brushes | Use odorless mineral spirits for safety |
| Paper towels or rags | Wipe brushes and clean up | Cloth rags are reusable |
| Trash bag | Carry out all waste | Protects nature and keeps setup tidy |
| Viewfinder (optional) | Frames your composition | Can make from cardboard |
| Hat, sunscreen, water, snacks | Comfort and safety outdoors | Stay hydrated and protected from sun |
A non-obvious tip: Bring extra panels in case you finish early or want to try a second view. Also, pack your paint tubes in a sealable plastic bag to prevent leaks.

Credit: www.amazon.com
Choosing The Right Location
Selecting your spot can make or break your outdoor painting experience. Here’s what to consider:
- Accessibility: Start near your car or public transport if carrying a lot.
- Variety of subjects: Look for places with interesting shapes—trees, water, buildings, rocks.
- Stable ground: Uneven terrain can make your easel wobble, so check for a flat area.
- Shelter and shade: If possible, set up under a tree or bring a small umbrella. Direct sun can dry your paint too quickly and tire your eyes.
A helpful tip beginners miss: Visit your spot at the same hour you plan to paint, as light changes dramatically throughout the day. If you’re painting at noon, shadows will be short; in late afternoon, they’ll be long and colored.
Planning Your Composition
A strong composition is the backbone of any good oil sketch. Since time is limited outdoors, plan quickly but carefully:
- Use a viewfinder to isolate your scene and decide what to include or leave out.
- Sketch a few thumbnail drawings in a small notebook. These take just a minute but can save you from major mistakes.
- Focus on simple shapes—look for big areas of light and dark. Don’t worry about small details yet.
Most beginners make the mistake of trying to paint everything they see. Instead, pick one clear subject or focal point. For example, if you’re at a river, focus on the water reflections, not every tree and rock.
Setting Up Your Materials
Setting up efficiently is crucial for a smooth painting session:
- Place your palette at a comfortable height, close to your panel. This reduces arm fatigue.
- Arrange your paints from light to dark, left to right, so you mix quickly without searching for colors.
- Secure your panel with clips or in your pochade box so the wind doesn’t blow it away.
- Lay out your brushes so you can grab them without looking down for long.
It helps to practice your setup at home. Time yourself to see how quickly you can unpack and start painting. Efficient setup means more time painting, less time fiddling.
Making An Outdoor Oil Sketch: Step-by-step
Let’s break down the process into clear steps that you can follow outdoors:
1. Toning The Surface
Start by brushing a thin wash of a neutral color (like burnt sienna or ultramarine mixed with white) over your panel. This toning helps you judge values and prevents blank white from showing through.
2. Block In Big Shapes
Use a large brush or palette knife to quickly lay in the biggest shapes of your scene. Don’t worry about accuracy—just get the main colors and values in place. This is your “map. ”
3. Refine Shapes And Add Color
Switch to a medium brush and start adjusting shapes and colors. Look for areas where light hits brightest and where shadows are deepest. Squint your eyes to see these shapes better.
4. Suggest Details
Now, with a smaller brush, add a few details in the focal area. Don’t overdo it—oil sketches are meant to be loose. Too many details can make the painting stiff.
5. Final Adjustments
Step back and look at your painting from a distance. Make any final adjustments to color, value, or edges. Sometimes a few strokes are all you need to finish.
A common mistake: Many artists keep working until the light has completely changed. Set a timer (about 60–90 minutes) and stop when it goes off. This keeps your painting fresh and true to the moment.
Handling Outdoor Challenges
Plein air painting comes with unique challenges. Here’s how to handle the most common ones:
Changing Light
Light outdoors changes fast, especially in the morning and late afternoon.
- Block in the big shapes and values immediately, so you capture the key lighting.
- Don’t chase the light as it changes. Stick with your first impression.
Weather Surprises
Wind, rain, or bugs can ruin a session.
- Carry clips to hold your panel if it’s windy.
- Have a small umbrella for unexpected rain or harsh sun.
- Bug spray is essential in summer.
Curious Onlookers
People may stop to watch or ask questions.
- Smile and keep working, or say you’ll chat when you’re done.
- Some artists wear headphones to discourage long conversations.
Transporting Wet Paintings
Oil paint stays wet for days. To get your sketches home safely:
- Use a wet panel carrier (commercial or homemade from cardboard).
- Insert toothpicks between panels to keep them separated.
- Some pochade boxes hold panels securely for transport.
Comparing Oil Sketches To Studio Work
Oil sketches differ from finished studio paintings in many ways. Here’s a quick comparison:
| Oil Sketch (Outdoors) | Studio Painting |
|---|---|
| Loose, quick brushwork | Careful, refined details |
| Focus on light and color impression | Controlled lighting, planned composition |
| Painted in 1–2 hours | Takes days or weeks |
| Smaller size (6×8 to 9×12 inches) | Any size, often larger |
| Direct response to nature | Can use references, imagination |
Understanding these differences helps you use outdoor sketches as valuable studies for larger works.
Credit: bookpeople.com
Practical Tips For Better Results
Here are some less obvious tips that experienced plein air painters swear by:
- Simplify your palette—using just 4–5 colors forces you to mix more naturally and keeps your painting harmonious.
- Carry a small mirror—looking at your sketch in a mirror helps spot mistakes in shapes or values.
- Pre-mix key colors before starting—mix the main sky, shadow, and light colors on your palette to speed up painting.
- Take a photo for reference, but don’t rely on it. The real scene has more color and subtlety than any camera.
- Rotate your panel occasionally—turning your painting upside down helps you judge abstract shapes and balance.
Safety And Etiquette When Painting Outdoors
Respecting nature and others is important:
- Leave no trace—pack out all trash, including rags and used paper towels.
- Get permission if painting on private property.
- Avoid blocking paths or disturbing wildlife.
Also, be mindful of local rules in parks or public spaces. Some areas require permits for easels.
Credit: www.outdoorpainter.com
What To Do With Your Oil Sketches
Once You Finish Your Outdoor Sketch, What Next?
- Let it dry completely (about 1–2 weeks) before framing.
- Use sketches as references for larger studio paintings.
- Sell or gift them—many collectors love the freshness of plein air work.
- Keep a record by writing the date, time, location, and weather on the back. This helps you remember what you learned.
Some artists build a portfolio of oil sketches to show their growth over time.
Common Mistakes To Avoid
- Bringing too many supplies—heavy bags drain your energy.
- Overworking the painting—the best sketches are often quick and direct.
- Ignoring the weather—check forecasts before you go.
- Painting too large—smaller panels are easier to finish outdoors.
A final insight: If your first sketches don’t turn out as expected, don’t get discouraged. Every session is practice, and improvement comes faster than you think.
Frequently Asked Questions
How Long Does An Outdoor Oil Sketch Usually Take?
Most outdoor oil sketches take between 60 and 90 minutes. The goal is to capture the light and mood before they change too much. Some artists finish even faster, while others take a bit longer, but it’s best to set a time limit.
What Size Panel Is Best For Plein Air Oil Sketches?
Small sizes like 6×8, 8×10, or 9×12 inches are ideal. These are easy to finish in one session and fit into most pochade boxes or carriers. Large canvases can be overwhelming outdoors, especially for beginners.
Is It Safe To Use Oil Paints Outside?
Yes, but use odorless mineral spirits and avoid spilling solvents. Work in a well-ventilated area, and keep all chemicals sealed when not in use. Always pack out used rags and solvents to protect the environment. For more safety info, see the Oil painting Wikipedia page.
Can I Use Water-mixable Oil Paints For Outdoor Sketches?
Absolutely. Water-mixable oils are a great choice because you can clean brushes with water, reducing chemical use. They behave much like traditional oils, though drying times may vary.
How Do I Protect My Wet Painting When Traveling Home?
Use a wet panel carrier or your pochade box’s built-in slots. If you don’t have one, improvise with cardboard separators and toothpicks to keep panels apart. Be careful not to let anything touch the wet paint.
Painting outdoors with oils is a rewarding challenge that improves your skills and connects you with nature. With the right preparation, a few smart strategies, and an open mind, you’ll soon enjoy capturing the world around you—one sketch at a time.


