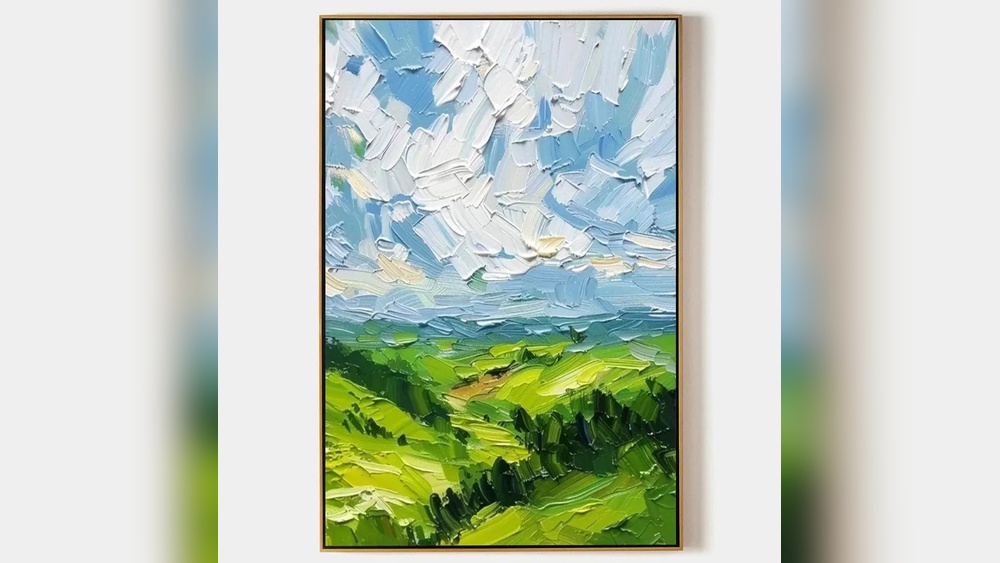
Painting a landscape for wall decor is a rewarding way to add personal style and beauty to your home. Unlike buying a print, creating your own landscape lets you capture a place, mood, or memory that means something special to you.
Whether you are a beginner or have some experience with art, this guide will show you how to paint a landscape step by step. You’ll learn not just the basics, but also tips and techniques that help your art stand out.
By the end, you’ll understand how to choose your scene, prepare your materials, paint with confidence, and display your work proudly.
Choosing The Right Landscape Scene
The first step is selecting a landscape that inspires you. Think about what you want to see on your wall every day. Do you enjoy mountain views, gentle hills, the beach, or a peaceful forest? Consider the colors and mood that fit your room’s style.
Here are some practical tips to help you choose:
- Personal Connection: Pick a scene that means something to you. Maybe it’s a place you visited or a view from your hometown.
- Visual Interest: Look for scenes with a clear foreground, middle ground, and background. This adds depth and makes the painting look more natural.
- Lighting: Scenes with strong sunlight, shadows, or sunset colors often create more impact.
- Simplicity: If you’re a beginner, avoid overly complex scenes with too many details.
A non-obvious insight: Sometimes, a simple field with a single tree can be more powerful than a crowded cityscape. The emptiness gives a sense of calm and space, perfect for wall decor.
Gathering Materials And Tools
Good preparation makes painting much easier. You don’t need expensive supplies, but quality materials help your work last longer.
Here’s a basic list of what you need:
- Canvas or canvas board: 16×20 inches is a popular size for wall decor.
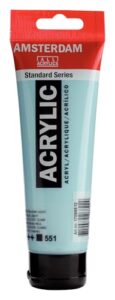
- Acrylic or oil paints: Acrylics dry faster and are easier to clean up; oils allow more blending time.
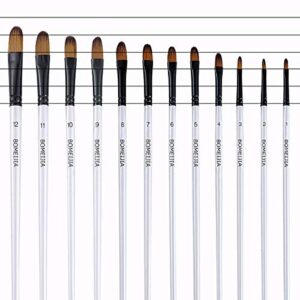
- Brushes: Get a few sizes—flat, round, and fan brushes.
- Palette: For mixing colors.
- Palette knife: Helps with mixing and texture.
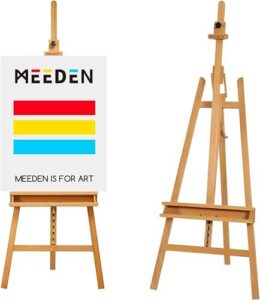
- Easel: Optional, but makes painting more comfortable.
- Water or solvent: For cleaning brushes.
- Rags or paper towels
- Pencil and eraser: For sketching the scene.
- Varnish (optional): Protects your finished painting.
Here’s a quick comparison of acrylic and oil paint for landscape art:
| Feature | Acrylic Paint | Oil Paint |
|---|---|---|
| Drying Time | Fast (20-60 min) | Slow (days to weeks) |
| Cleanup | Water | Solvent (turpentine) |
| Blending | Harder | Easier |
| Odor | Low | Strong |
| Cost | Lower | Higher |
Pro Tip: If you’re new to painting, start with acrylics. They are more forgiving and less messy.
Planning Your Composition
A strong composition is key to a successful landscape painting. Think of composition as the way you arrange the elements in your scene.
Here are some guidelines:
- Rule of Thirds: Imagine your canvas divided into three equal parts horizontally and vertically. Place the most important features (like a tree or mountain) where the lines cross.
- Lead the Eye: Use paths, rivers, or lines of trees to guide the viewer’s gaze into the painting.
- Foreground, Middle Ground, Background: Include elements in each area for depth.
- Balance: Avoid putting all interesting things on one side. Balance large shapes with smaller ones.
A common mistake is painting everything in the center. Offset your main subject for a more dynamic look.
Sketching The Scene
Before you add paint, make a light sketch of your landscape on the canvas. Use a soft pencil so marks won’t show through the paint.
Steps for sketching:
- Mark the horizon line. This divides the sky and land.
- Outline major shapes. Draw mountains, trees, and buildings as simple shapes.
- Indicate paths or water. Sketch where rivers or roads will go.
Don’t add too many details—just enough to guide you.

Credit: royalthaiart.com
Blocking In Main Colors
Now, start painting with large brushes to cover the main areas of the canvas. This is called “blocking in. ” It helps you see the overall color and light.
- Paint the sky first. Use light blue, white, or sunset colors.
- Add land areas. Paint hills, fields, or water with simple shapes.
- Lay in dark and light zones. This sets the mood and depth.
Keep your colors a bit brighter at this stage. You can always darken them later.
Non-obvious tip: Mix a little of the sky color into your land colors. This creates harmony across the painting.
Building Layers And Details
Once the first layer is dry, start adding more layers. This is where the landscape comes alive.
- Work from background to foreground: Paint distant hills or trees first, then closer elements.
- Add shadows and highlights: Shadows add depth; highlights create sparkle.
- Use smaller brushes: For details like leaves, grass, or water reflections.
- Vary your brushstrokes: Use dabs for foliage, smooth strokes for water, and zigzags for grass.
Here’s a simple table showing which brush to use for different effects:
| Brush Type | Best For | Effect |
|---|---|---|
| Flat | Sky, water | Smooth, even areas |
| Fan | Trees, grass | Texture, soft edges |
| Round | Details, lines | Controlled strokes |
Pro Tip: Step back every 15 minutes to see your painting from a distance. This helps spot areas that need adjustment.
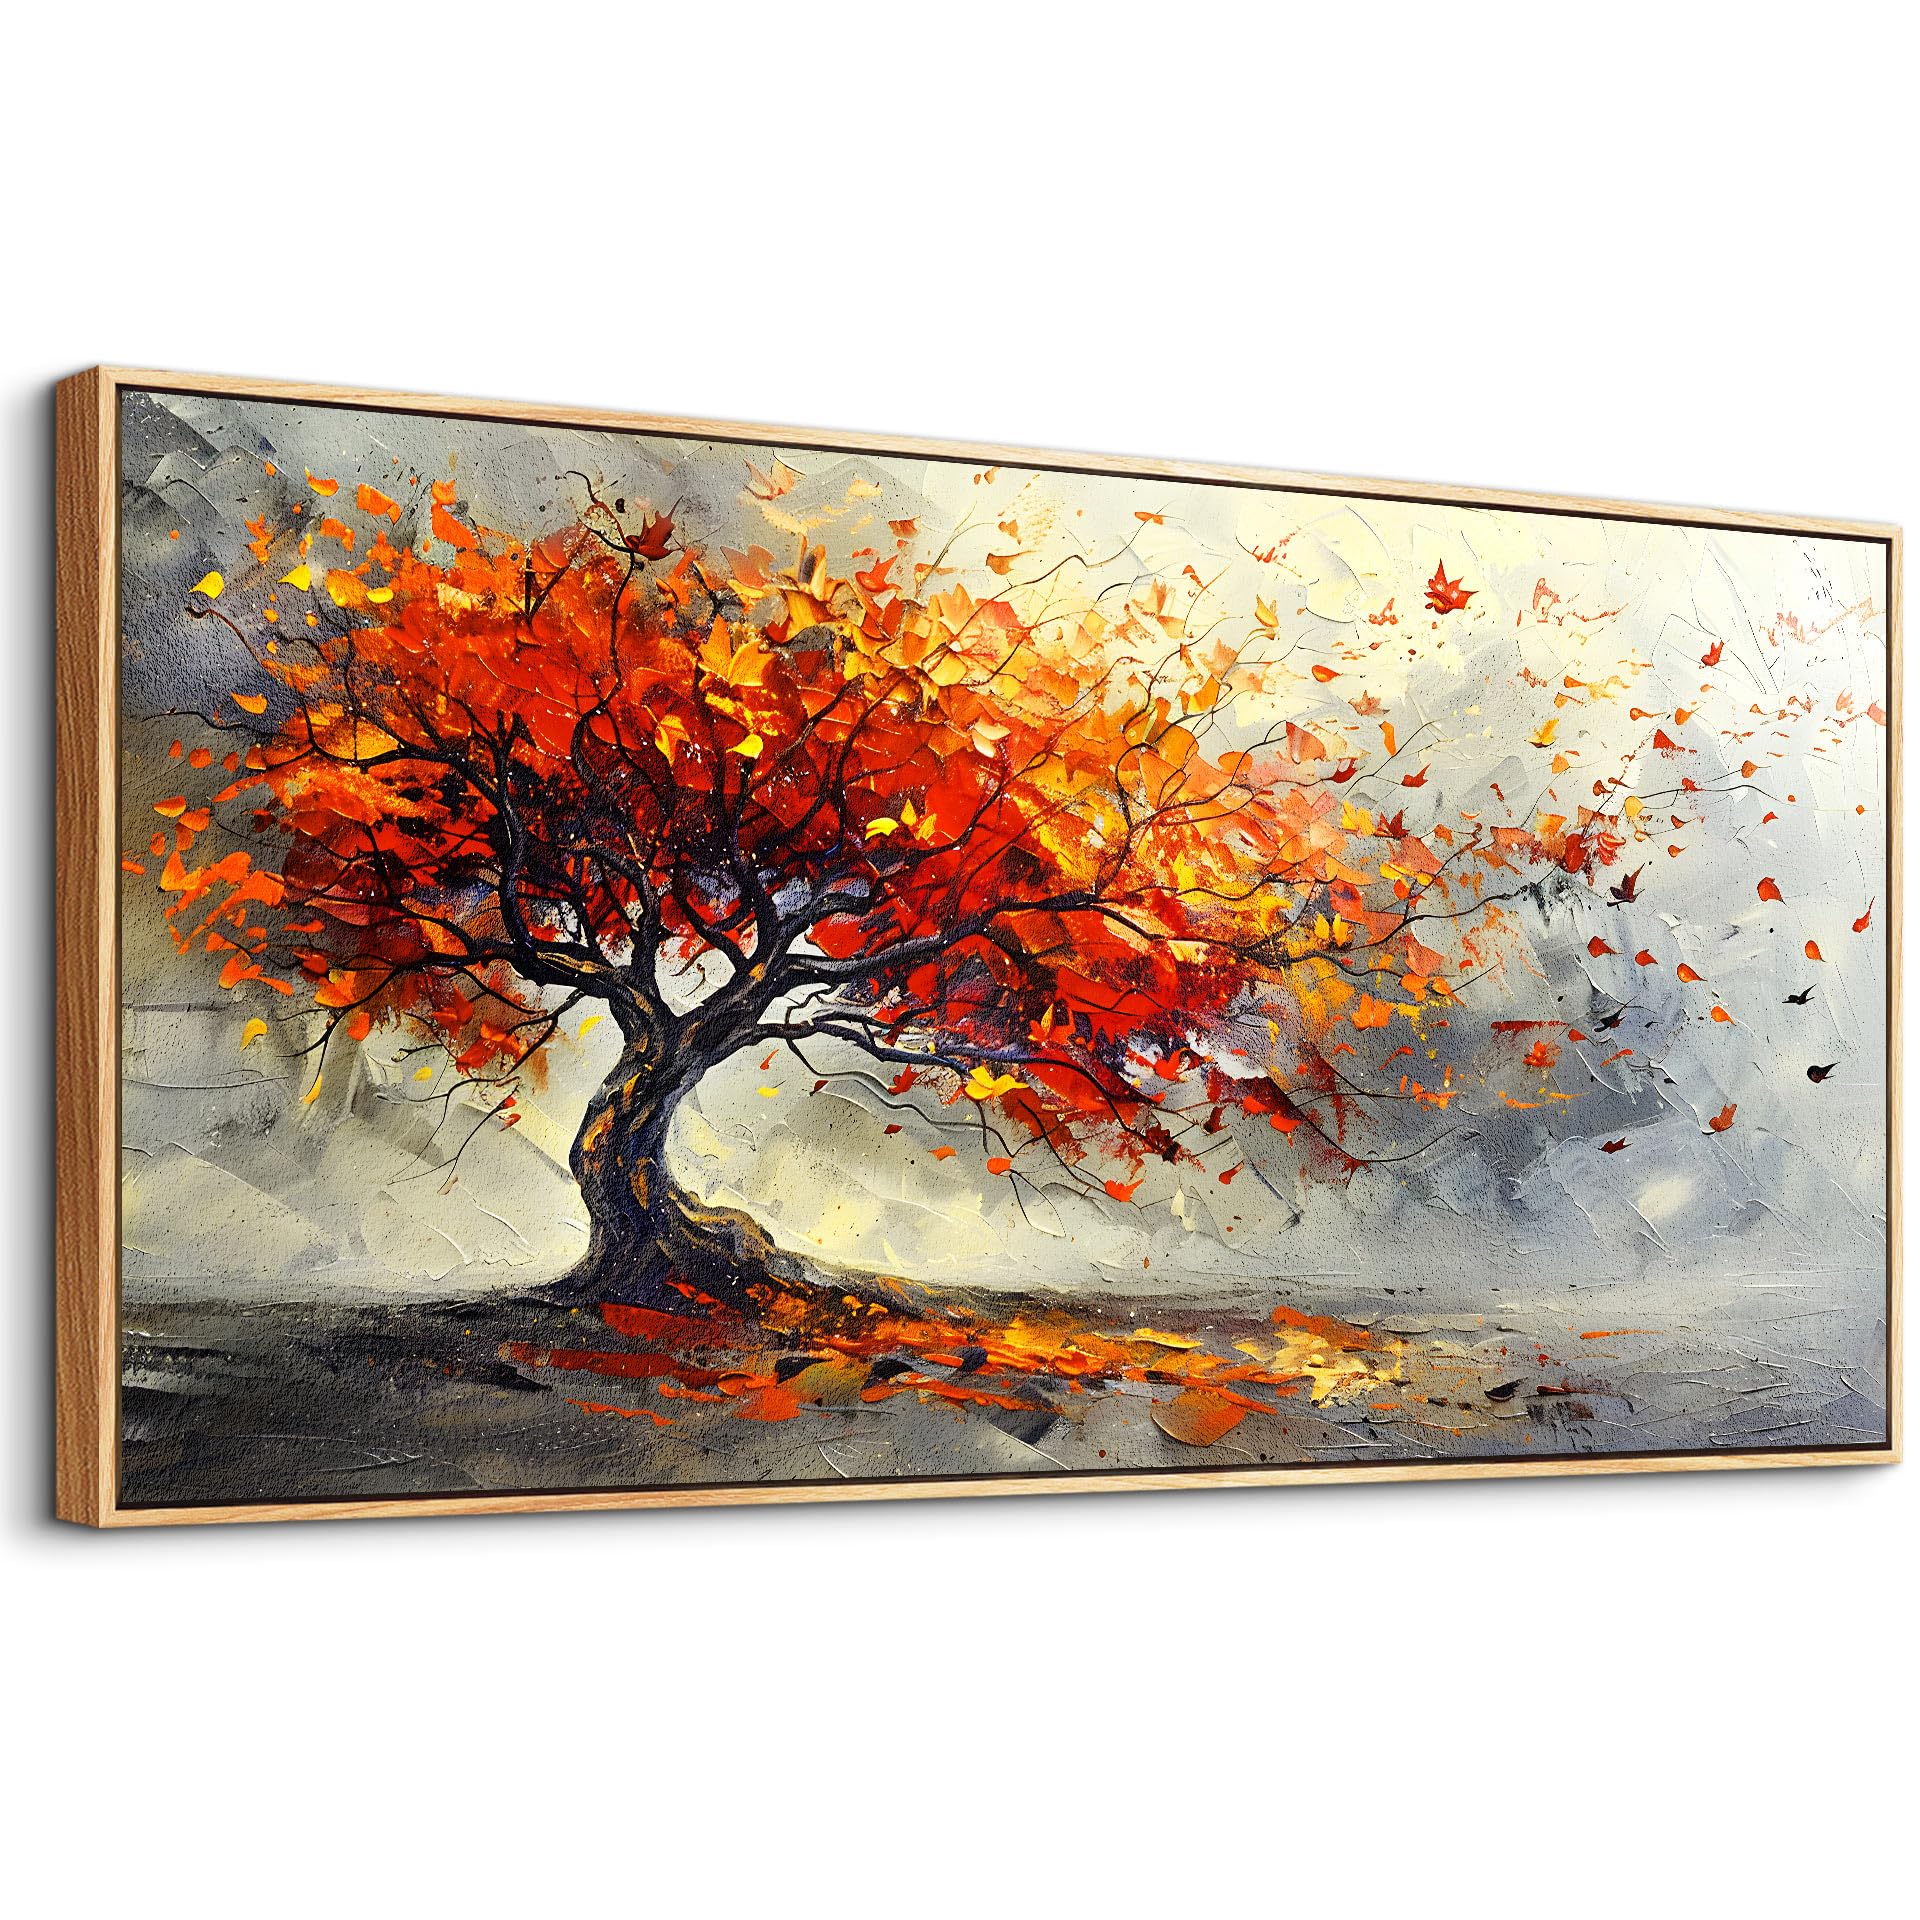
Credit: www.amazon.com
Creating Depth And Atmosphere
A landscape painting looks more realistic when you create a sense of depth. Here’s how:
- Aerial Perspective: Make distant objects lighter and bluer. Closer objects are warmer and more detailed.
- Overlapping: Let some elements (like trees) overlap others.
- Size Difference: Paint things smaller in the background, larger in the foreground.
A common beginner mistake is making all trees or hills the same color and size. Nature rarely does this.
Adding Final Touches
The last stage is about making your painting look finished.
- Refine details: Add small highlights, birds, or flowers.
- Clean edges: Sharpen important shapes, soften others.
- Check values: Make sure lights and darks are balanced.
- Sign your painting: Use a small brush and sign in a corner.
Consider using a varnish to protect your work. Wait until your painting is completely dry. Varnish brings out the colors and adds a professional look.

Credit: www.amazon.com
Framing And Displaying Your Landscape
A good frame can elevate your painting and protect it from dust and damage.
- Choose a frame style that matches your decor and painting style. Natural wood frames often look good with landscapes.
- Matting is optional for canvas, but adds elegance for works on paper.
- Hang at eye level for the best effect.
If you want to learn more about framing techniques, check out this resource: The Met – Frames Collection.
Common Mistakes To Avoid
- Overworking the painting: Too many layers can make colors muddy. Know when to stop.
- Ignoring values: Good landscapes need both light and dark areas.
- Not cleaning brushes: Paint can dry and ruin your tools quickly.
- Painting from memory alone: Use a photo or real view for accuracy.
- Skipping the sketch: Without a plan, your painting may look unbalanced.
Tips For Improving Your Skills
- Practice regularly. Even short sessions help you improve.
- Study famous landscape painters. See how they use color and composition.
- Paint outdoors (plein air). This trains your eye to see real colors and light.
- Take photos of your progress. You’ll notice improvements and areas to work on.
- Join local art groups or online forums. Sharing your work brings feedback and inspiration.
Inspiration From Famous Landscape Artists
Many great artists have painted landscapes, each with their own style.
Some examples:
- Claude Monet: Captured light and color with quick brushstrokes.
- Vincent van Gogh: Used bold colors and swirling lines.
- Georgia O’Keeffe: Painted simple, powerful desert scenes.
Try studying their work for ideas, but don’t worry about copying their style. Your unique view makes your painting special.
How To Care For Your Painting
Once your landscape is finished and dry, take care of it so it lasts for years.
- Keep away from direct sunlight to avoid fading.
- Dust gently with a soft cloth.
- If you use varnish, wait at least a week (for acrylic) or several months (for oil) before applying.
Frequently Asked Questions
How Long Does It Take To Paint A Landscape For Wall Decor?
The time varies. A simple acrylic landscape might take 2-4 hours, while a detailed oil painting could take days or weeks due to drying times. Beginners often need more time to experiment and fix mistakes.
Do I Need To Draw Well To Paint Landscapes?
No. Many successful landscape artists start with basic shapes and focus on color and atmosphere. Sketching helps, but you don’t need advanced drawing skills to create a beautiful landscape.
What Type Of Paint Is Best For Beginners?
Acrylic paint is usually best for beginners. It dries fast, is easy to clean, and is less expensive than oil paint. It’s also less toxic and has less odor.
Can I Use A Photo As A Reference?
Yes, using a photo is very helpful. It keeps your colors, shapes, and lighting accurate. Just make sure the photo is your own or you have permission to use it.
How Do I Make My Landscape Look More Realistic?
Focus on adding depth (using lighter colors for distance), varied brushstrokes, and accurate shadows and highlights. Study real landscapes or photos and notice how colors and details change from foreground to background.
Painting a landscape for wall decor is both relaxing and creative. With planning, practice, and a few key techniques, you can create a piece of art that brightens your space and tells your story. Each painting you finish is a step on your artistic journey—so pick up your brush and enjoy the process!